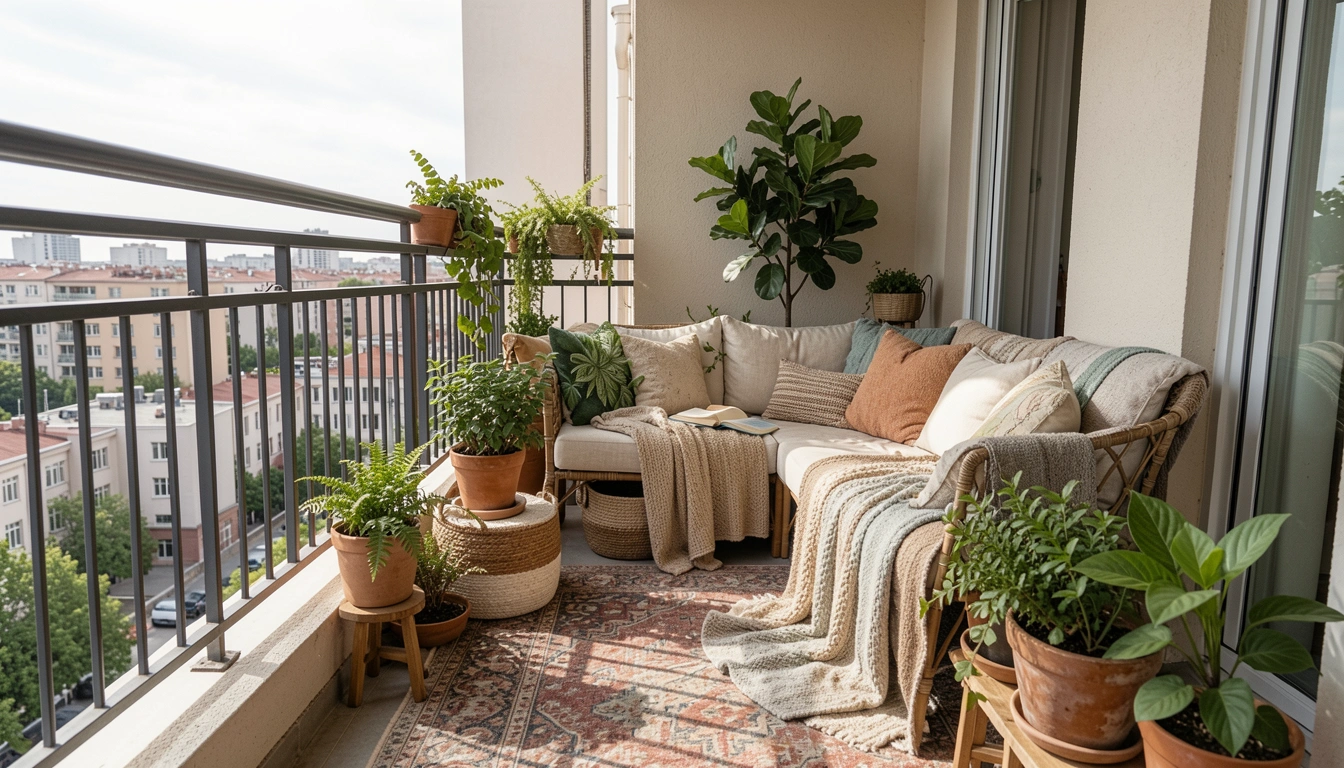
My balcony sat empty most days. Windy, bare, and forgotten. I craved a quiet spot to read, but everything felt too exposed. Chairs blew over. Books stayed inside.
One afternoon, I shifted a few things. The space settled. It held me comfortably now.
You know that pull to linger outside? This makes it real.
How To Create A Balcony Reading Nook For Cozy Relaxation
This guide shows my exact approach to building a balcony reading nook. You'll end up with a balanced spot that feels sheltered and warm. It's simple to pull off, even on a small balcony.
What You’ll Need
- Weatherproof wicker armchair in neutral gray
- Compact round side table in teak wood
- Outdoor area rug 5×7 feet in soft beige
- Lumbar pillow in cream canvas
- Throw blanket in light wool gray
- Clip-on reading lamp in matte black
- Potted fiddle leaf fig plant 3 feet tall
- Woven storage basket medium size
Step 1: Anchor the Seating Spot
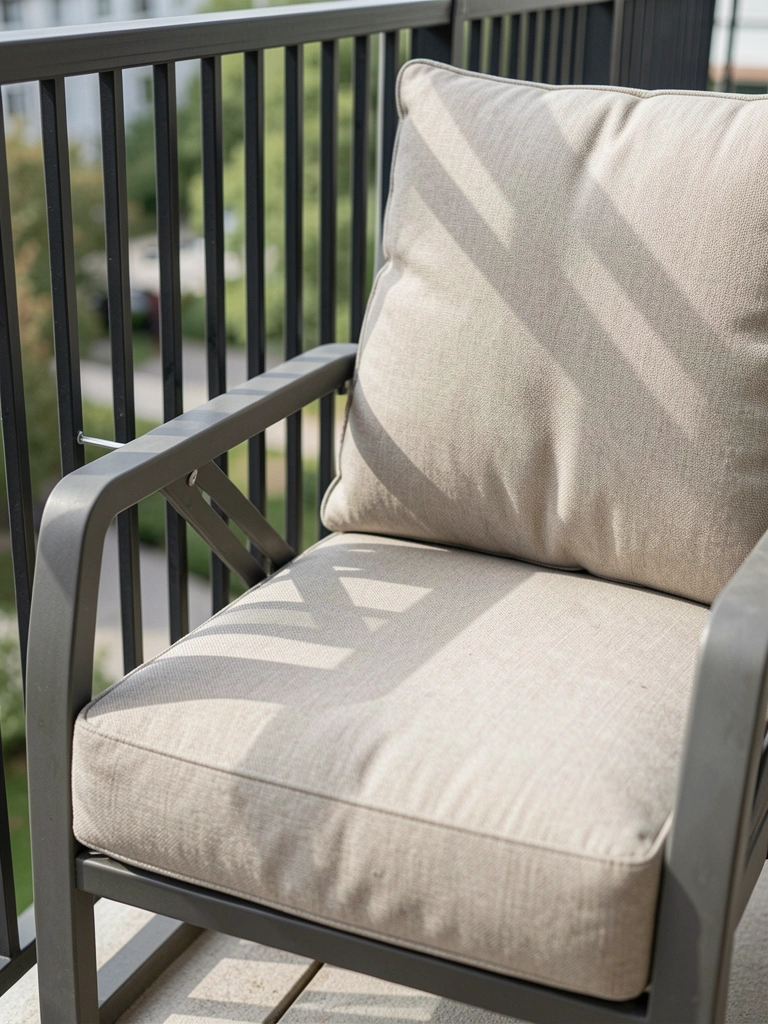
I start by placing the armchair where the balcony feels most protected. Usually against the railing or wall. This grounds everything. The nook pulls inward right away.
Visually, the chair creates a focal point. Empty floor softens around it. Wind loses its edge here.
People miss how one piece defines flow. Skip cramming extras early. Mistake: centering the chair—it isolates you.
I nudge it slightly off-center. Balance feels natural now.
Step 2: Ground It with a Rug
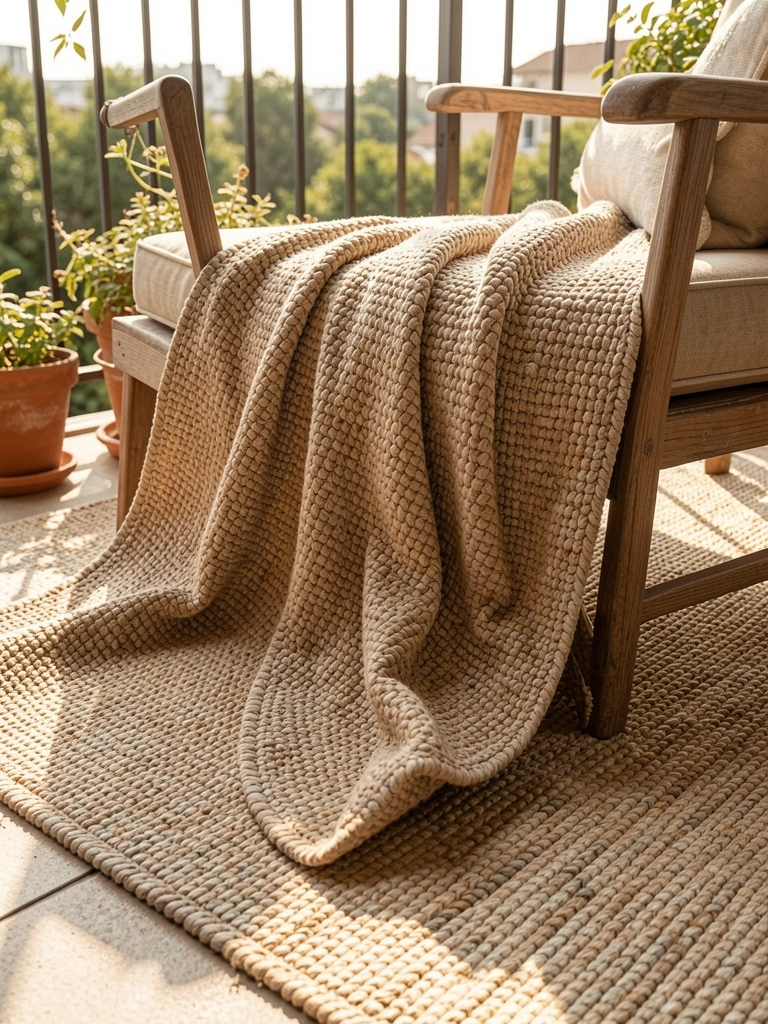
Next, I unroll the rug under the chair. It covers just enough floor to hug the seating. This warms the concrete instantly.
The space looks settled. Colors tie chair to balcony. Shadows play softer.
Insight: rugs trick the eye into coziness. Avoid full coverage—it overwhelms small balconies.
I trim edges if needed. Feet sink in comfortably.
Step 3: Layer the Side Table
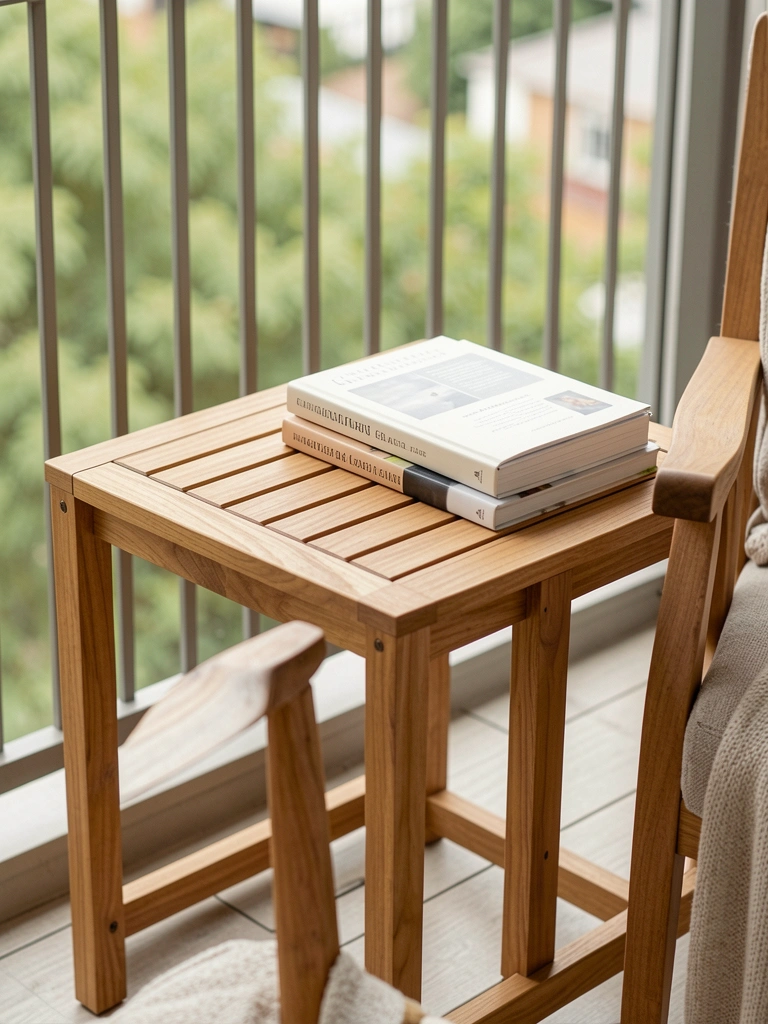
I slide the side table right next to the armrest. At elbow height. No gap. This holds your book steady.
Now, the nook invites settling in. Reach feels easy. Light catches the wood warmly.
Most overlook table height matching the chair. Mistake: too tall, it blocks flow.
I test by sitting. Adjust once. Perfect reach every time.
Step 4: Add Cushions and Blanket
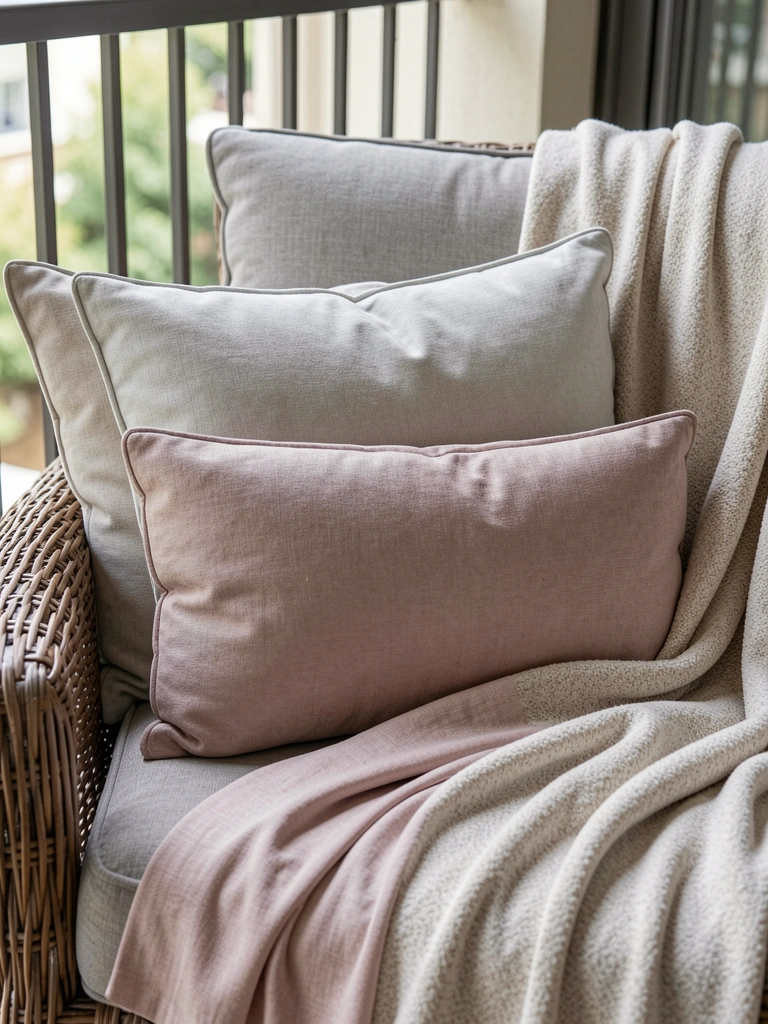
I tuck the lumbar pillow behind my back spot. Drape the throw over the arm. Loose, not perfect.
Seat turns plush. Layers add depth without bulk. Wind stays out.
Secret: odd numbers of layers feel balanced. Avoid matching sets—they stiffen it.
I fluff daily. Stays welcoming.
Step 5: Screen with Plants and Light
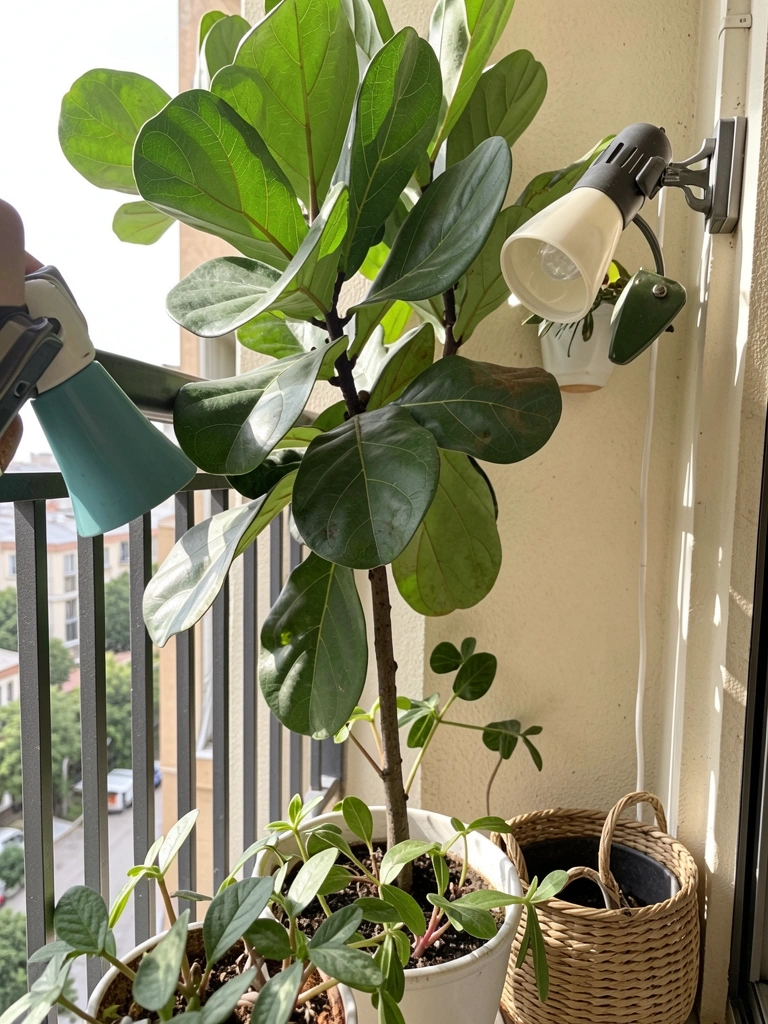
I position the plant to one side, blocking wind. Clip lamp to the railing above. Basket tucks books below.
Nook feels enclosed. Greens soften edges. Light glows at dusk.
Folks forget plants as screens. Mistake: heavy pots tip easily—use stable ones.
I water weekly. Space breathes easy.
Handling Wind and Weather
Balconies catch gusts. I learned to lean into it.
Position seating low. Plants buffer naturally.
- Weigh rugs with clips if needed.
- Choose fade-resistant fabrics.
- Test on windy days before finalizing.
It holds up. Stays comfortable year-round.
Building Layers for Comfort
Layers make it lived-in. Start sparse.
I add one texture at a time. Pillow first, then throw.
Watch how light hits. Shadows deepen warmth.
Feels right when you forget you're outside.
Quick Adjustments for Seasons
Summer heats up. Winter chills.
Swap light pillows for wool.
- Add sheer curtain panel for shade.
- Battery lights for short days.
- Sturdy umbrella nearby.
Small shifts keep it fresh. No big overhauls.
Final Thoughts
Start with the chair. See how it sits.
You've got this—one piece builds the rest.
Your balcony waits. A book, coffee, quiet. That's the pull.
Leave a Reply