I used to open my bathroom shelves and feel overwhelmed. Towels were lumped with bottles. Small things disappeared. Mornings felt clumsy and slow. Now I edit what stays. I place things by use and look. The shelves are calm and easy to use.
How To Organize Bathroom Shelves For Maximum Efficiency And Style
This shows exactly how to make shelves both useful and calm. You’ll end with clear zones, balanced groupings, and a few decorative touches that feel intentional. It’s practical and realistic. I use this method when a shelf still feels unfinished.
What You’ll Need
- Medium woven seagrass basket (rectangular, natural)
- White ceramic catchall tray (9×5, matte)
- Small clear glass apothecary jar with lid (8 oz)
- Set of 3 ceramic labeled canisters (neutral, matte)
- Stackable clear acrylic organizer (2-tier, small)
- Small faux eucalyptus in ceramic pot (6″ height)
- Cotton hand towel set (2 pack, oatmeal)
- Reed diffuser (clear glass, linen scent)
Step 1: Create Clear Use Zones
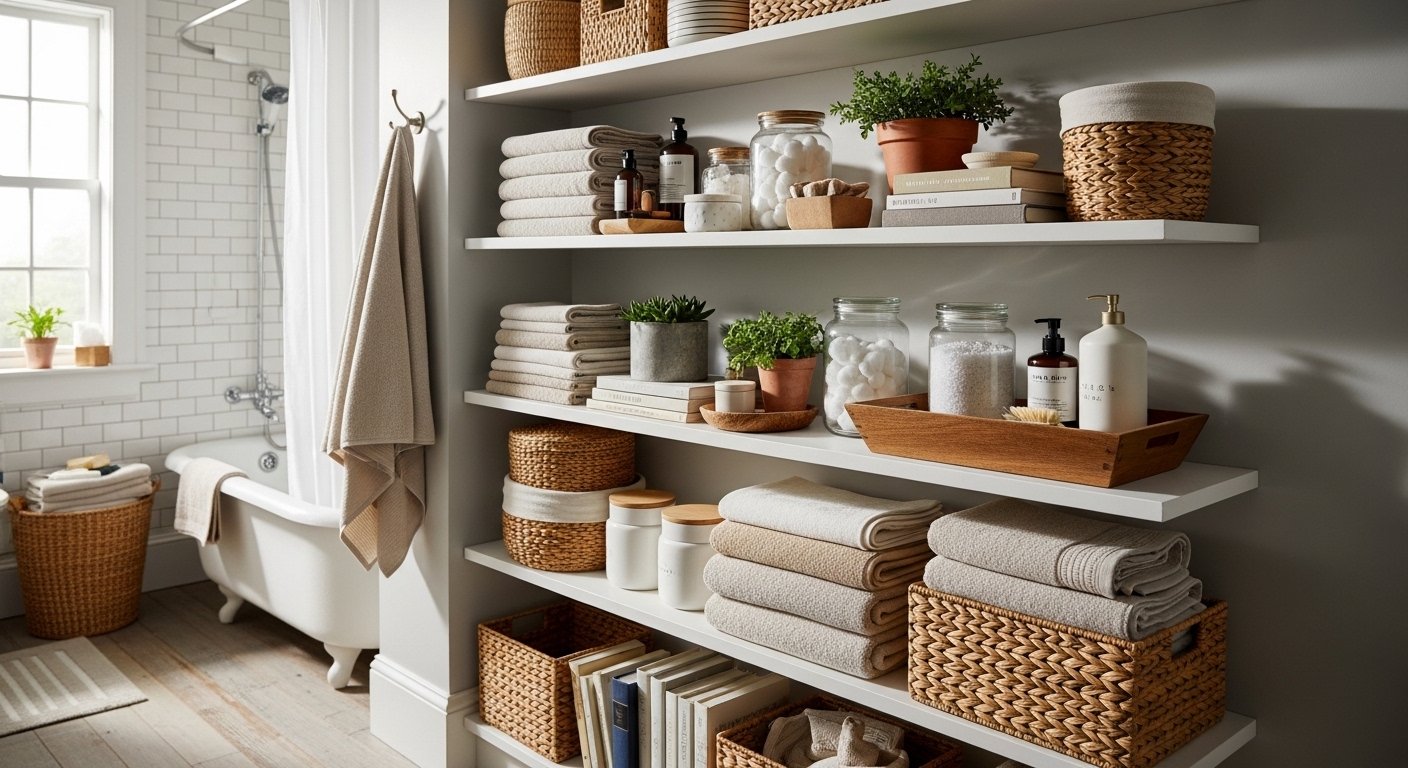
I start by emptying the shelf and naming zones: daily, backup storage, and a small display. It makes choices simple. When each zone has a purpose, the shelf reads calm instead of cluttered.
Visually you’ll see three small clusters, not a line of random bottles. People often forget to leave negative space. A common mistake is stuffing every inch. Let a little air show.
Step 2: Group by Function and Containerize
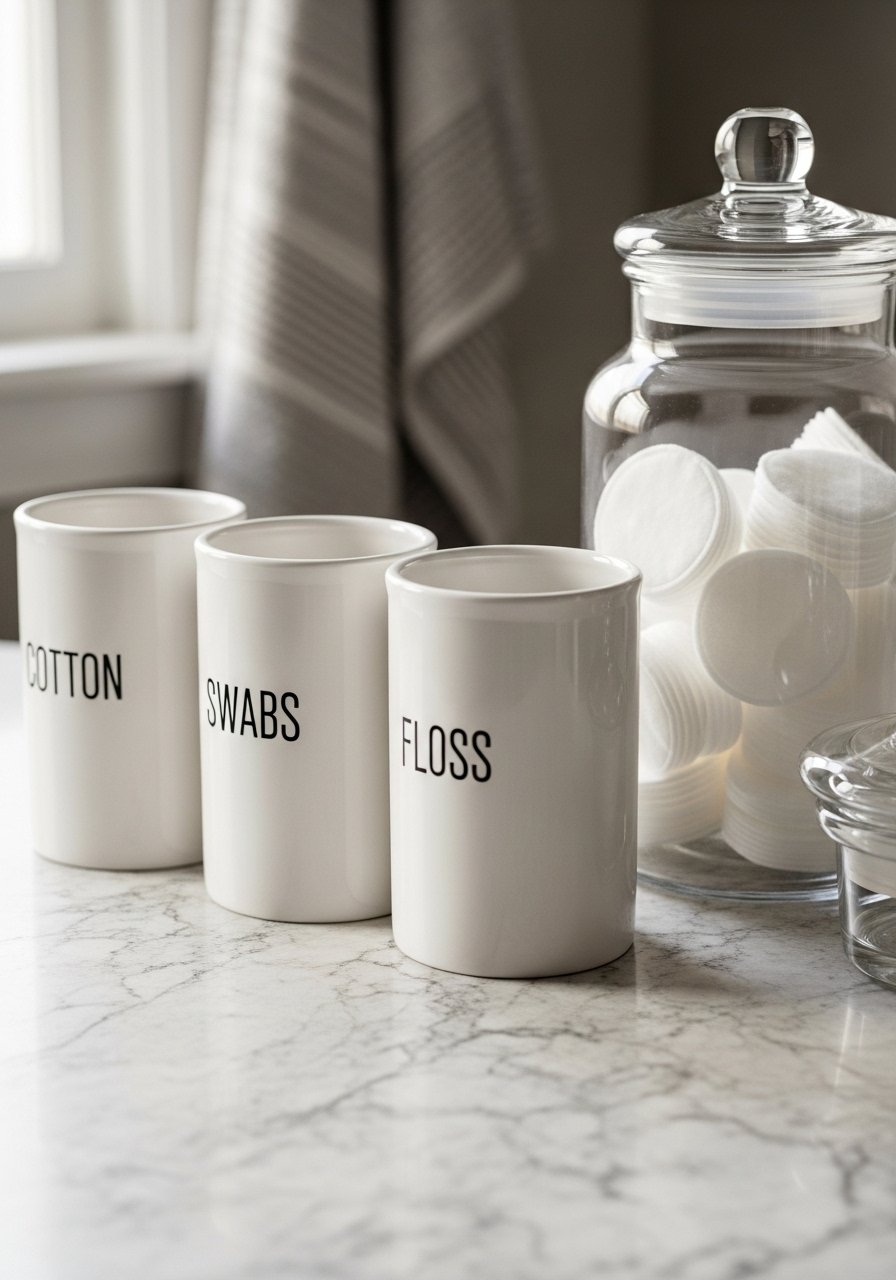
I put similar items together and give them a home. Labeled canisters hold cotton, q-tips, and backups. The apothecary jar holds small, pretty things. Containerizing makes the shelf feel curated and tidy.
What changes is the rhythm — repeated shapes and colors calm the eye. People miss matching container scale to shelf depth. Avoid using too many mismatched vessels; that creates visual chaos.
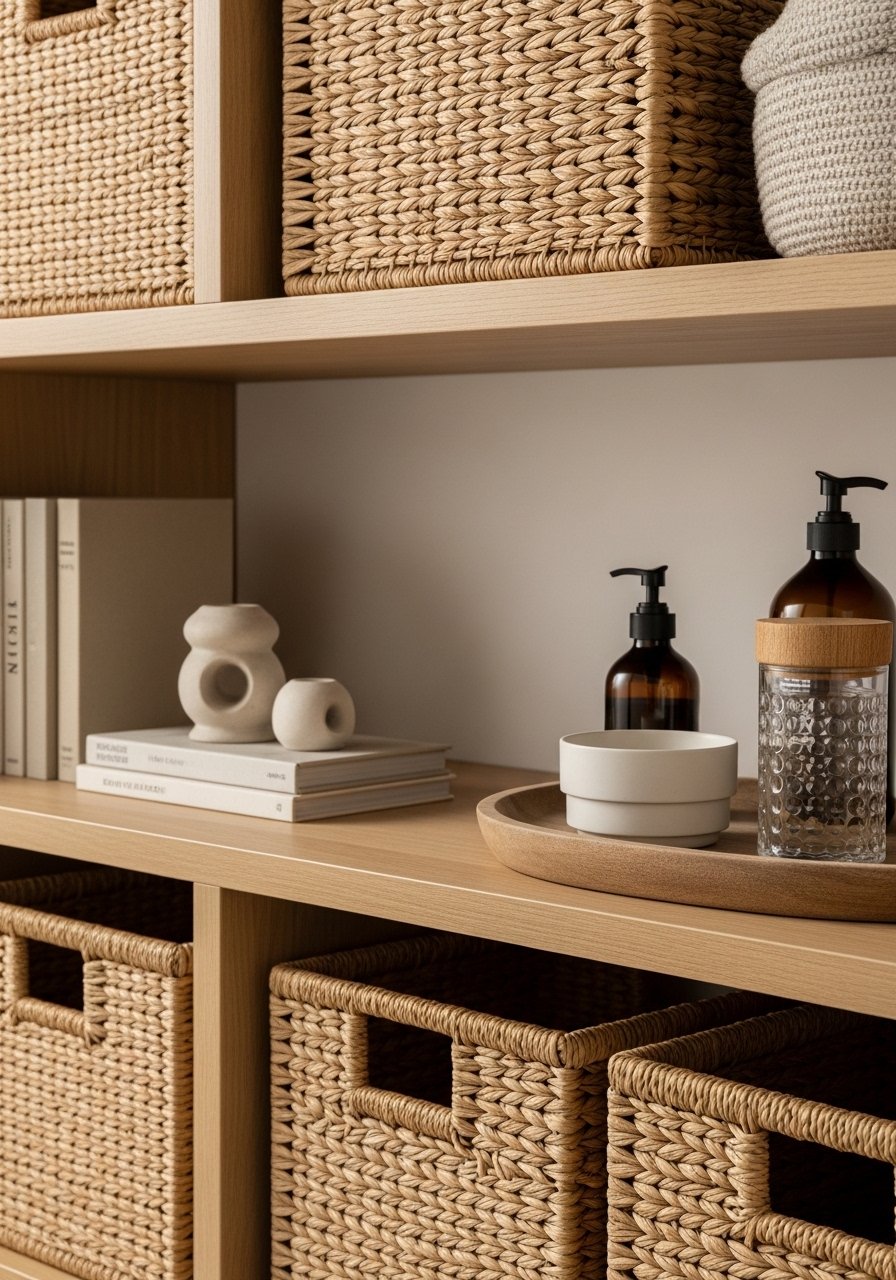
Step 3: Layer with Trays and Baskets

I add a tray to corral loose bits and a woven basket for bulk items. Trays anchor small items and keep edges neat. Baskets hide the overflow without erasing texture.
The shelf gains depth and a tactile mix. Most people put everything flat on the shelf. Don’t let a tray swallow the shelf — choose one that frames items, not covers them.
Step 4: Add Vertical Interest and Softness
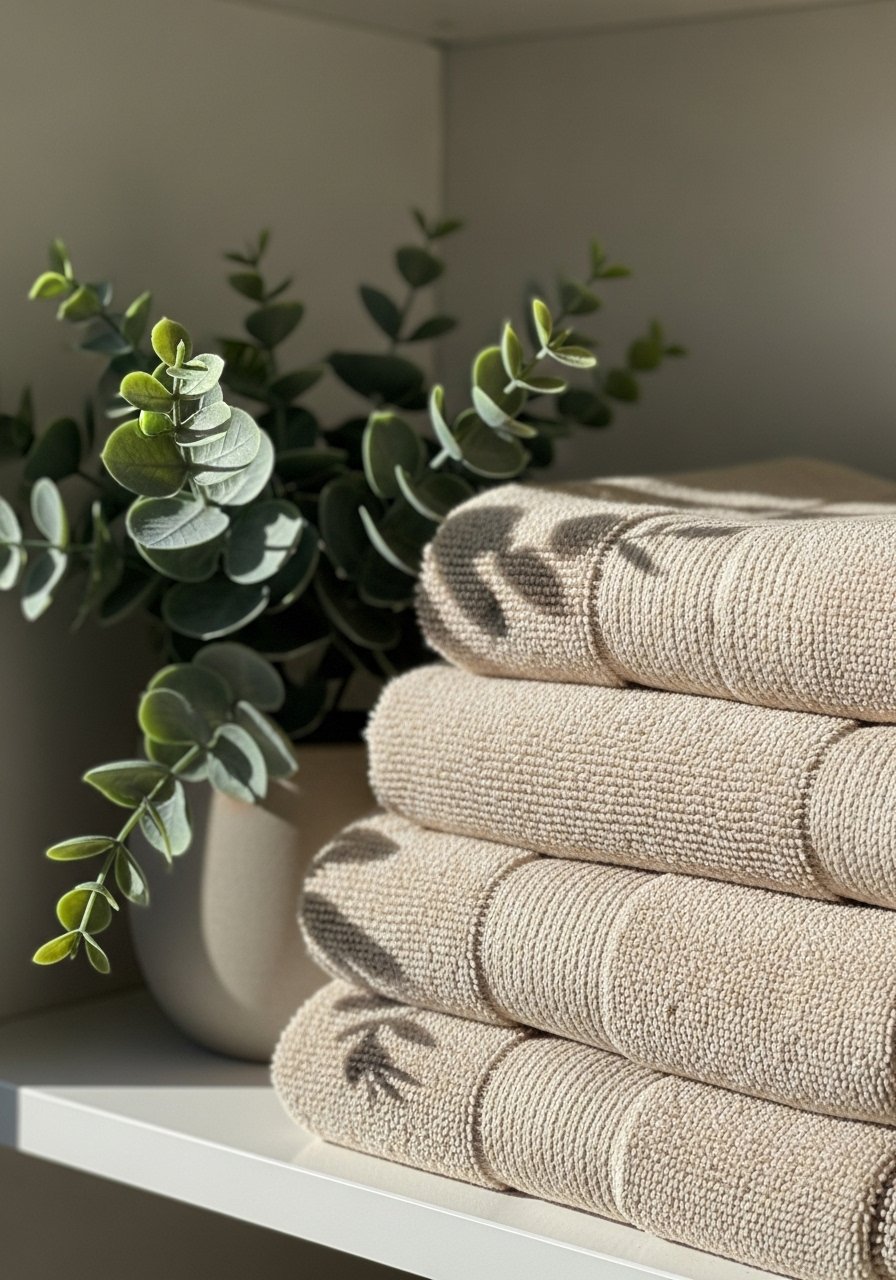
I layer a small plant and a stack of hand towels to give height and softness. Vertical pieces draw the eye up and prevent a flat, heavy look. The reed diffuser adds a small sculptural line.
Visually the shelf feels warmer and more intentional. People often forget scale — too-tall items will block sightlines. Avoid placing an oversized vase in the middle of a low shelf.
Step 5: Place Daily Items Front and Keep the Rest Stylishly Hidden
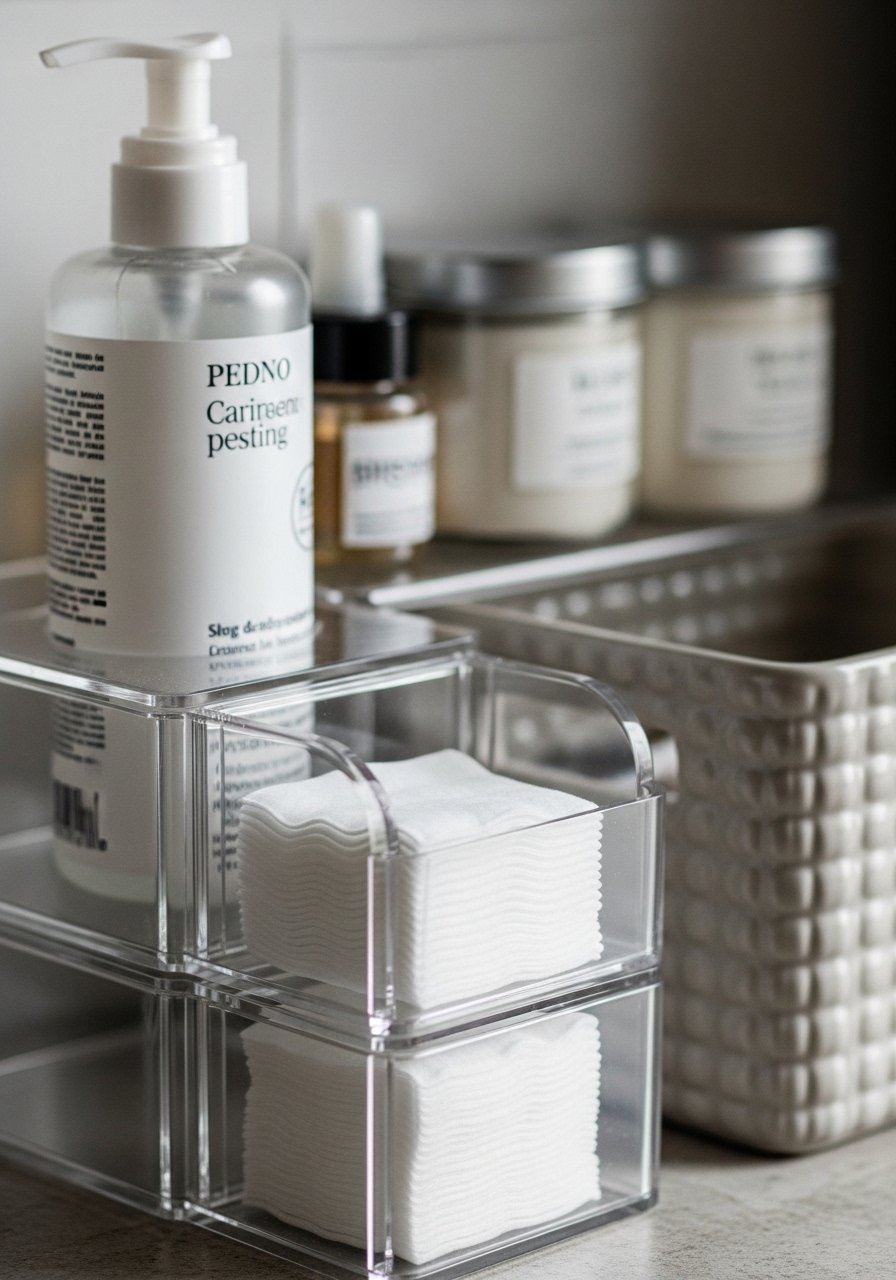
I keep what I use every morning at the front in clear or simple organizers. The acrylic organizer makes things easy to grab but still tidy. Backups live in the basket or labeled canisters.
The shelf becomes efficient without losing style. One insight is to resist spilling decorative items into the daily zone. Don’t let your pretty pieces become practical obstacles.
Maintaining the System
I check shelves once a week. I toss empties and rotate anything that’s not used. A small five-minute edit keeps the look calm and prevents buildup.
If something feels off, I move one object and wait a day. That quick test tells me if it’s needed. Small maintenance is all it takes.
Styling Tips for Small Shelves
Stick to three main textures: something soft, something natural, and something clear or ceramic. Repeat a color once or twice across the shelves for cohesion.
Keep negative space. One tidy gap makes the whole arrangement breathe. If a shelf feels busy, remove the smallest decorative piece first.
Quick Swaps for Season and Mood
Swap towels and the diffuser scent with the seasons. A darker towel or a warmer scent can change the shelf’s feeling without redoing it.
Rotate a small display item every month. It keeps the shelves feeling fresh and intentional without more clutter.
Final Thoughts
Start with one shelf. Make small edits and live with them a day. Confidence comes from using the shelf, not perfect styling.
You don’t need every product on display. Keep the daily at hand and the backups tidy. The goal is a shelf that feels calm and actually helps your routine.
Leave a Reply