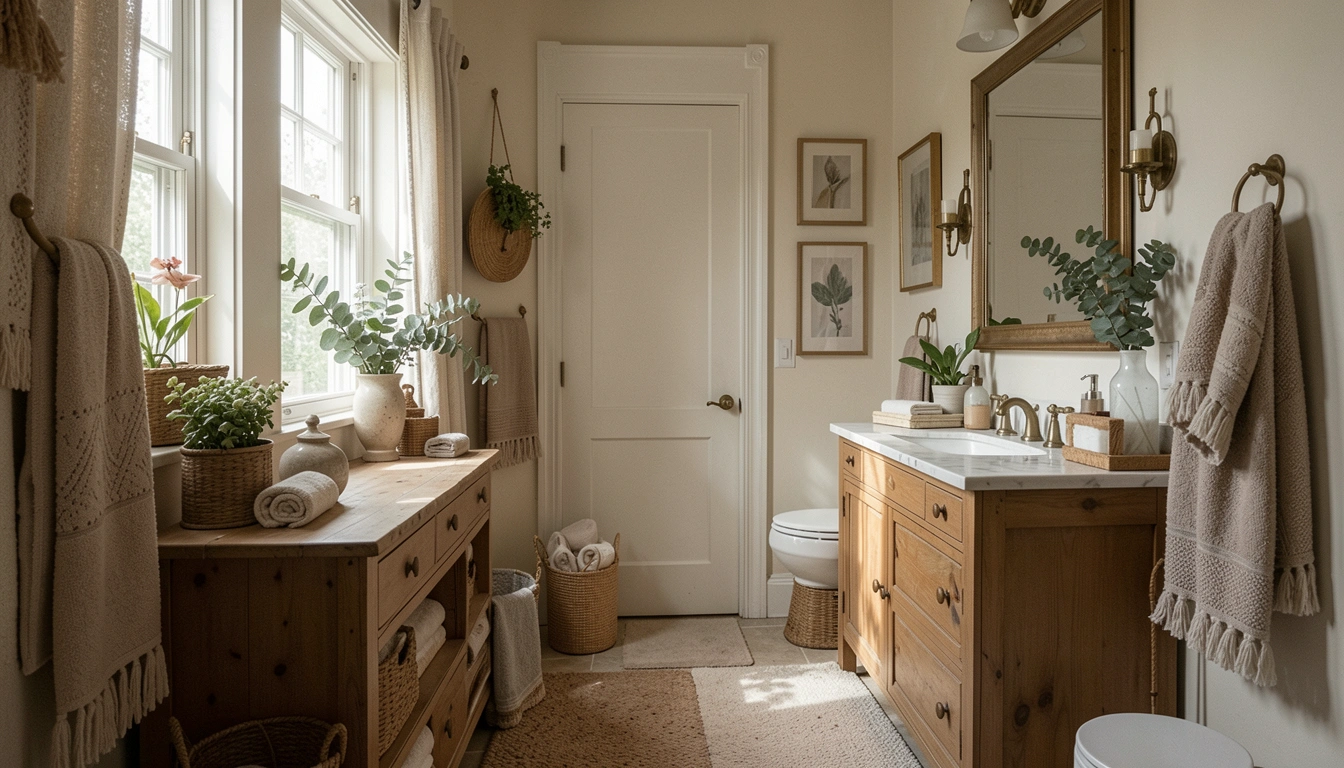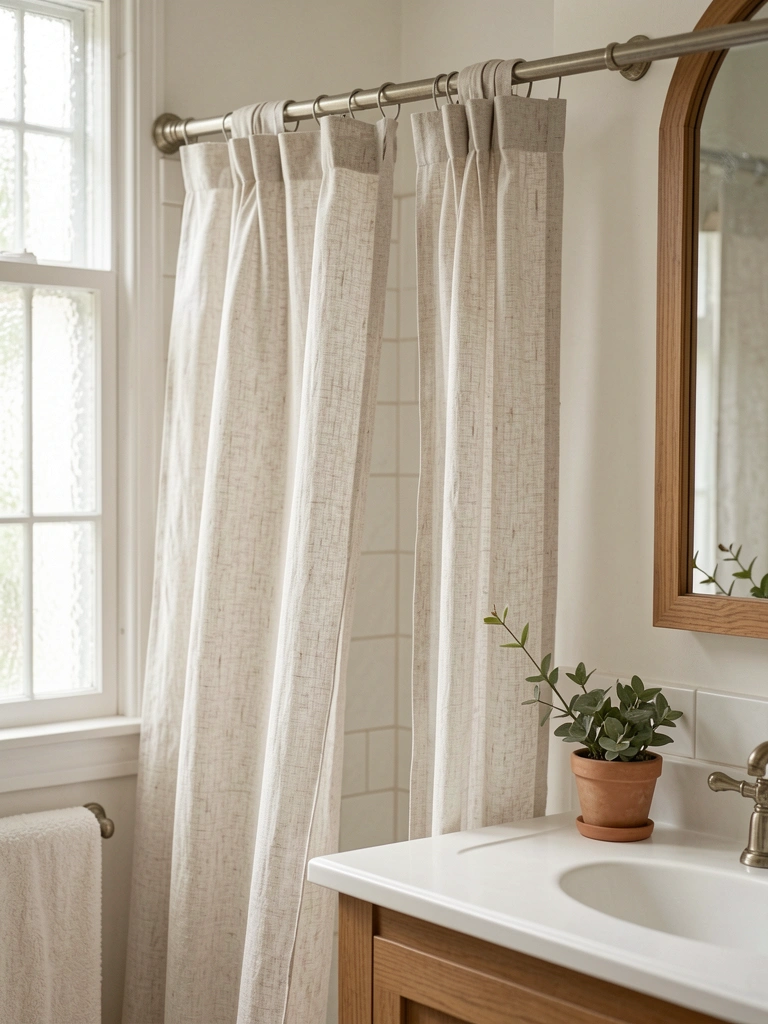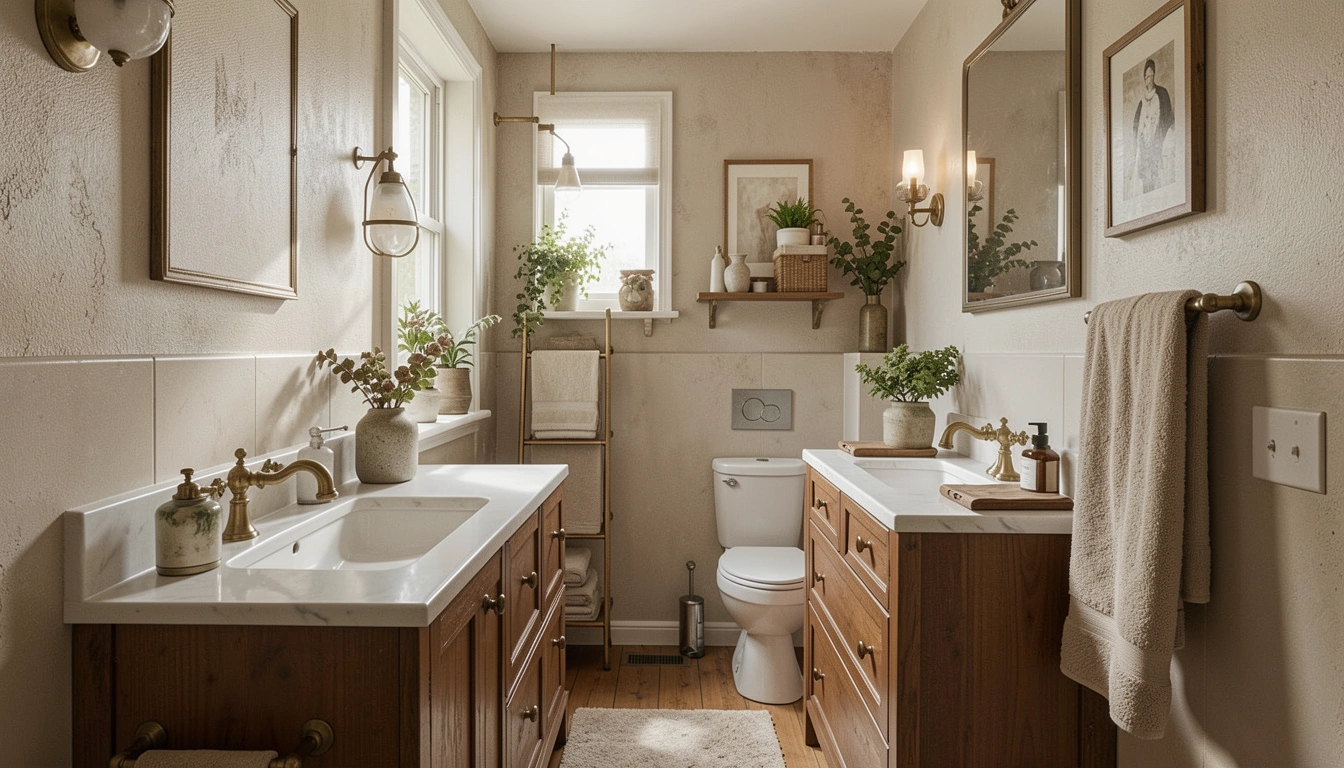
My powder room was a blank box – white walls, basic sink, no vibe. I felt embarrassed when guests washed up. One weekend, I grabbed a few accessories from my travels and local shops. The space warmed up fast. Hands felt cleaner, talks lasted longer. Small tweaks like these make a real difference. Yours can too.
26 Unique Small Half Bathroom Accessories To Add Personality
I've collected 26 unique small half bathroom accessories from homes I've decorated – all for tight spaces under 5×5 feet. They add personality without clutter. Each one fits real life, easy to source and install.
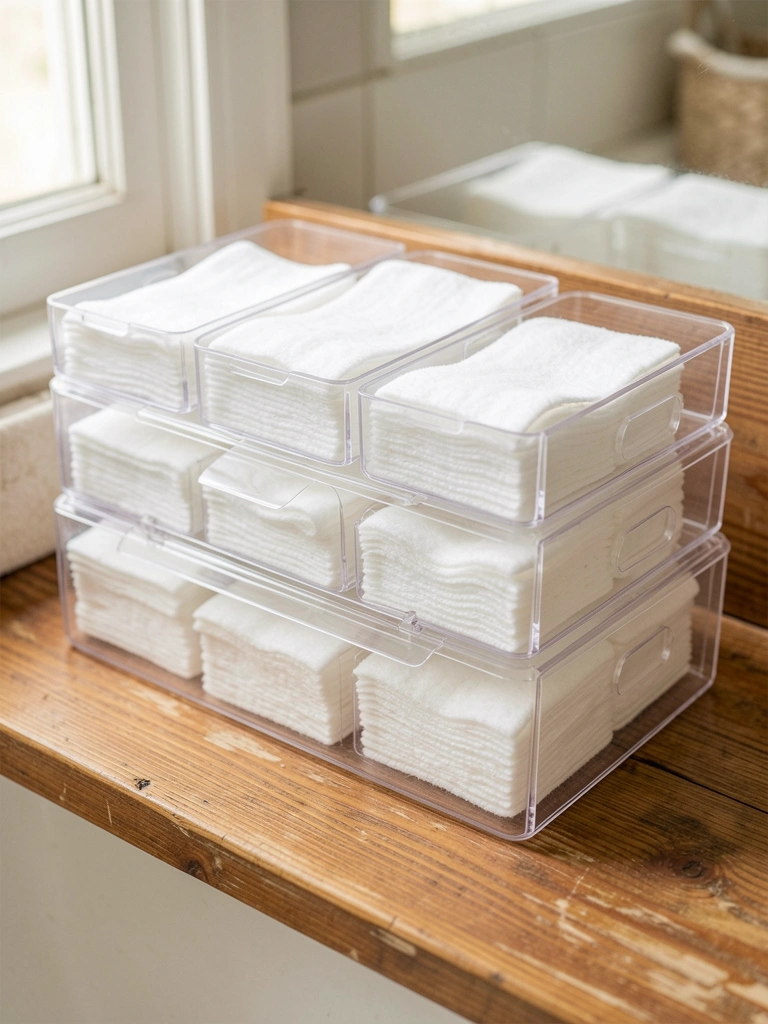
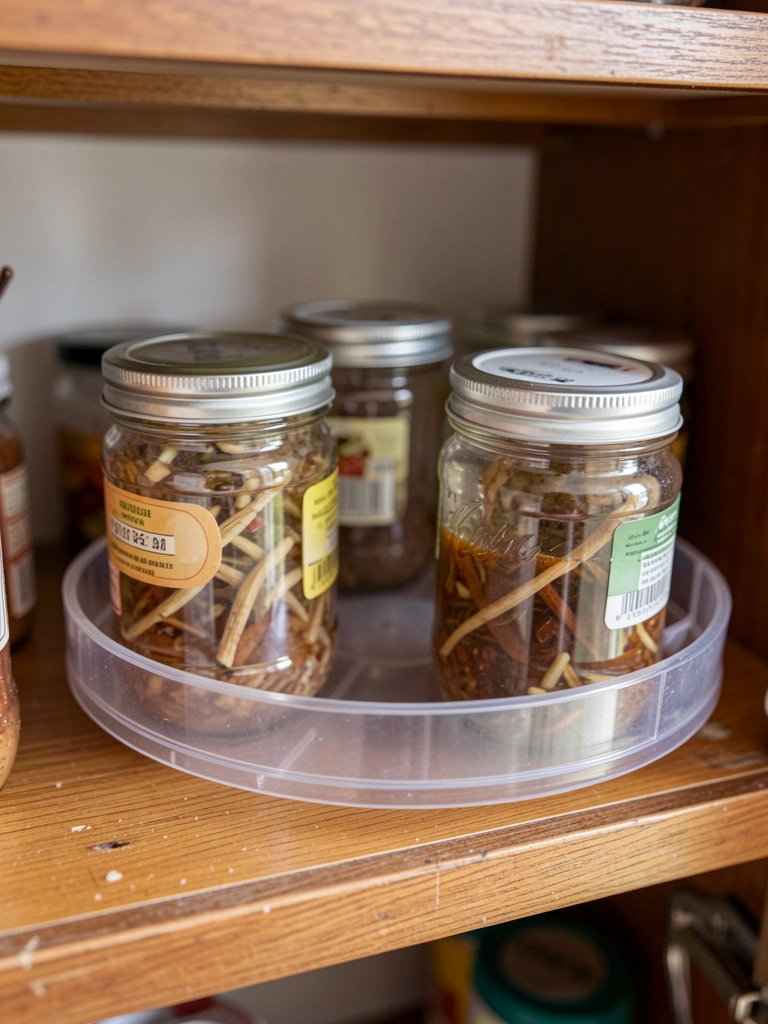
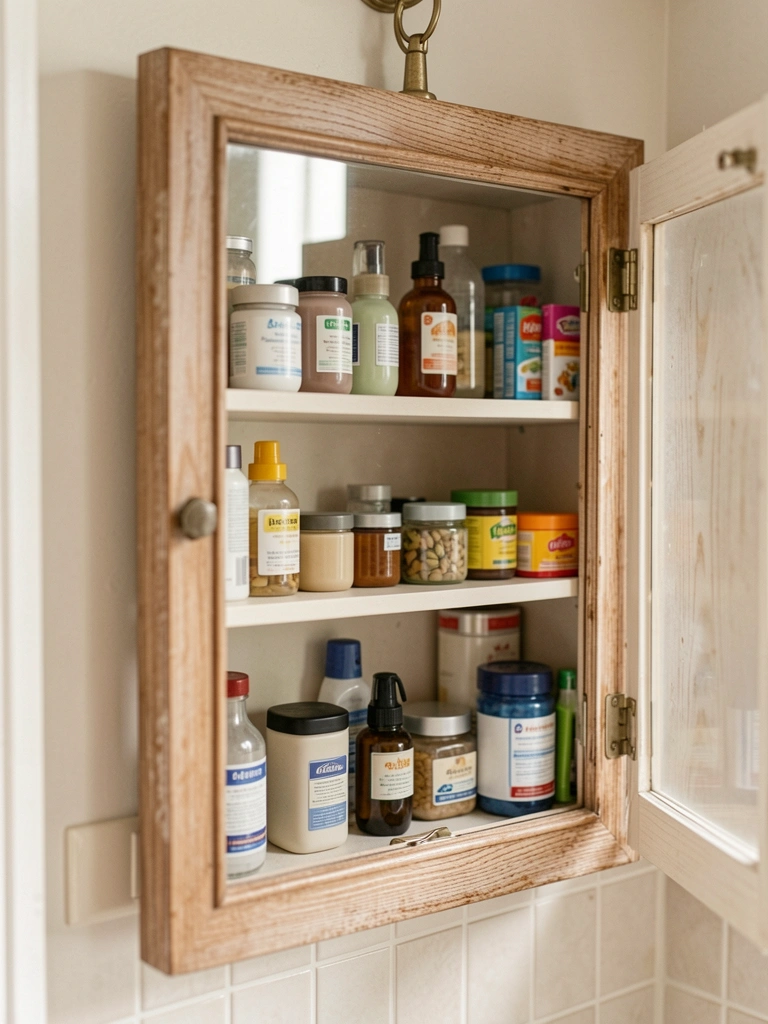
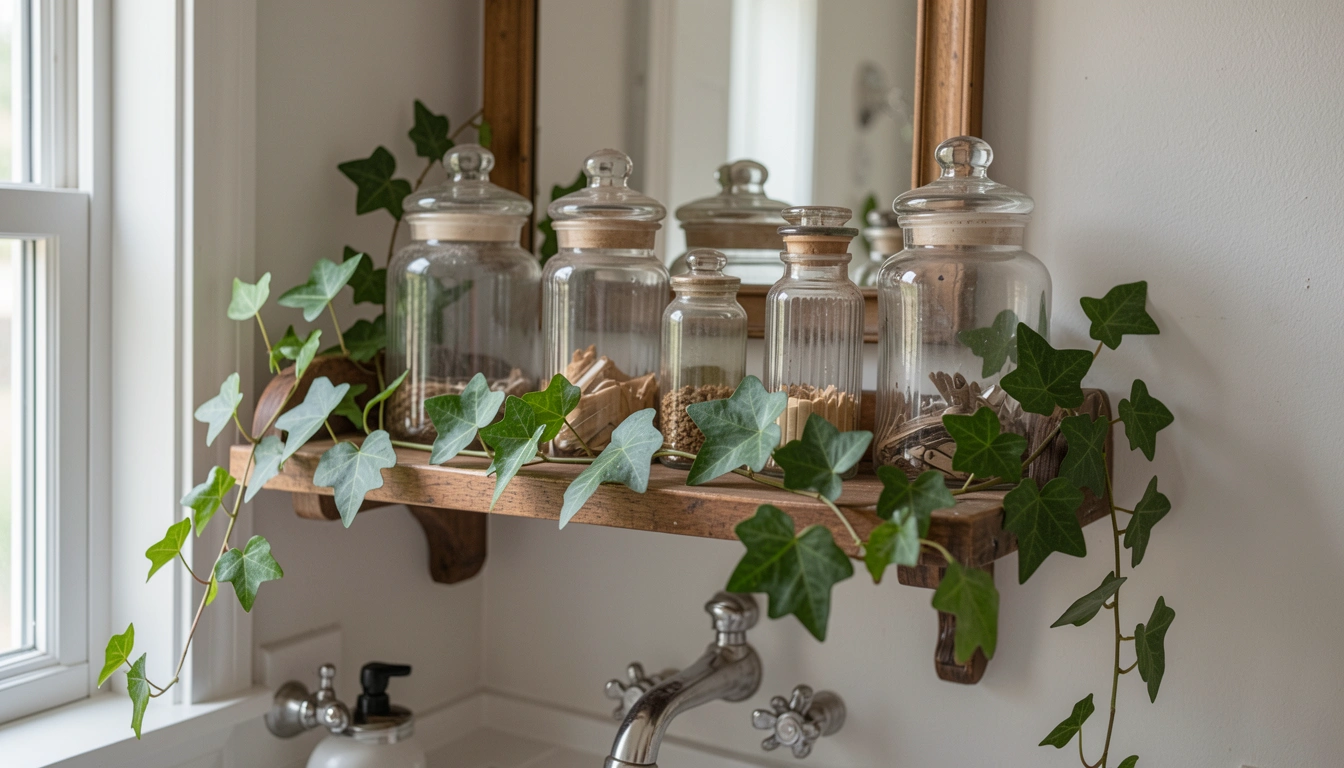
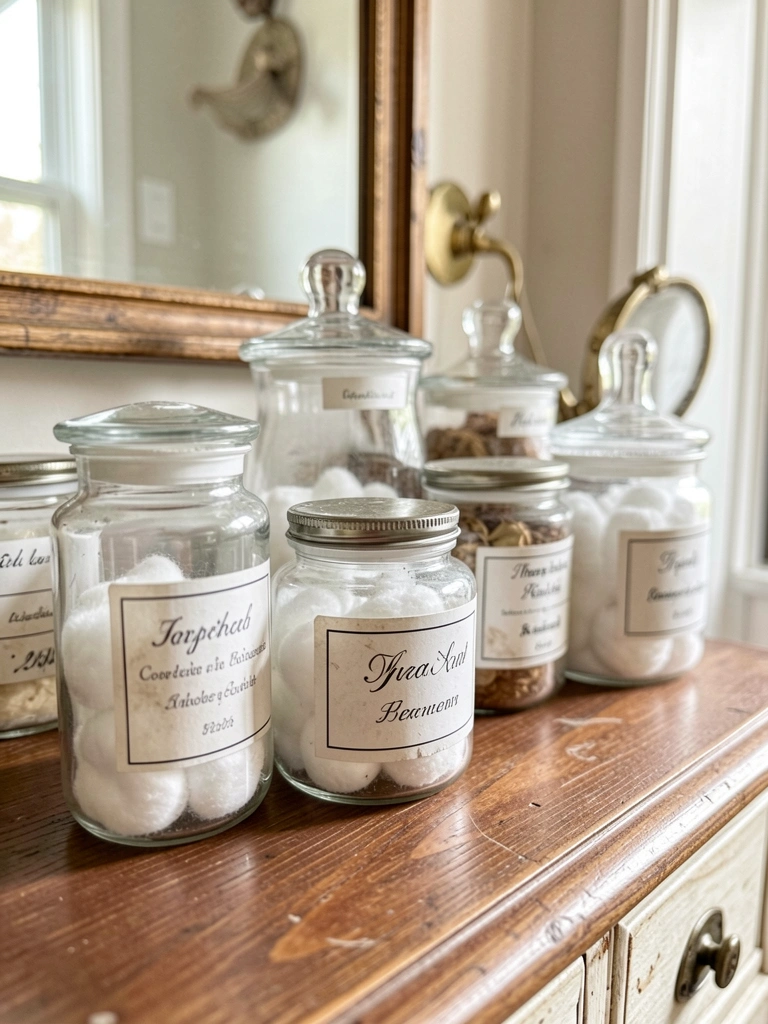
1. Vintage Apothecary Jars Lined Up for Cotton Balls
I lined three glass jars on my vanity last year. They held Q-tips and cotton pads, turning chaos into order. The room felt like a quiet apothecary, calm and collected.
Guests noticed right away – "This feels so intentional." Light hits the labels just right in morning sun.
I grabbed mismatched ones from thrift stores first. Big mistake – too tall, blocked the faucet. Stick to short, wide-mouth jars under 4 inches high.
Hunt estate sales or online for that worn patina. Fill halfway so they don't tip.
What You’ll Need for This Look
- Vintage glass apothecary jars 4-inch tall clear
- White cotton ball dispenser refill pack
- Matte black metal tray 10×6 inches
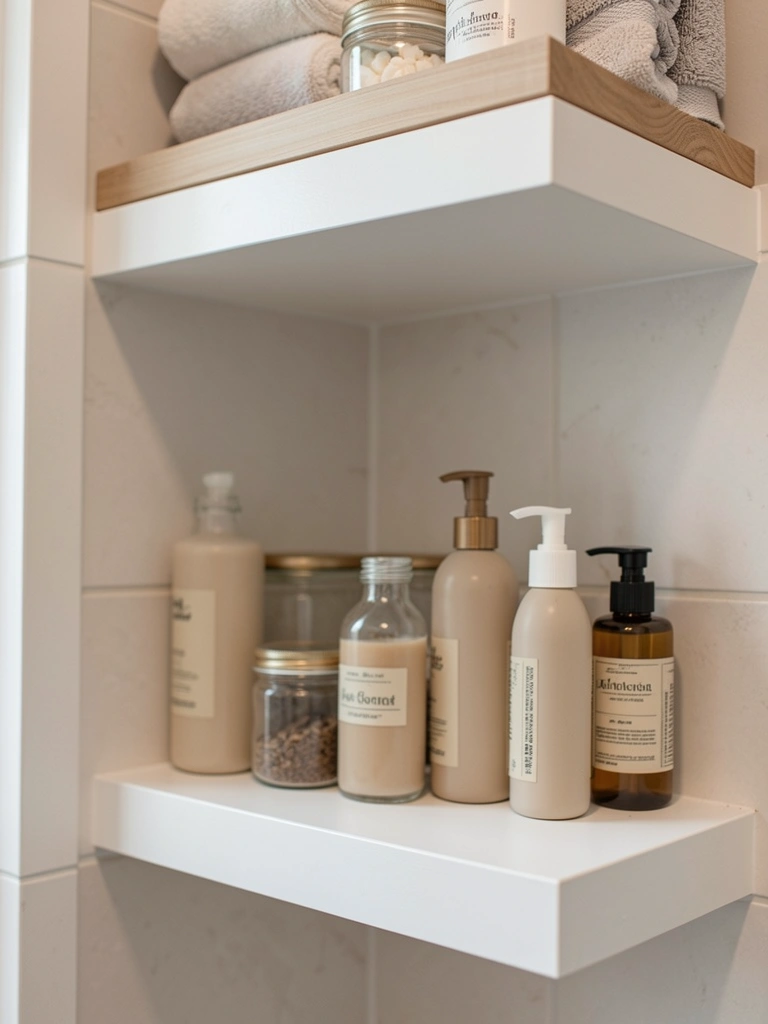
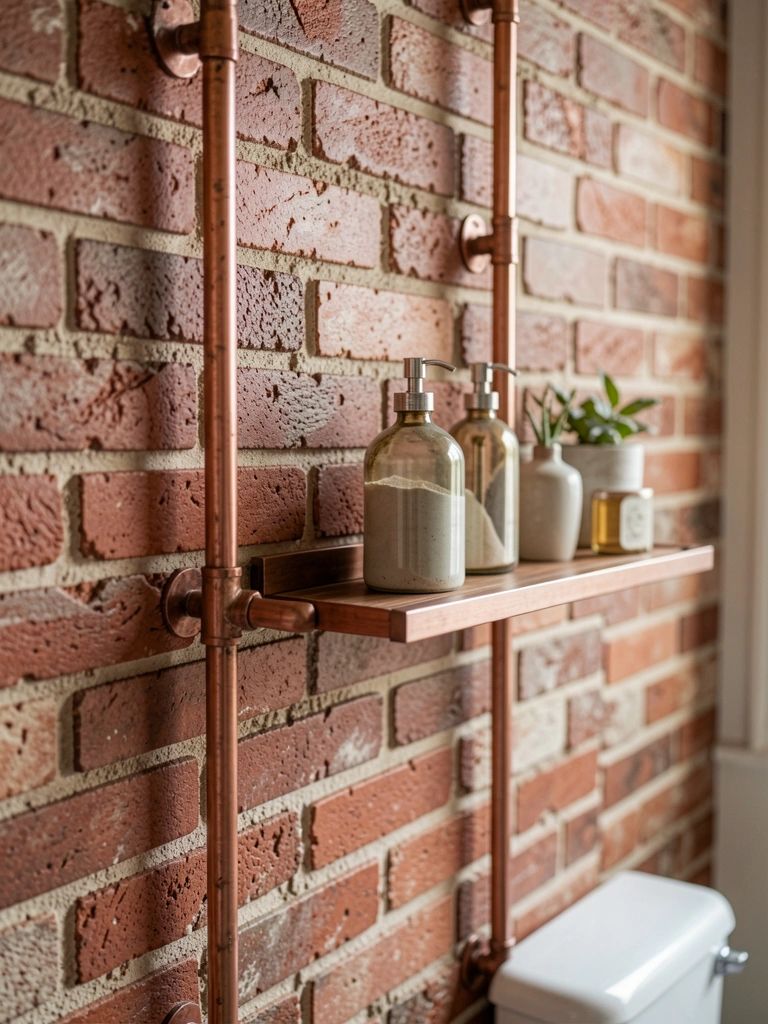
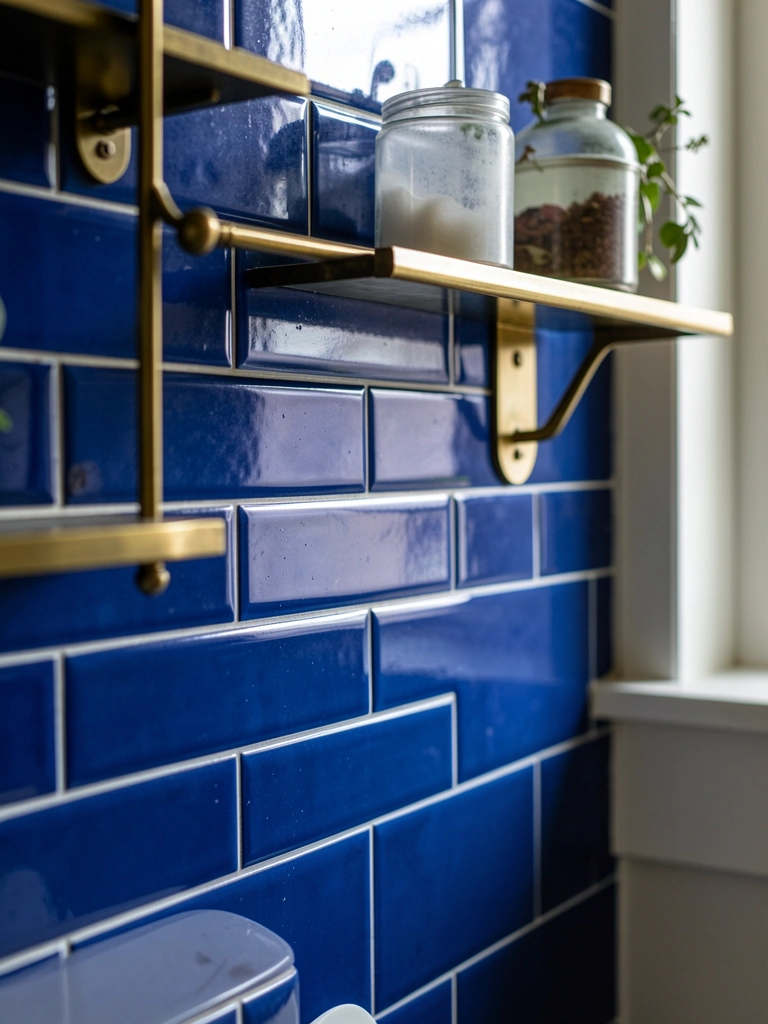
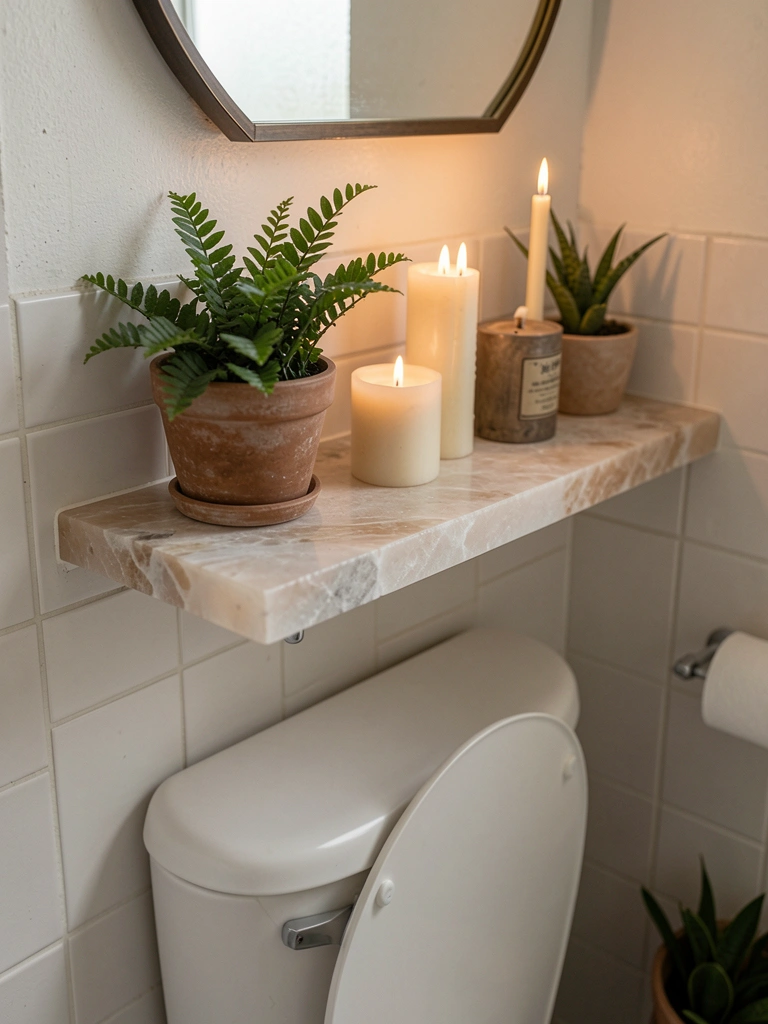
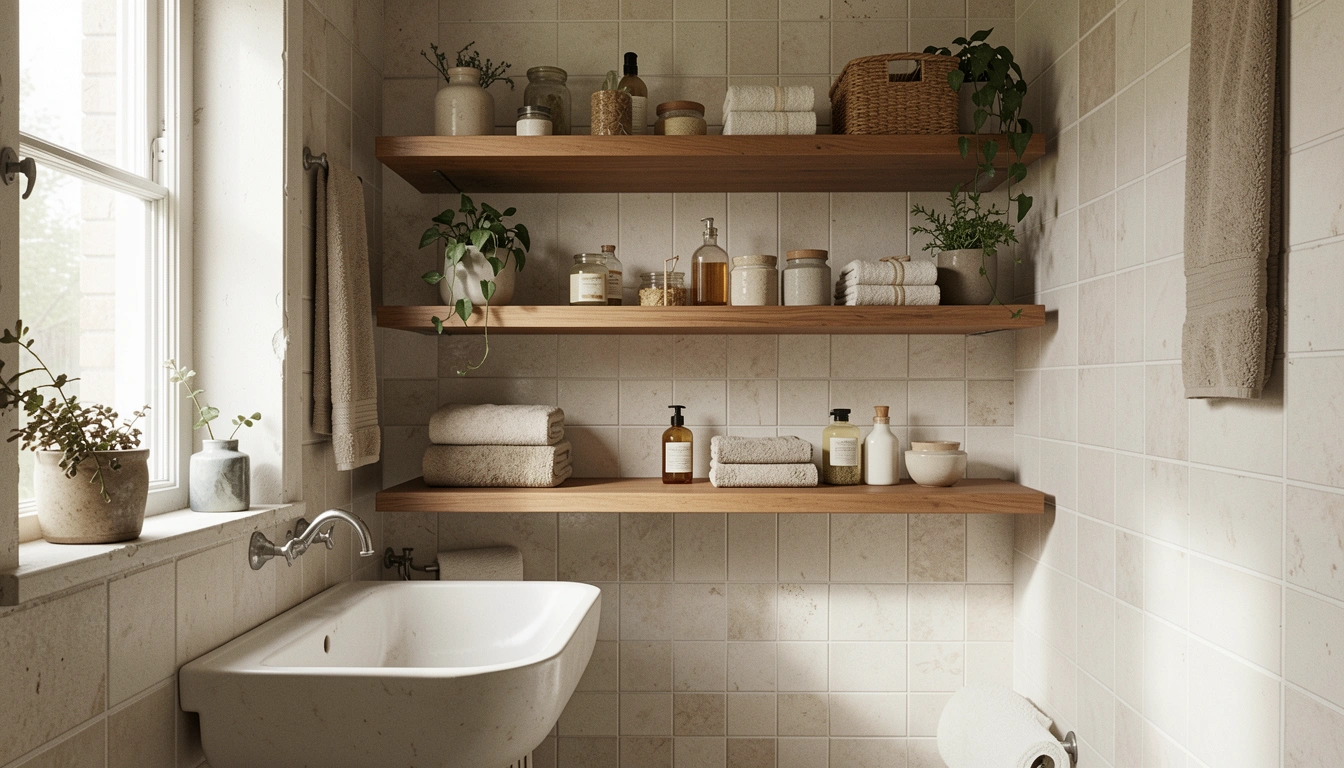
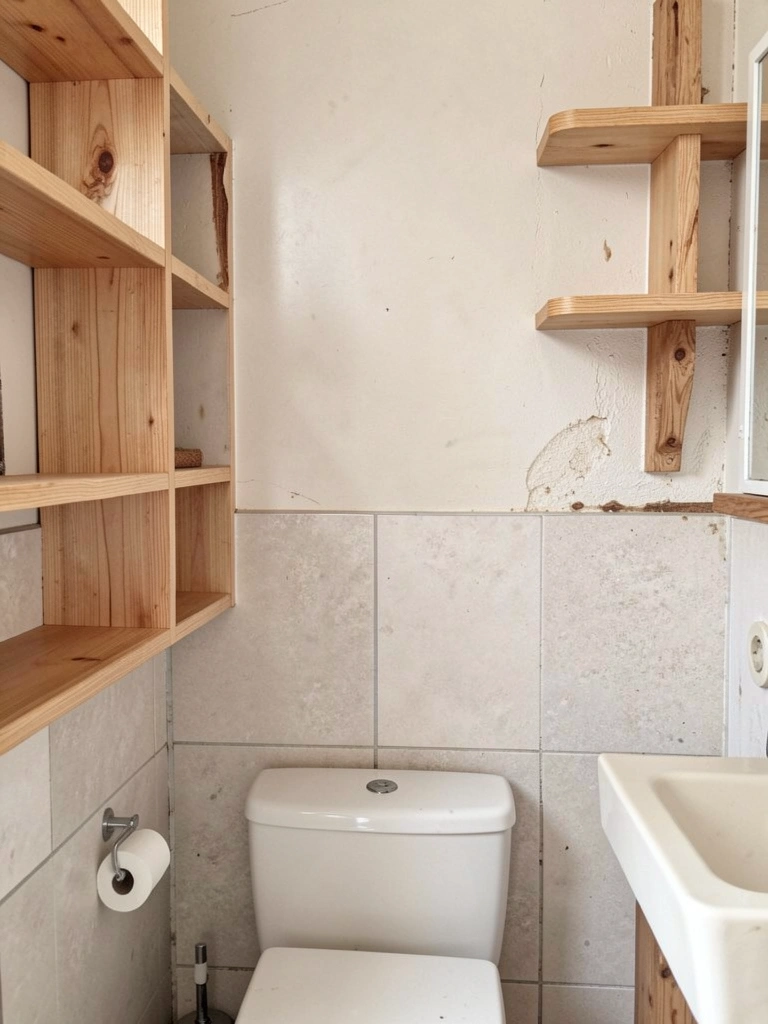
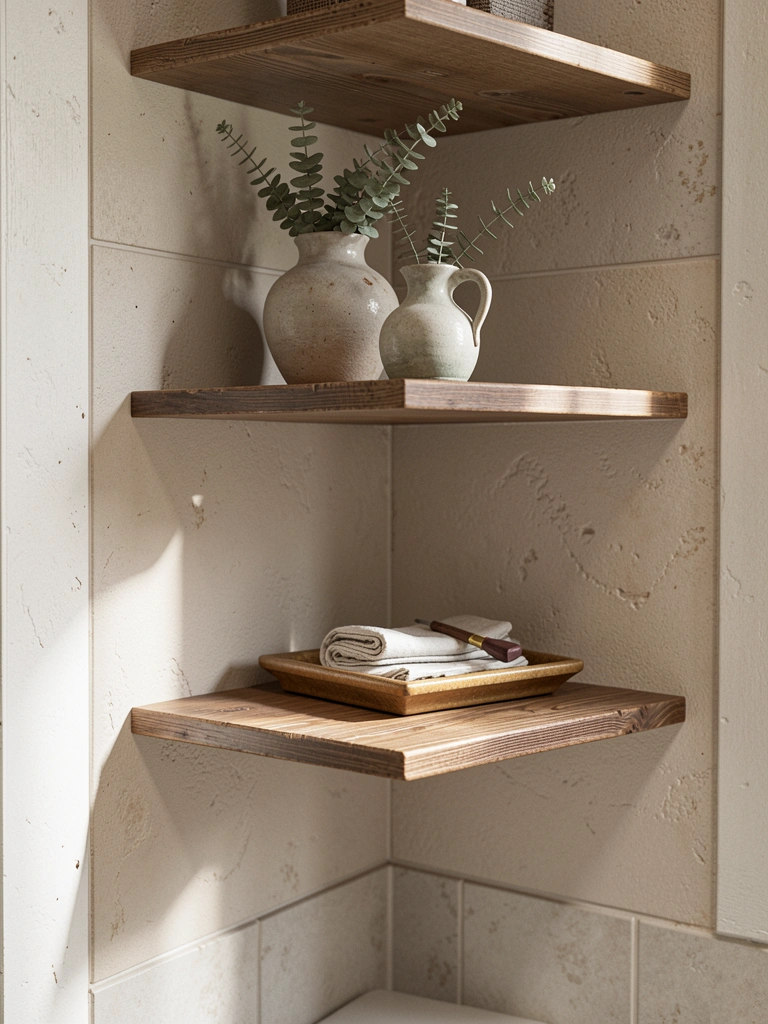
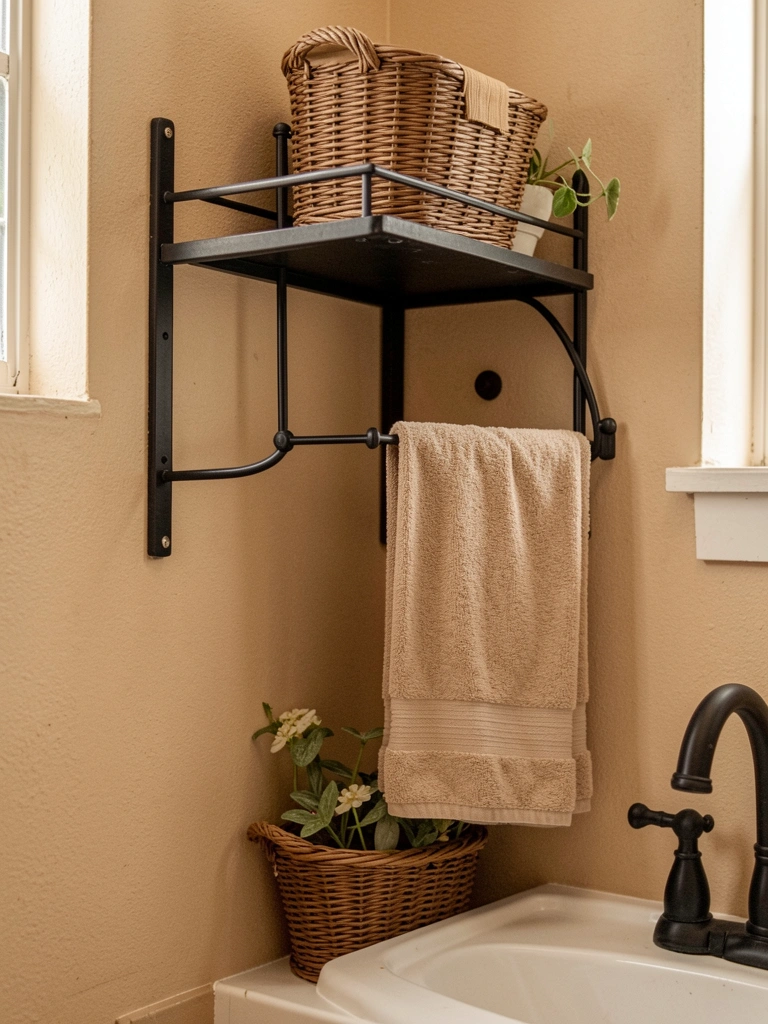
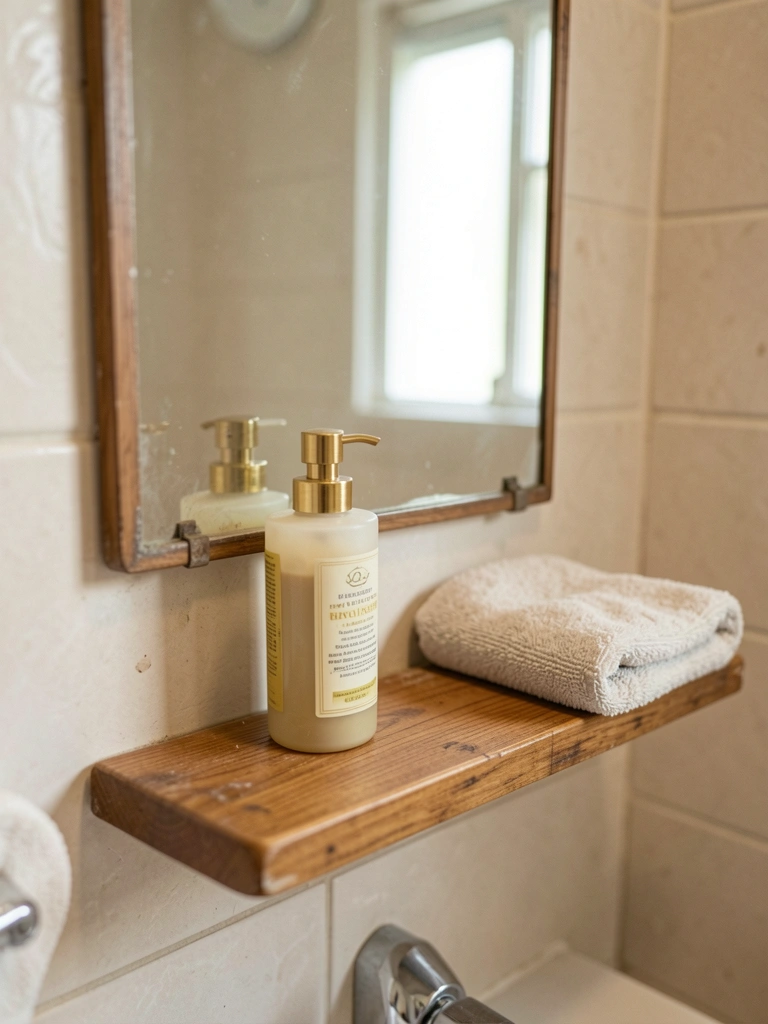
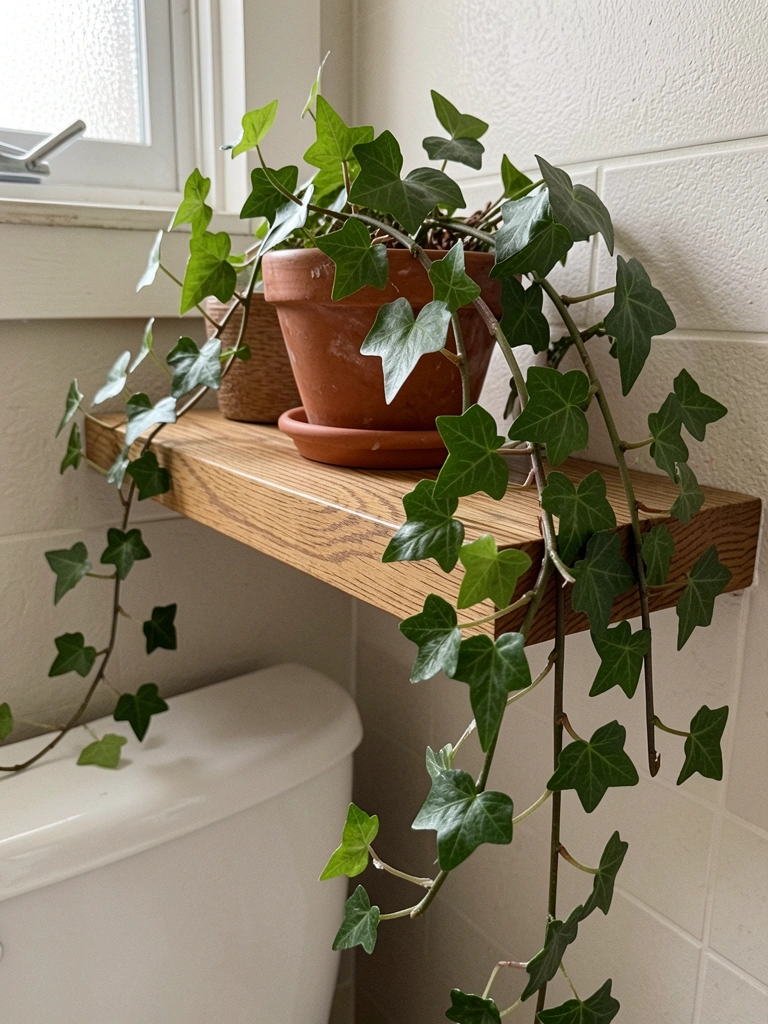
2. Floating Wooden Shelf Holding Trailing Ivy
A slim oak shelf over the toilet changed my powder room. I added a pothos cutting – green trails softened the hard lines. Space breathed now.
It pulls eyes up, makes the ceiling feel taller. I sit straighter in there somehow.
First try, I overloaded it with books. Shelf sagged. Lesson: one plant, two jars max, under 10 pounds.
Screw it 60 inches high. Water weekly from a spray bottle nearby.
What You’ll Need for This Look
- Floating oak wood shelf 24-inch long 5-inch deep
- Trailing pothos plant in 4-inch terracotta pot
- Brass shelf brackets pair small
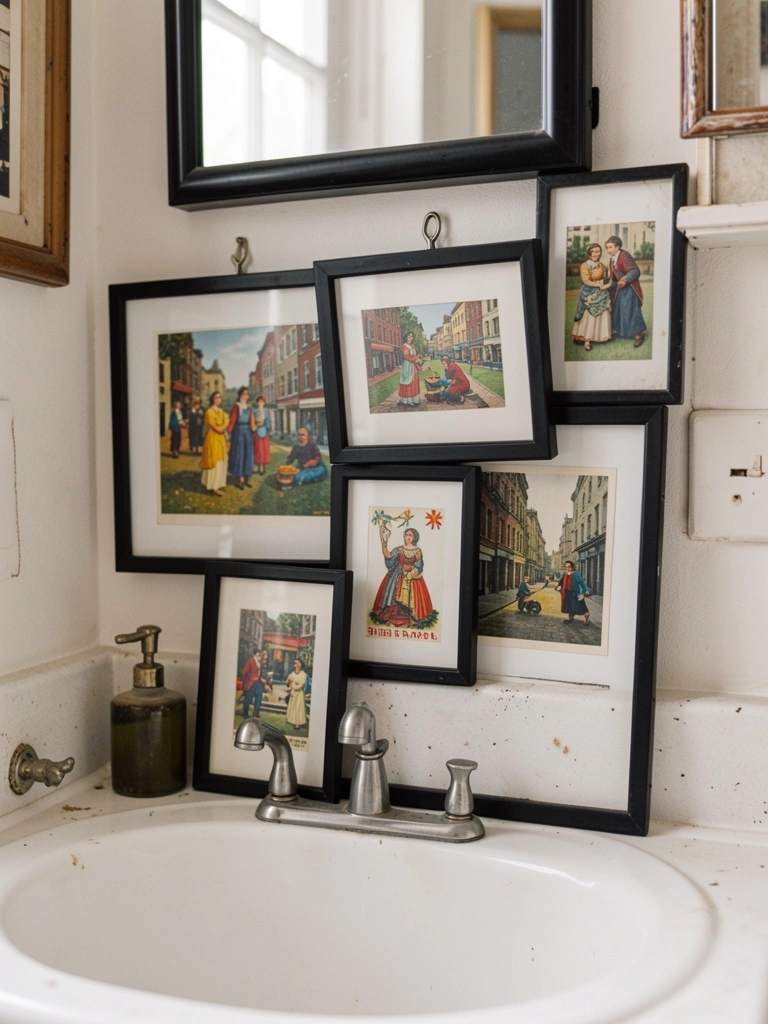
3. Framed Vintage Postcards in a Tight Cluster
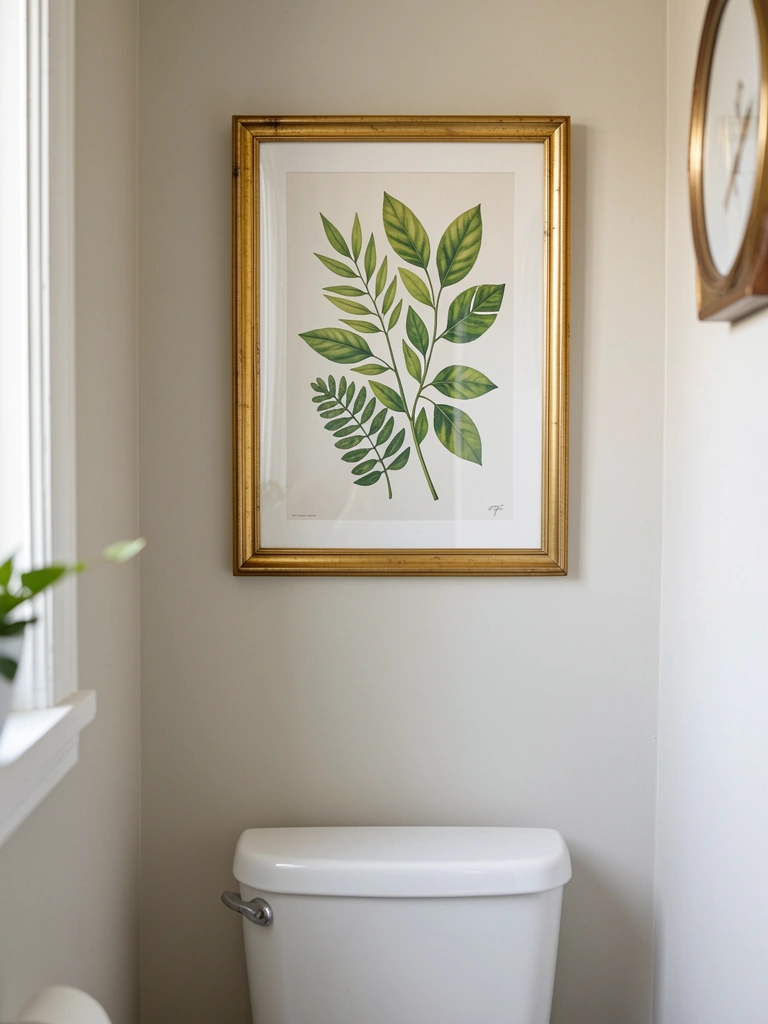
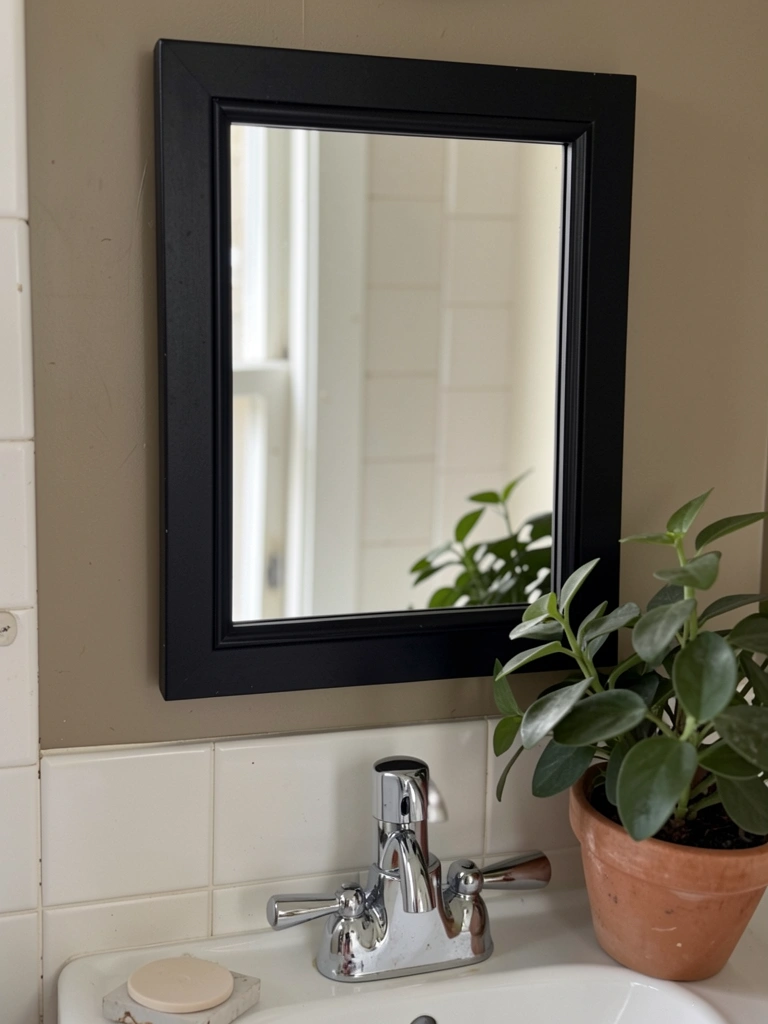
I pinned old travel postcards in cheap black frames above the sink. Four made a mini gallery – Paris cafes, Italian hills. Room got stories.
Colors pop against white tile. Feels personal, like peeking into my trips.
Cheap frames bowed once. Go rigid, lightweight under 8×10 inches.
Eye level at 58 inches. Dust monthly with a soft cloth.
What You’ll Need for This Look
- Black metal picture frames 5×7 inches set of 4
- Vintage postcard prints travel themed pack
- Double-sided mounting tape heavy duty
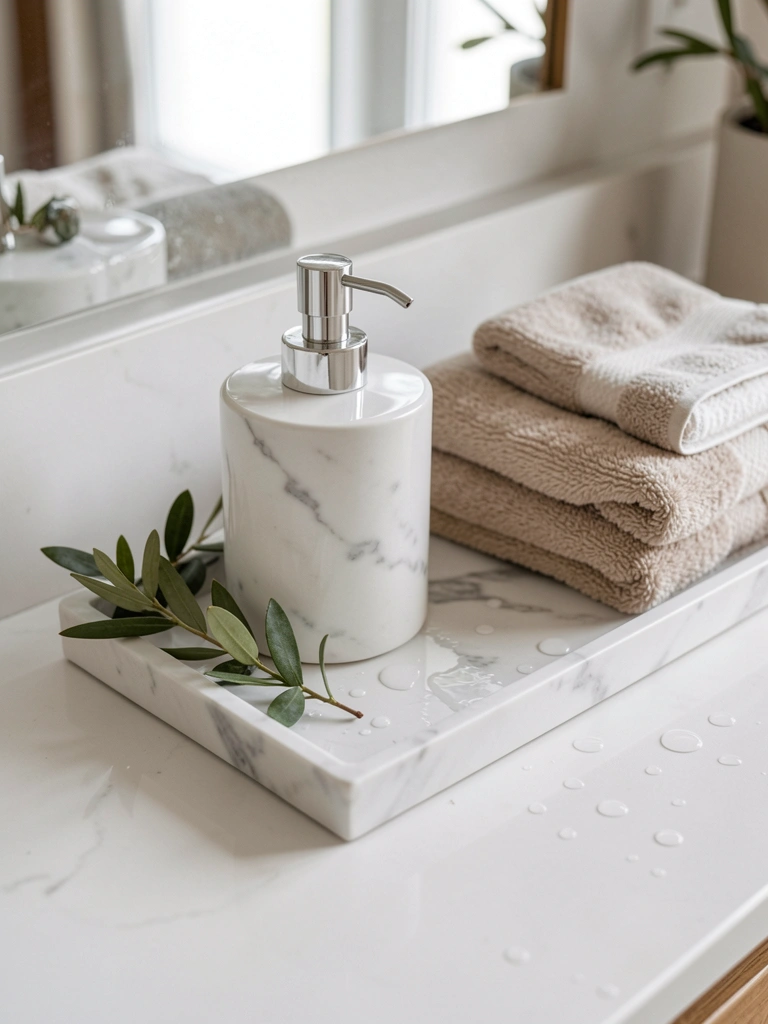
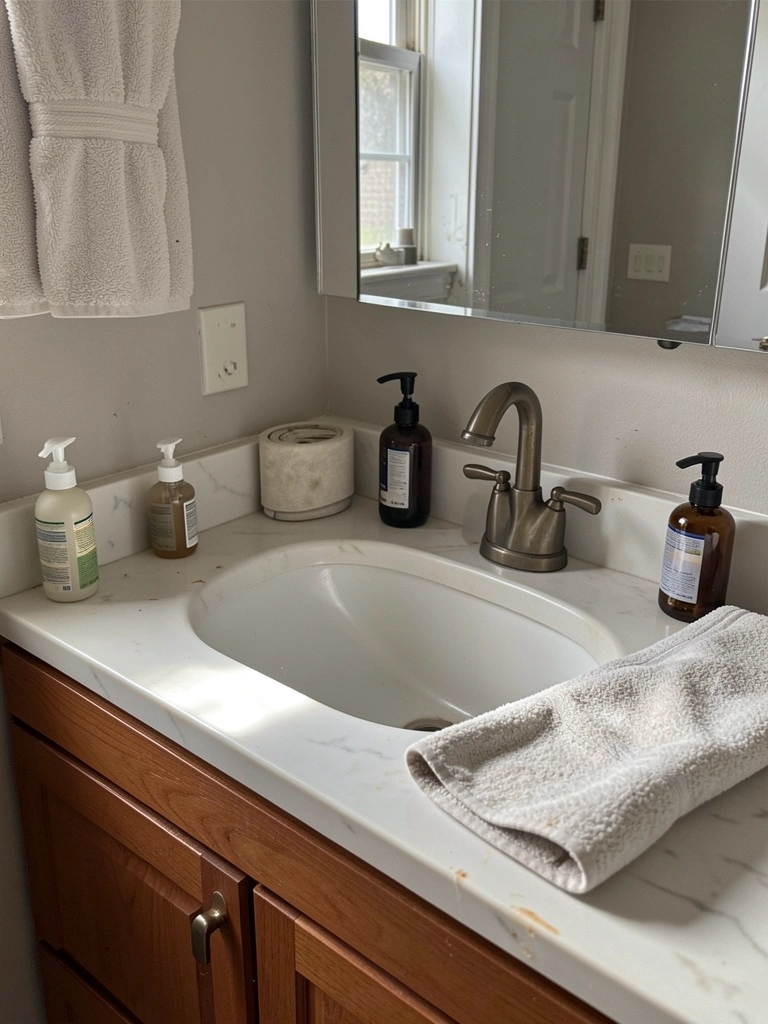
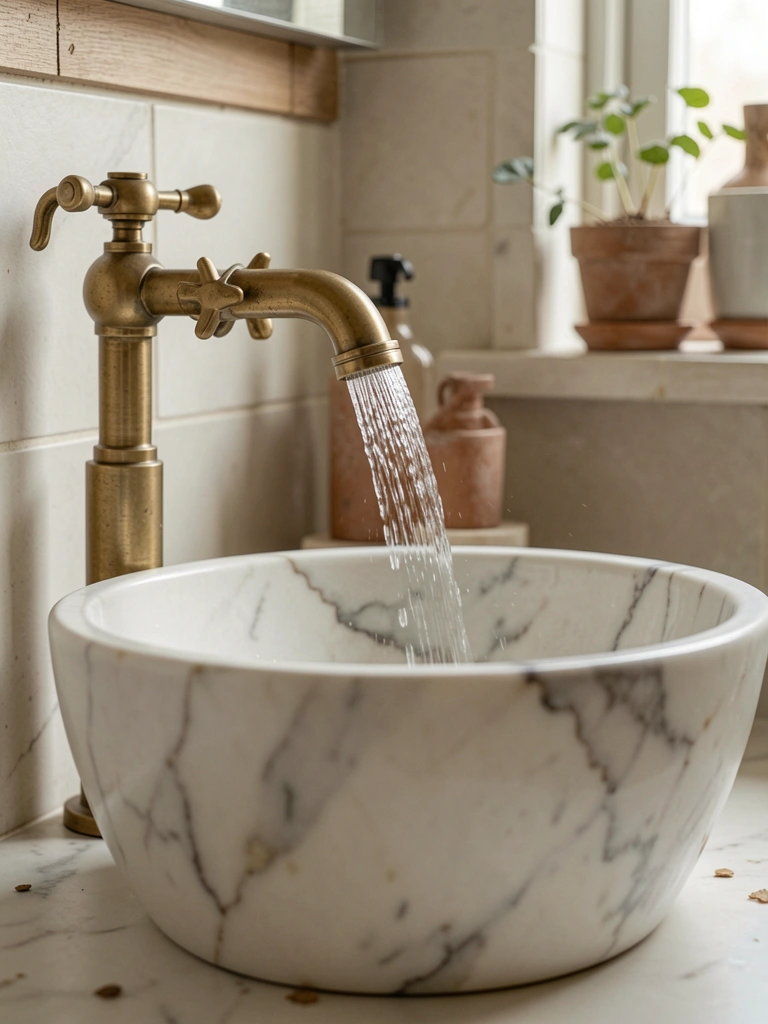
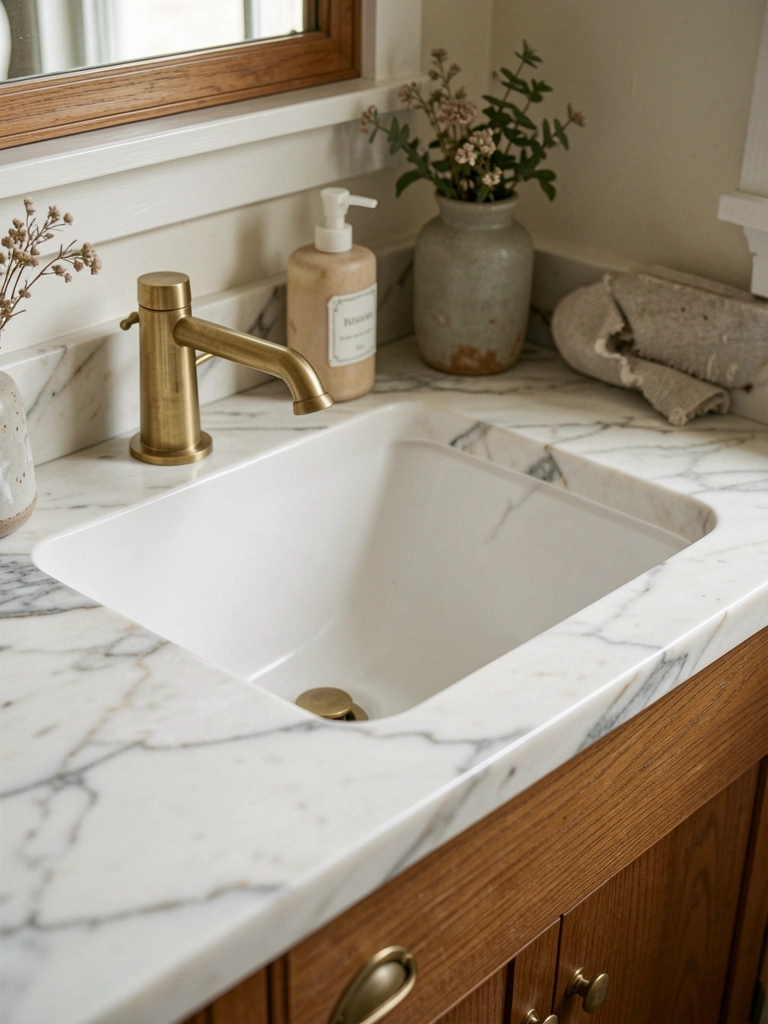
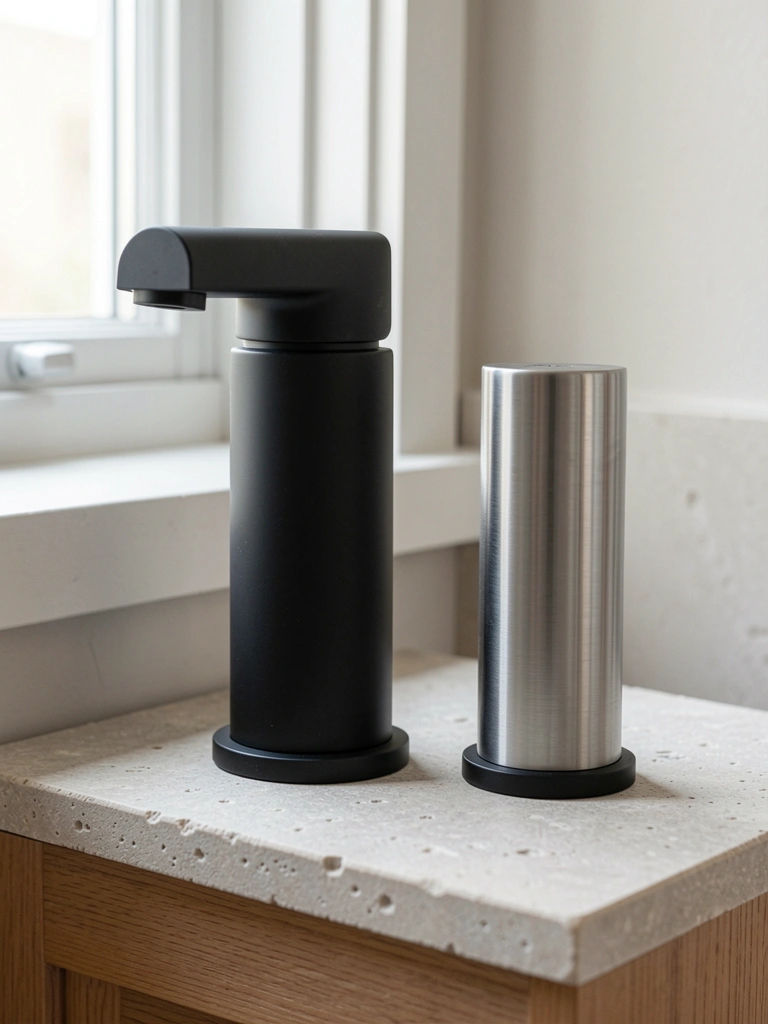
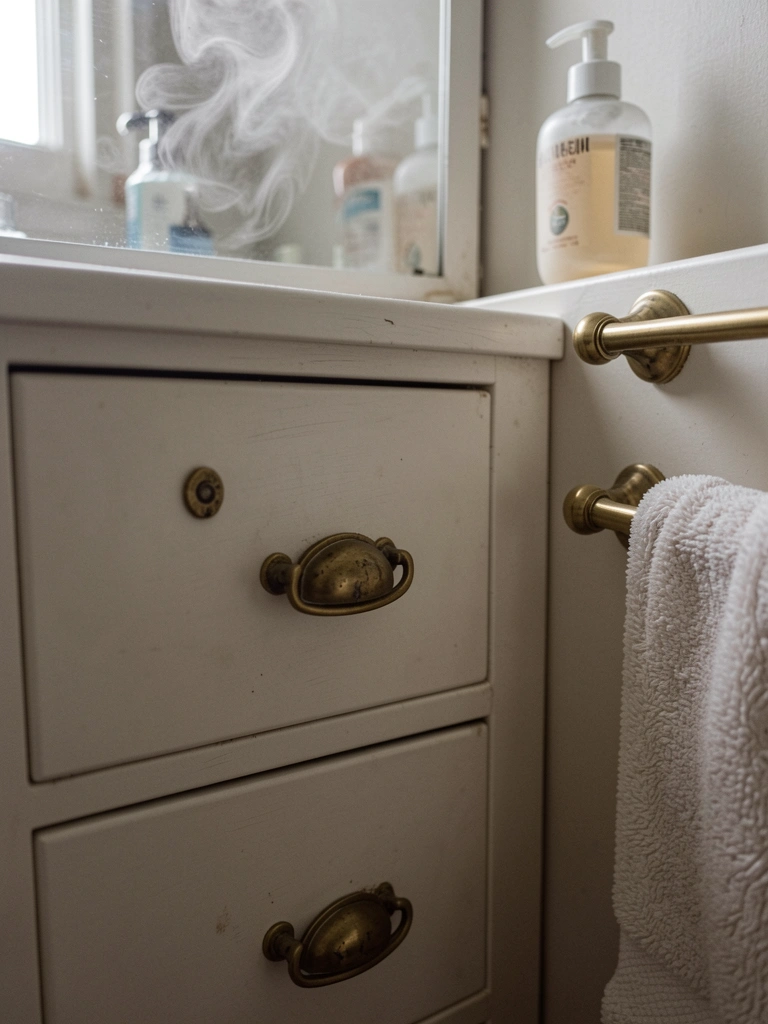
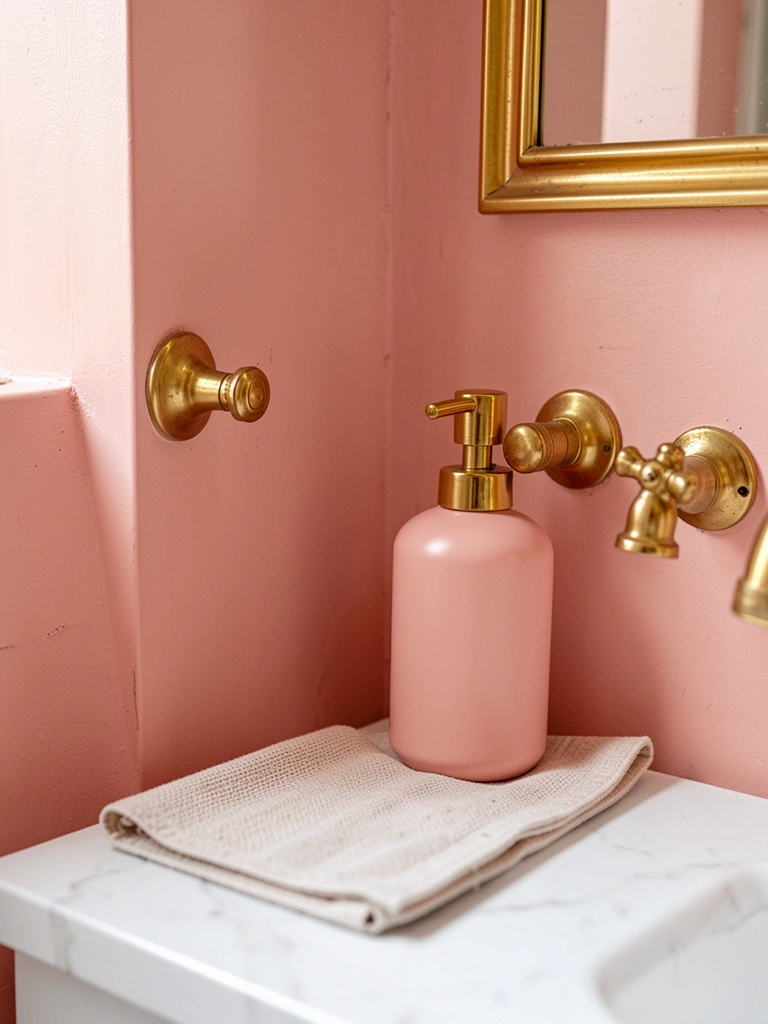
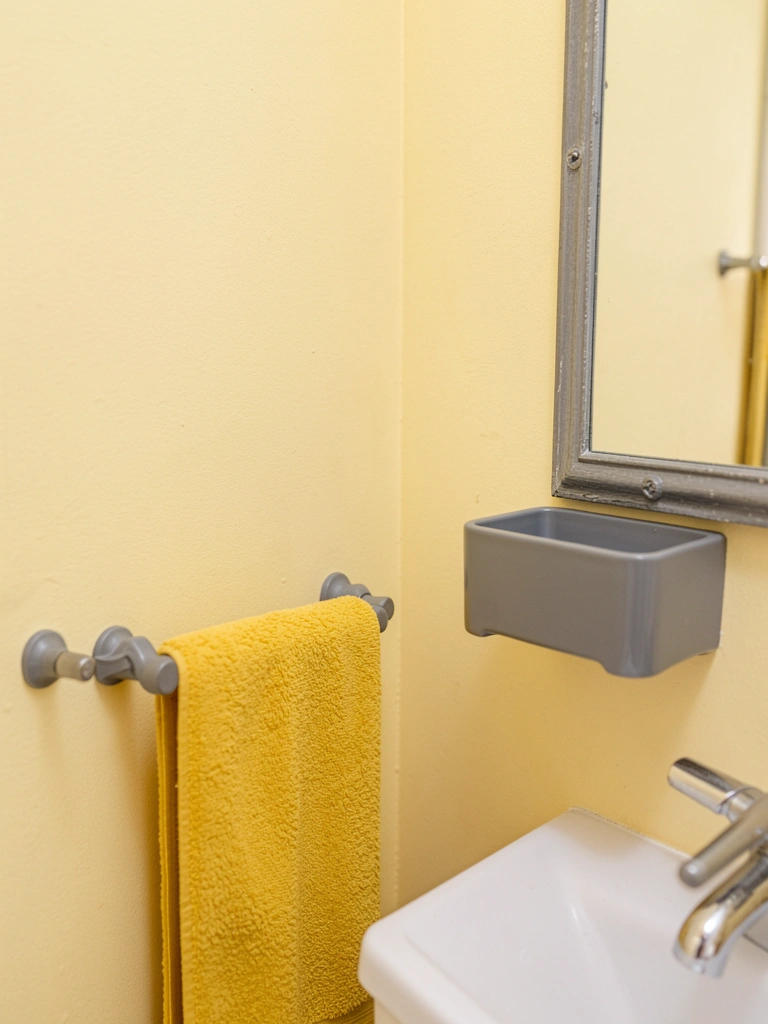
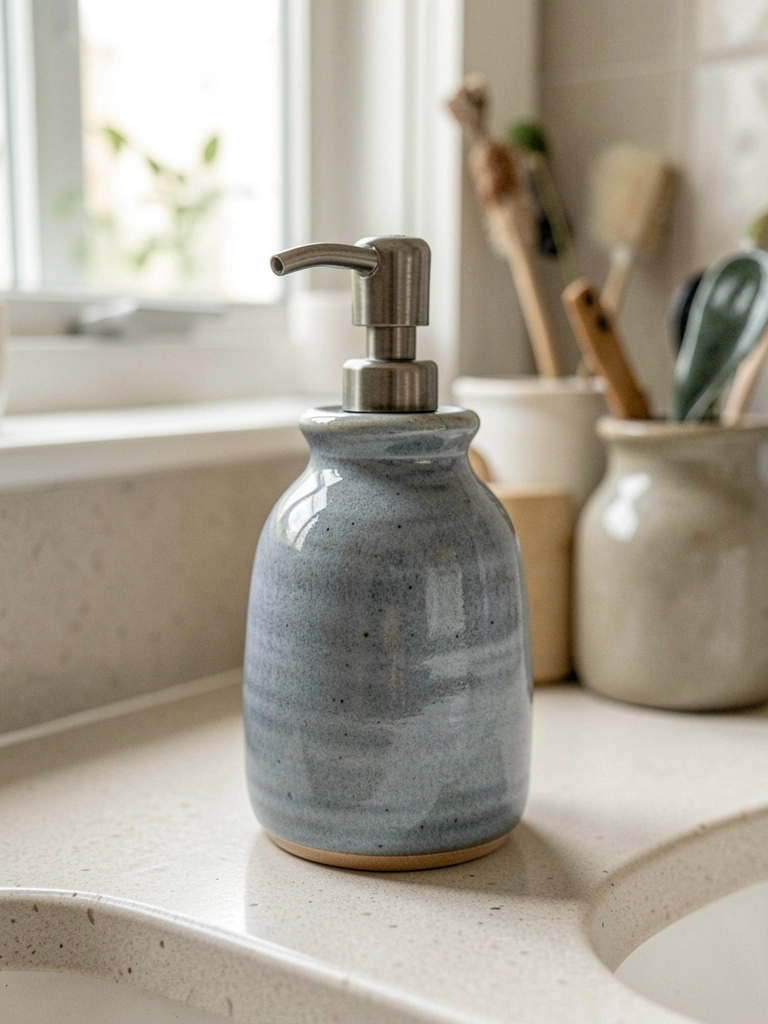
4. Handmade Ceramic Soap Dispenser with Subtle Glaze
My blue-gray dispenser sits heavy on the counter. Foamy soap flows easy, no spills. Clay texture warms cold porcelain sink.
It quiets the rush – hands linger under water.
Bought glossy first; soap slipped off. Matte grips better.
Refill bulk castile. Wipe rim daily.
What You’ll Need for This Look
- Handmade ceramic soap dispenser 8-inch tall matte blue-gray
- Liquid castile soap unscented 16 oz pump
- Small pebble tray for base 6-inch round
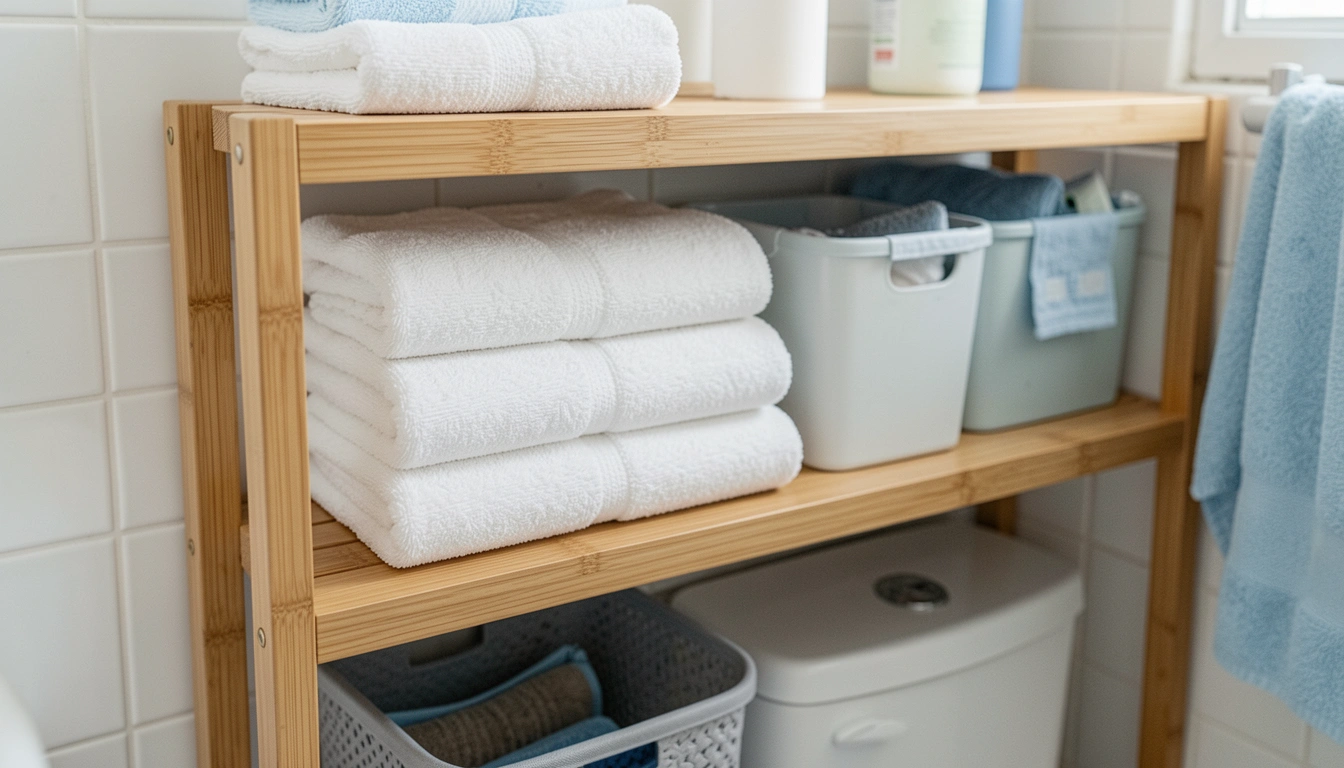
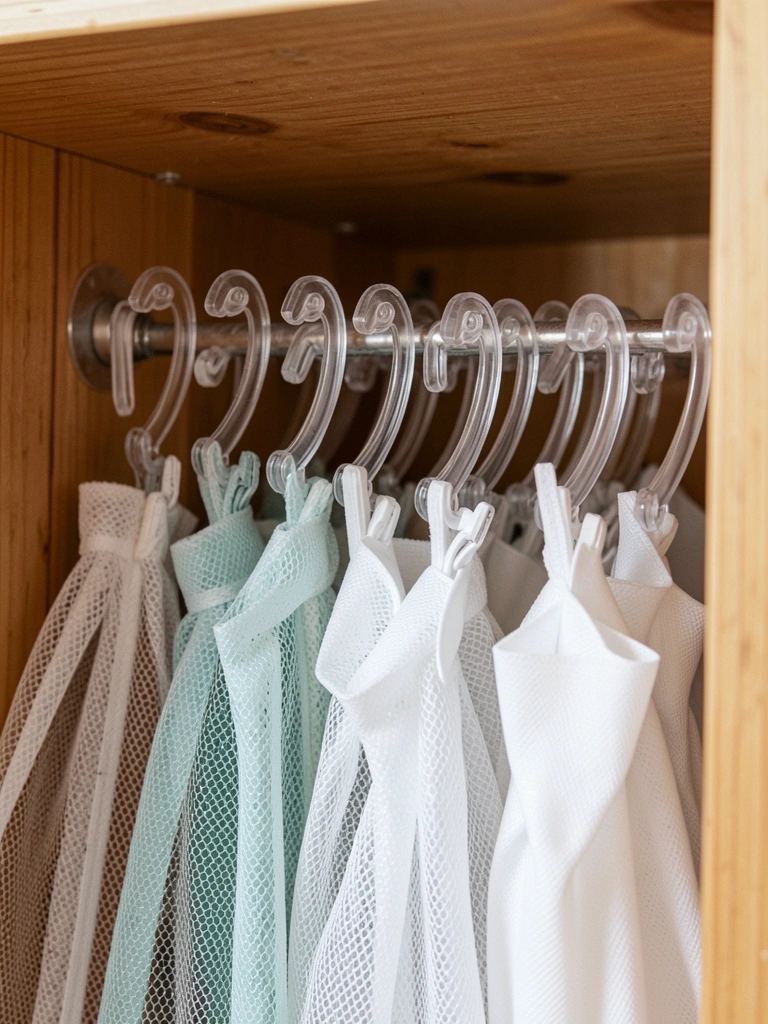
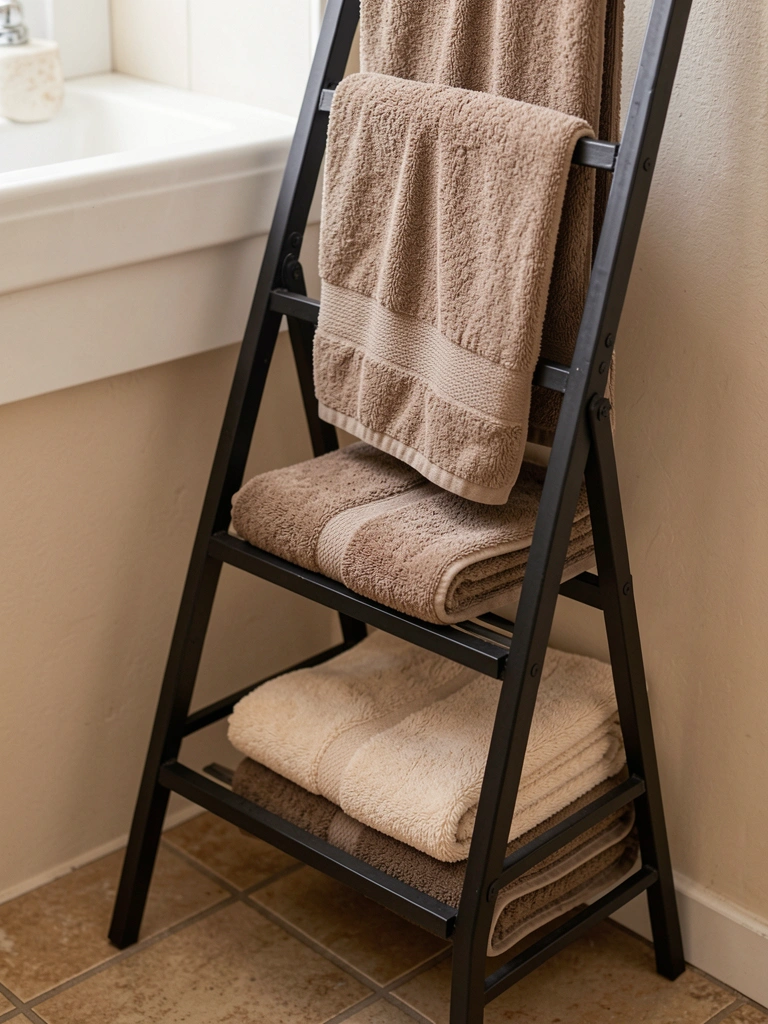
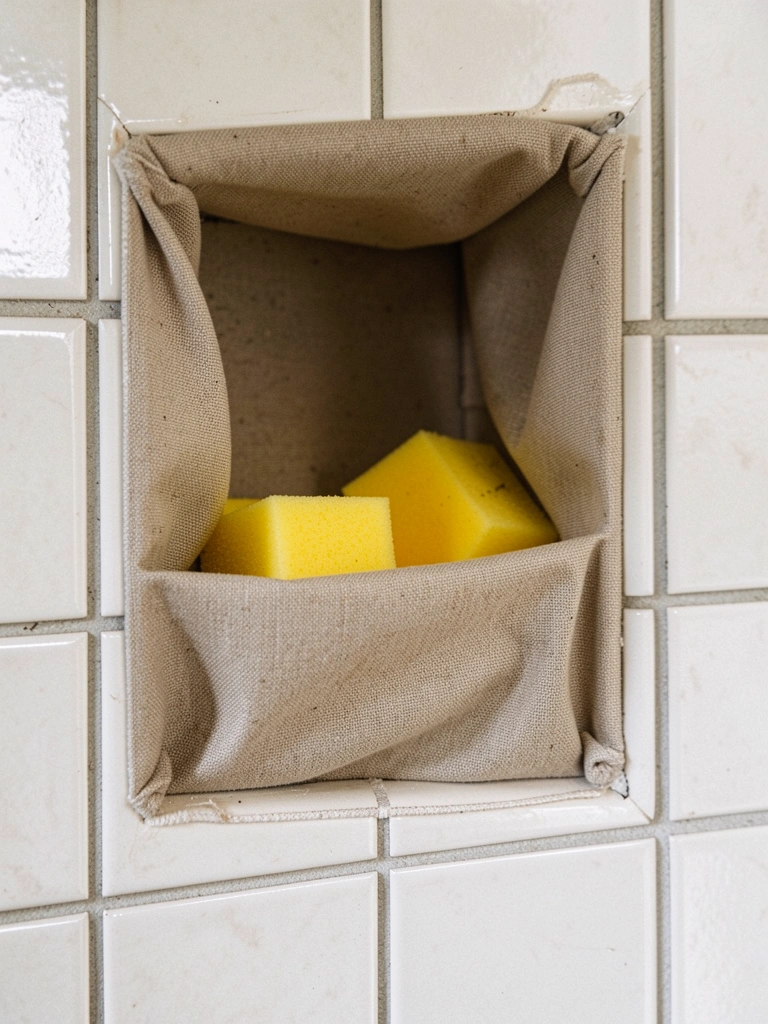
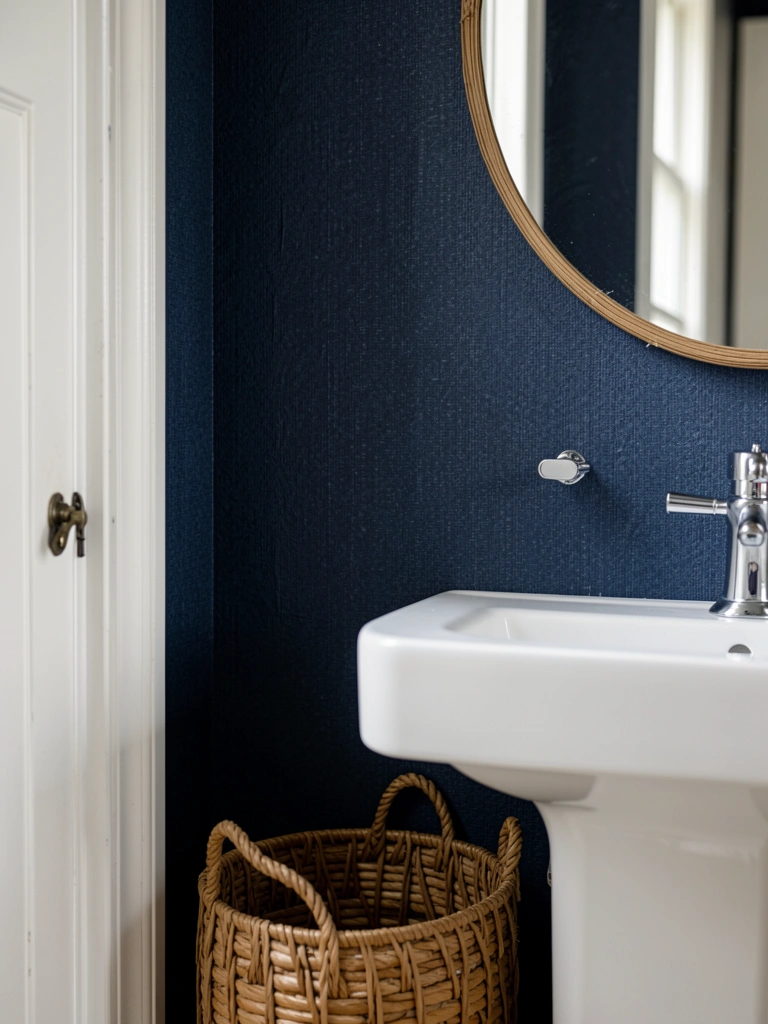
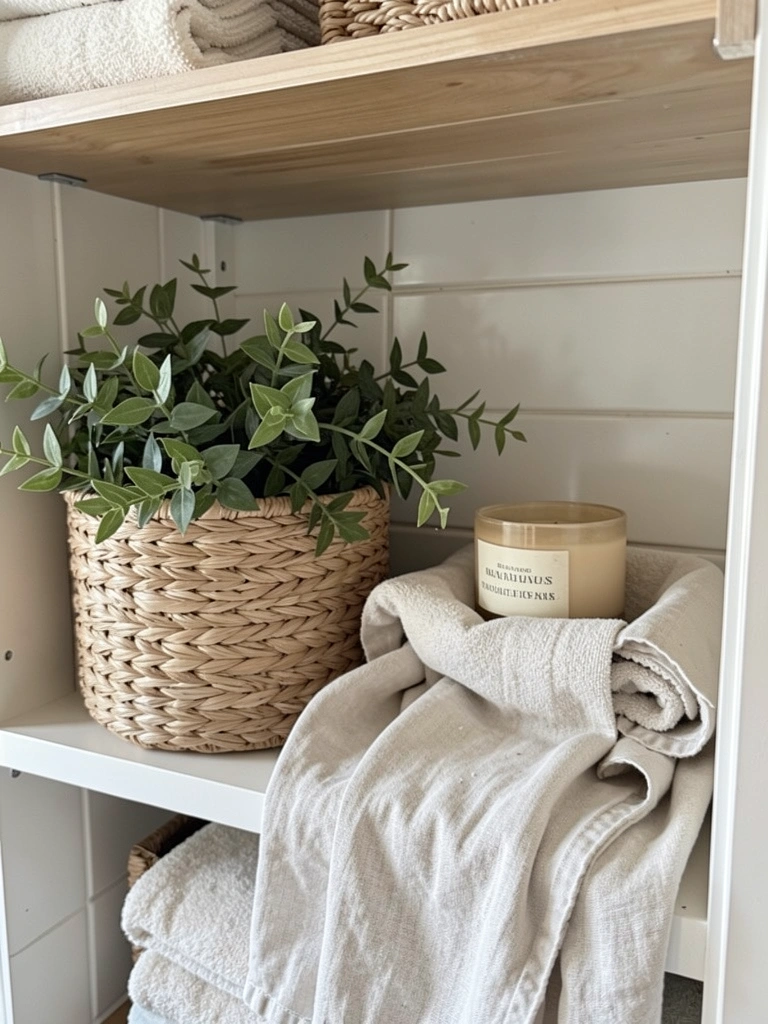
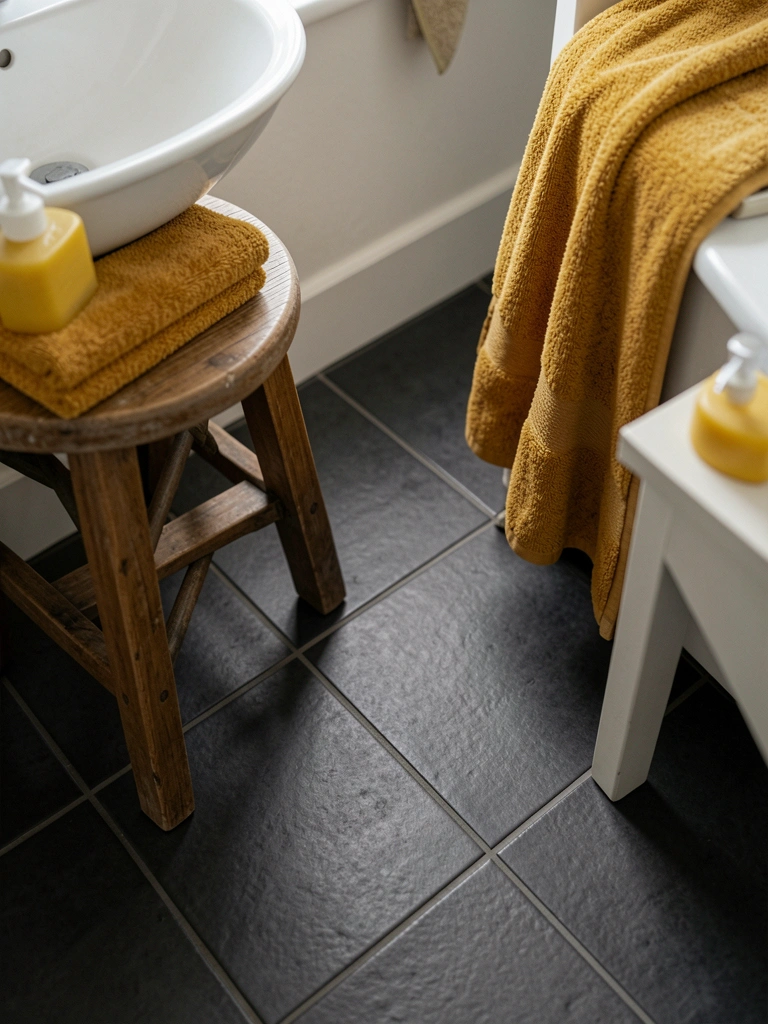
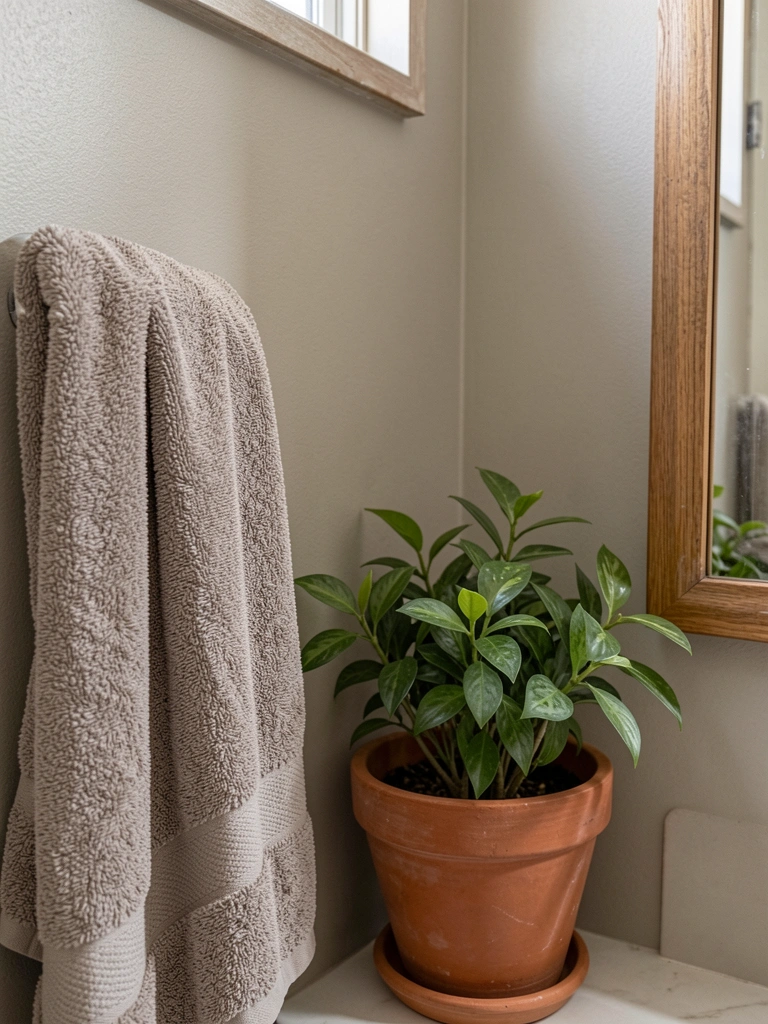
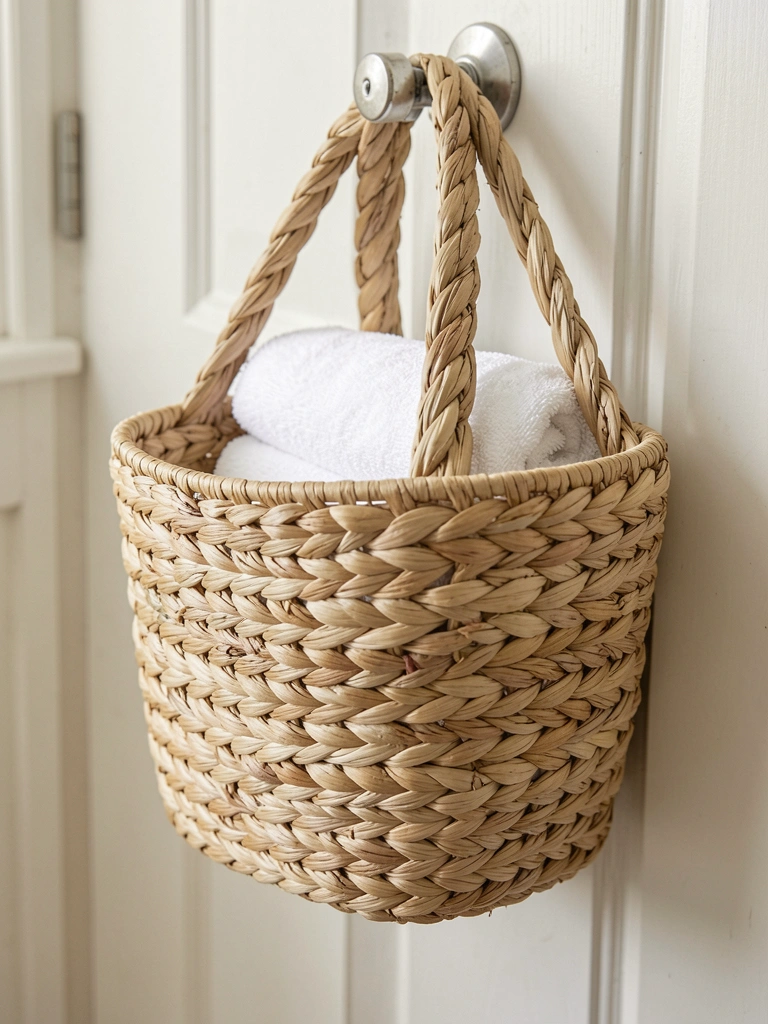
5. Woven Seagrass Basket Hanging by Door
I hooked a small seagrass basket near the door for extra towels. Natural fibers blend with wood vanity. Feels beachy, grounded.
Towels stay dry, grab-and-go. No more sink pileup.
Oversized one swung into guests once. Size down to 12-inch diameter.
Nail hook at 50 inches. Line with linen.
What You’ll Need for This Look
- Woven seagrass wall basket 12-inch diameter natural
- Cotton hand towels white set of 3
- Brass wall hook single sturdy
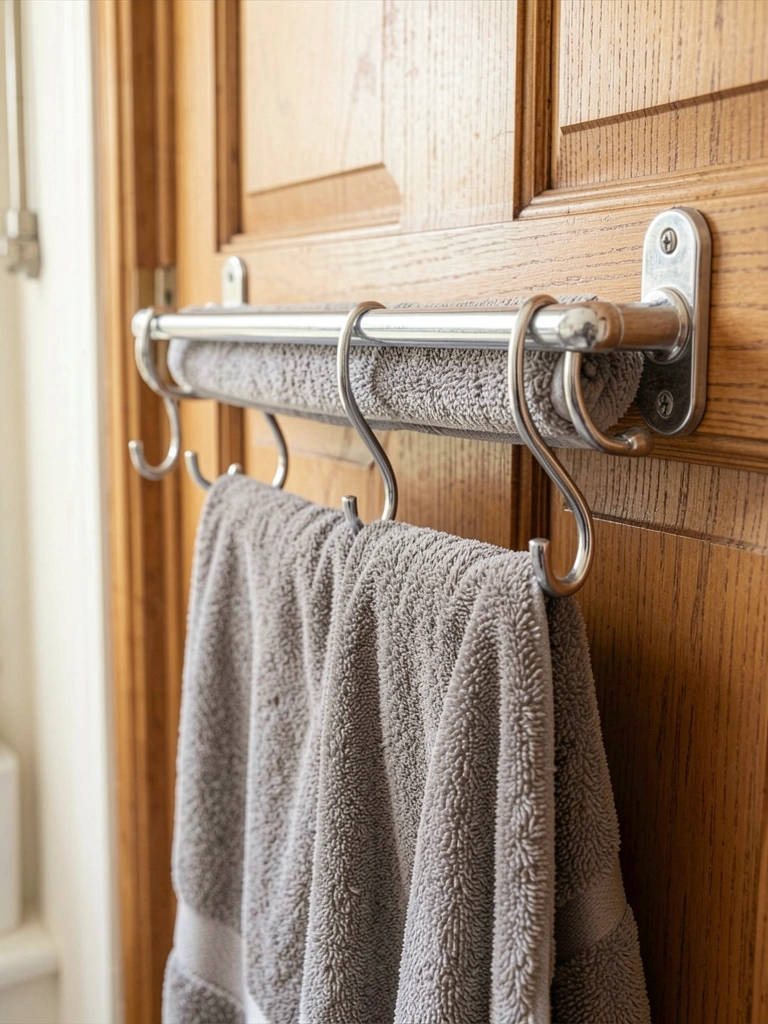
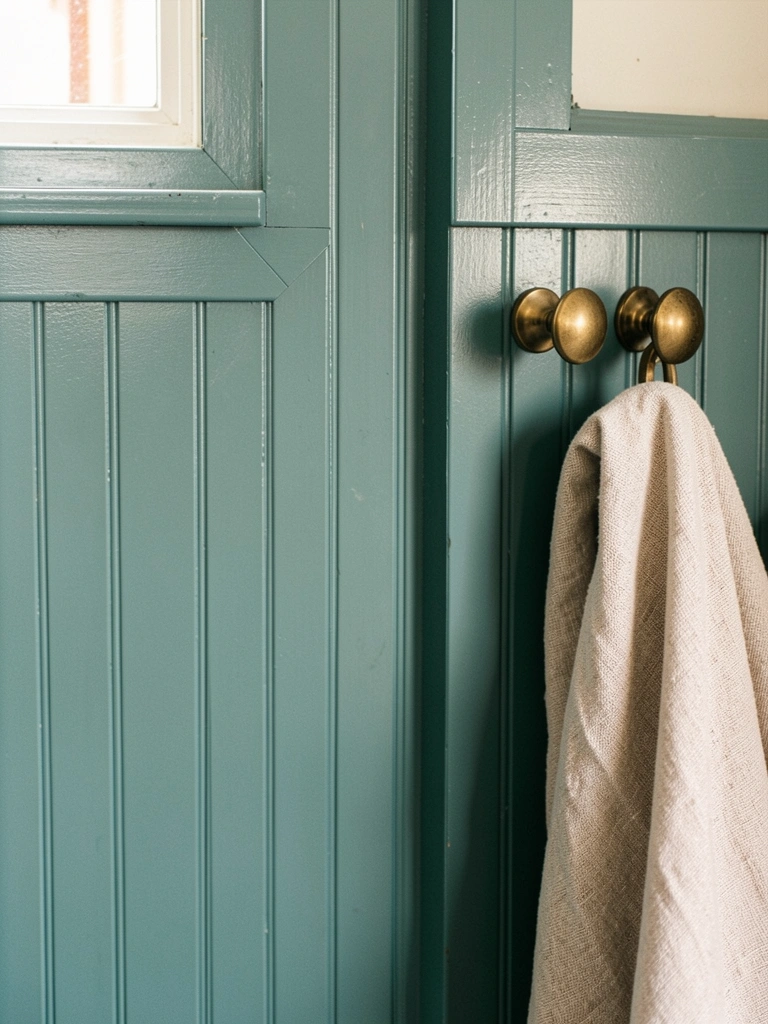
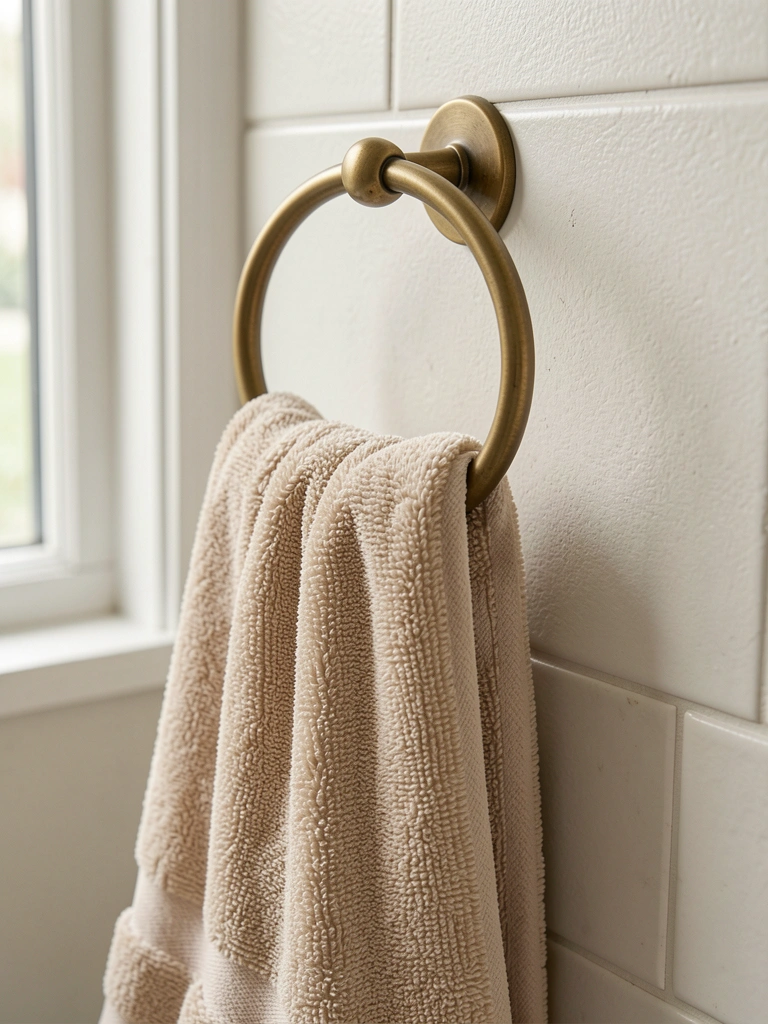
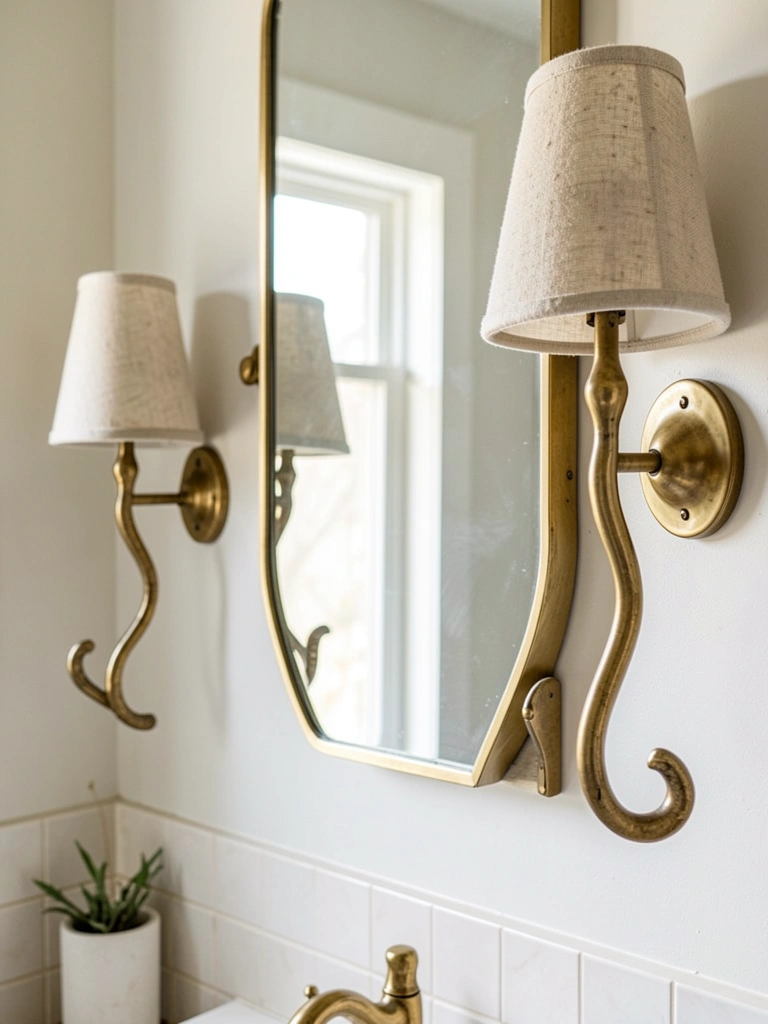
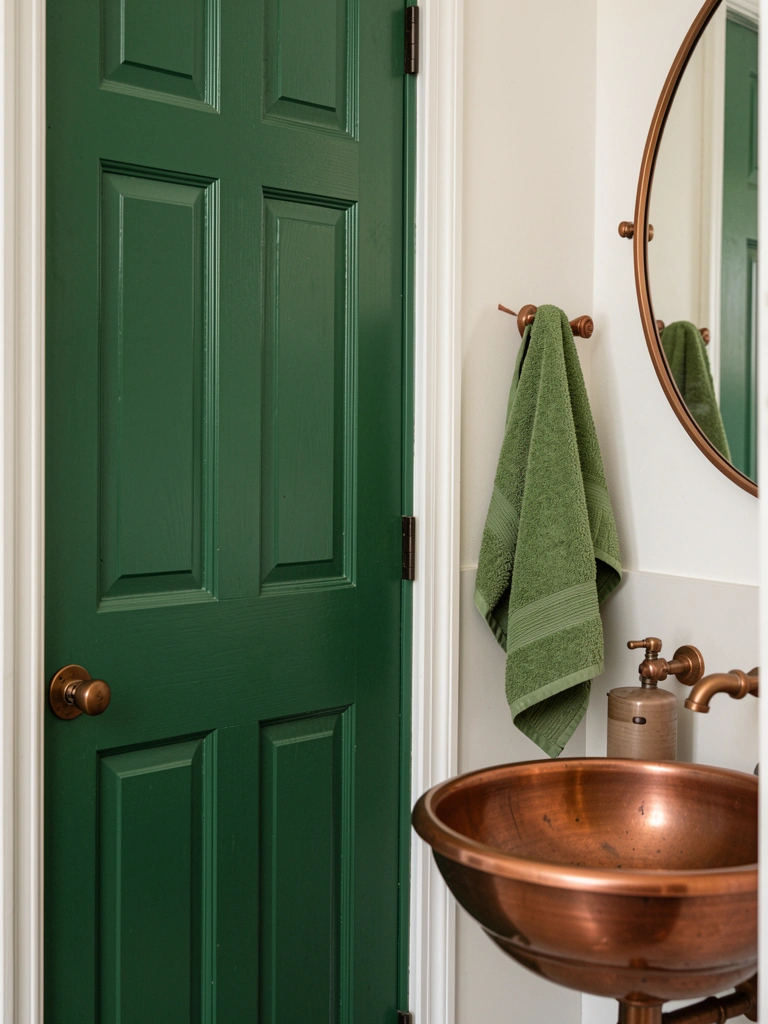
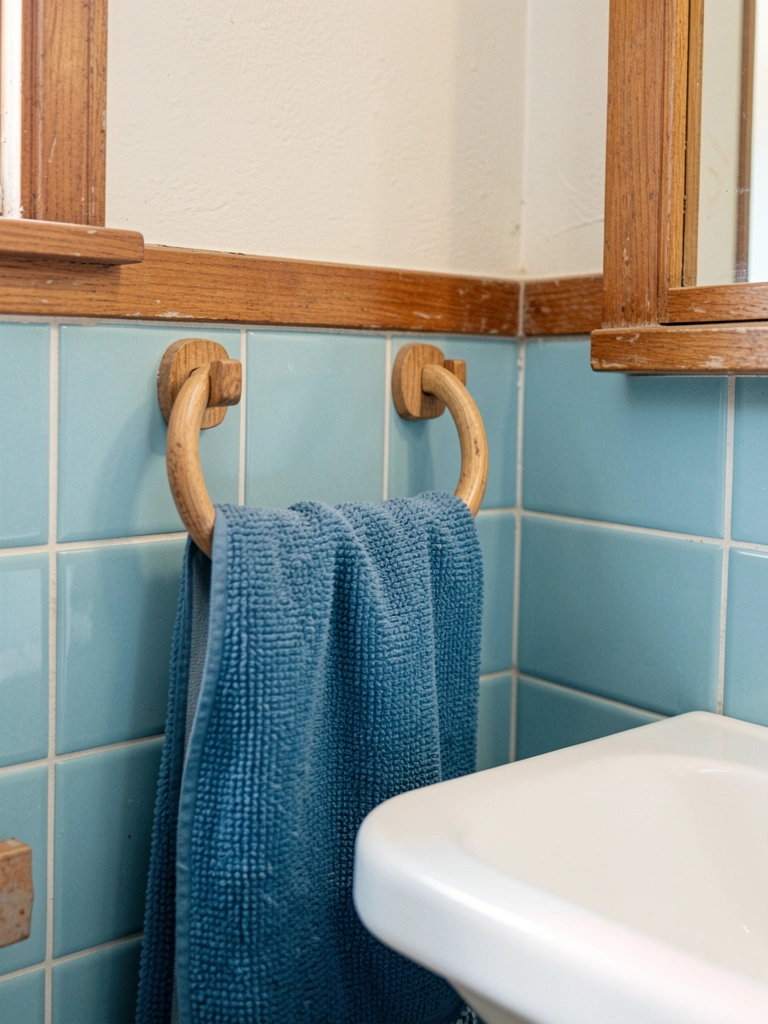
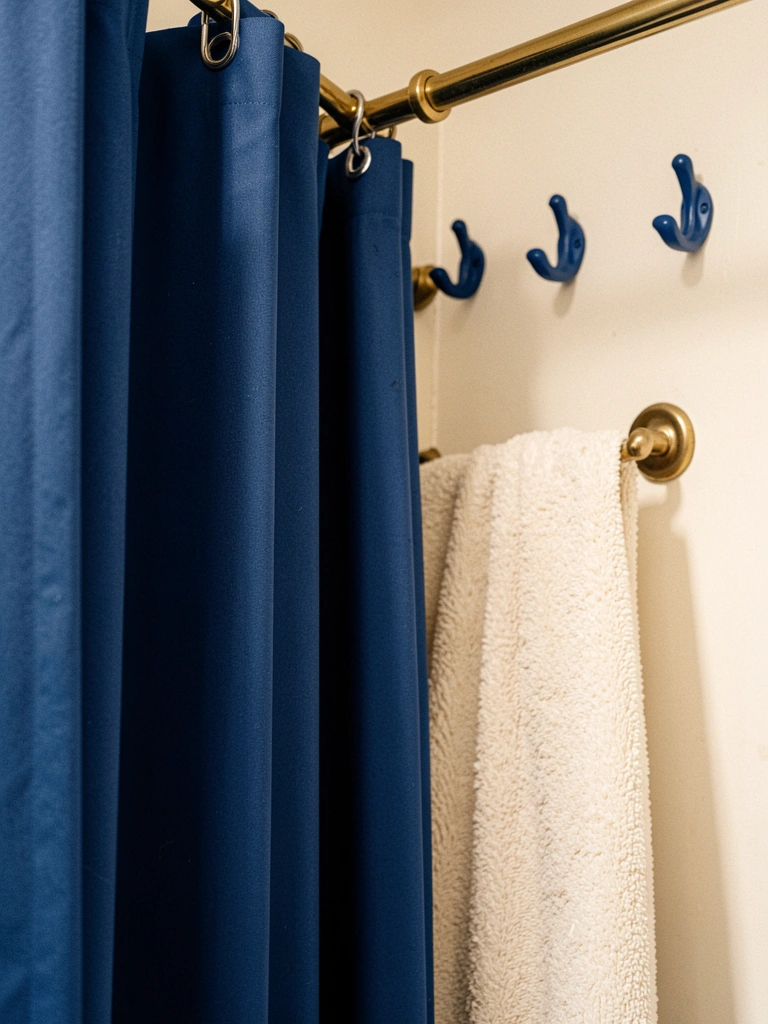
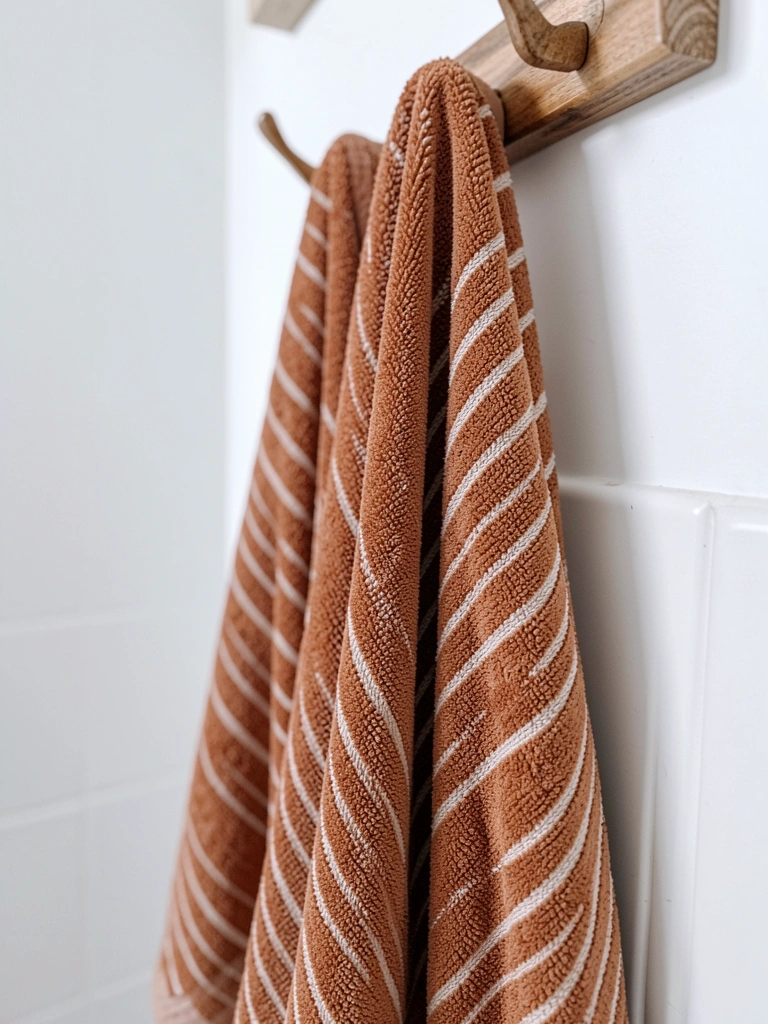
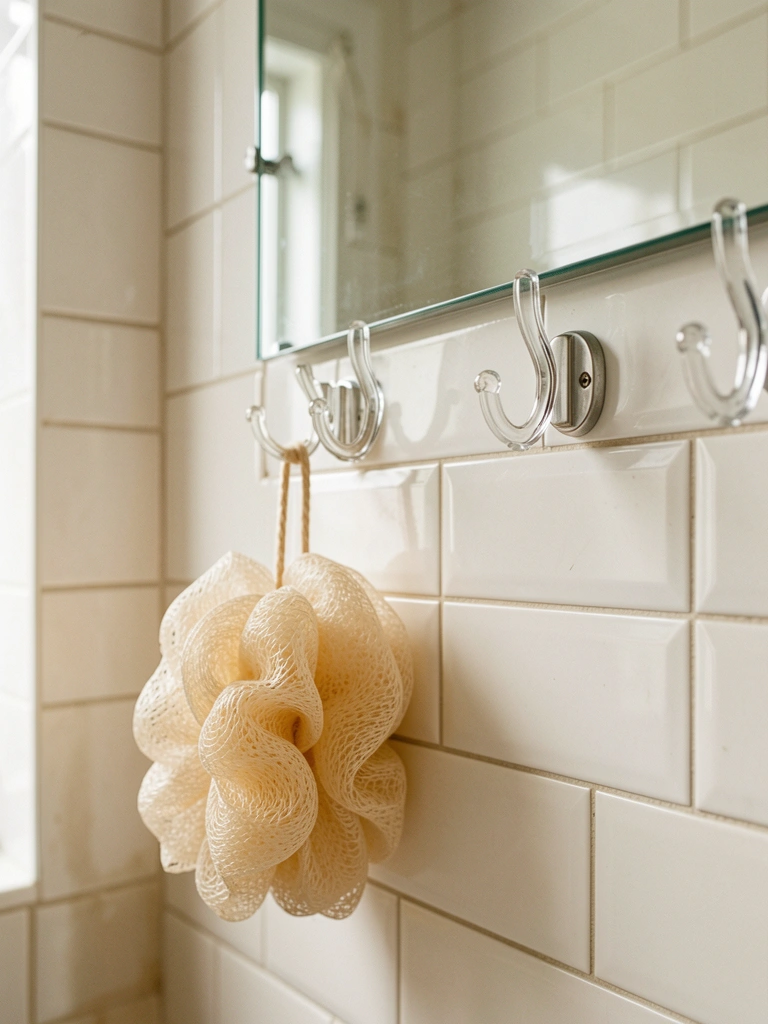
6. Sculptural Brass Towel Hook Shaped Like a Hand
A brass hand hook grips my towel firm. Shiny curve catches light, adds quiet luxury. No droop, ever.
Feels solid when you grab it. Room looks curated.
Polished too much at first; fingerprints showed. Buff lightly.
Mount at 48 inches for kids too.
What You’ll Need for This Look
- Brass sculptural hand towel hook 6-inch wall mount
- Linen hand towel in cream 16×28 inches
- Wall anchor kit for drywall
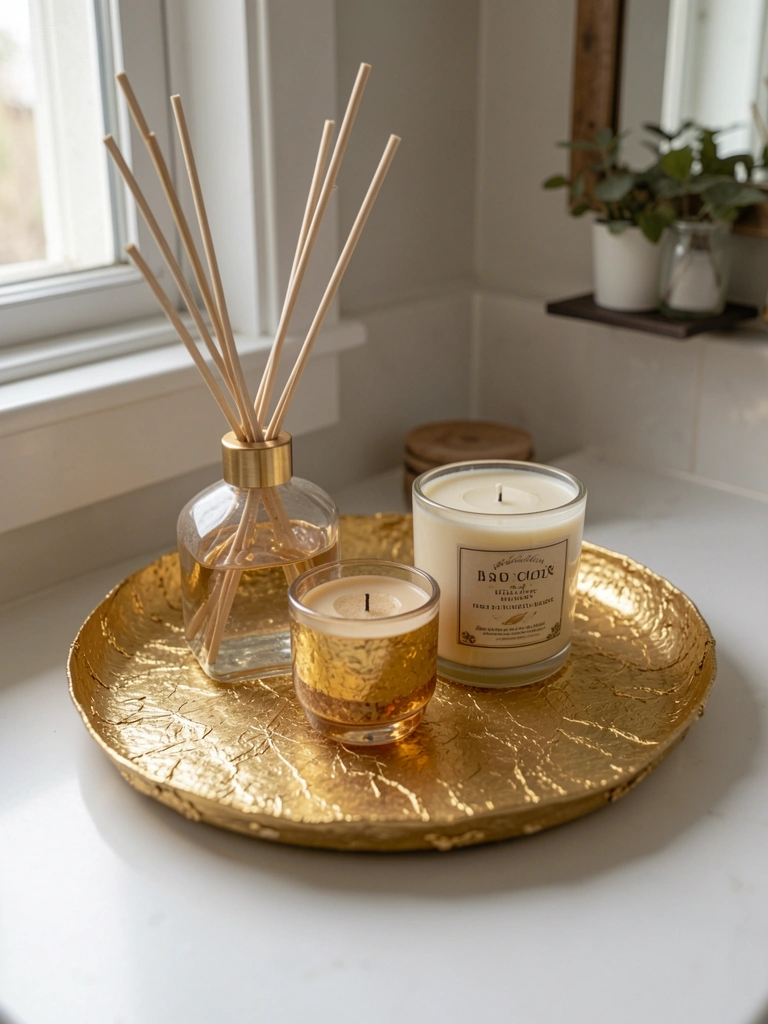
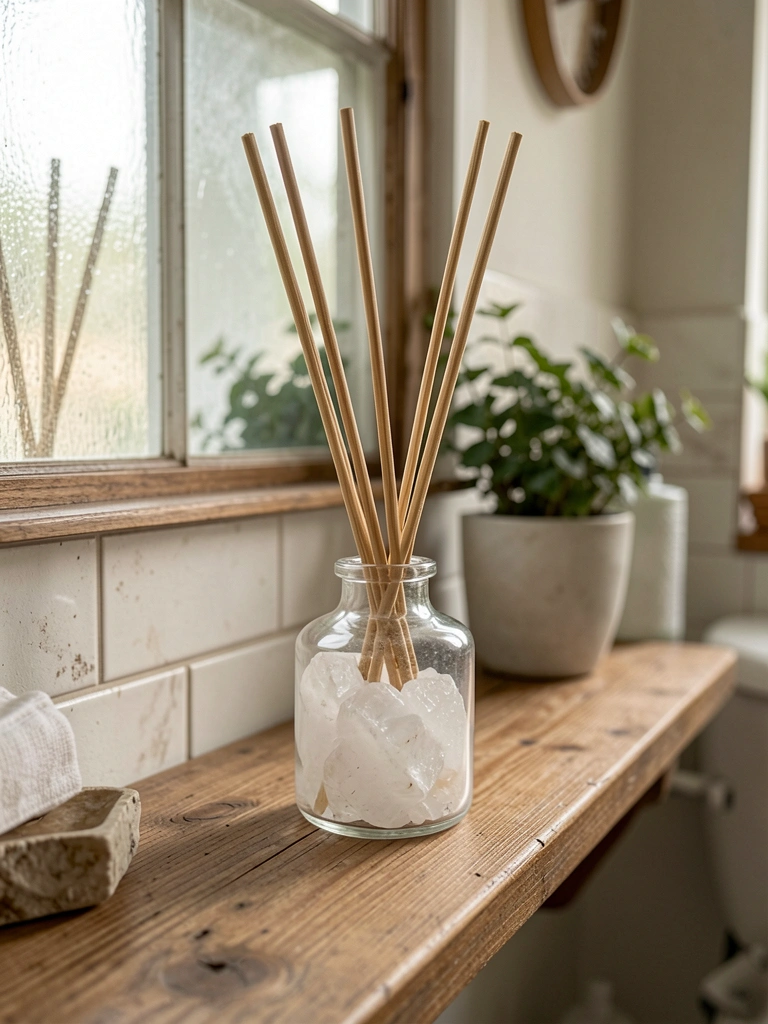
7. Slim Glass Reed Diffuser in Smoky Quartz Base
Rattan reeds in a quartz-like bottle scent the air soft – linen and driftwood. No flame, safe for powder rooms.
Smell welcomes you in. Lingers without overwhelming.
Overfilled once; dripped. Half full max.
Replace reeds every 3 months.
What You’ll Need for This Look
- Glass reed diffuser smoky quartz 4-inch tall linen scent
- Rattan diffuser reeds replacement pack 10 count
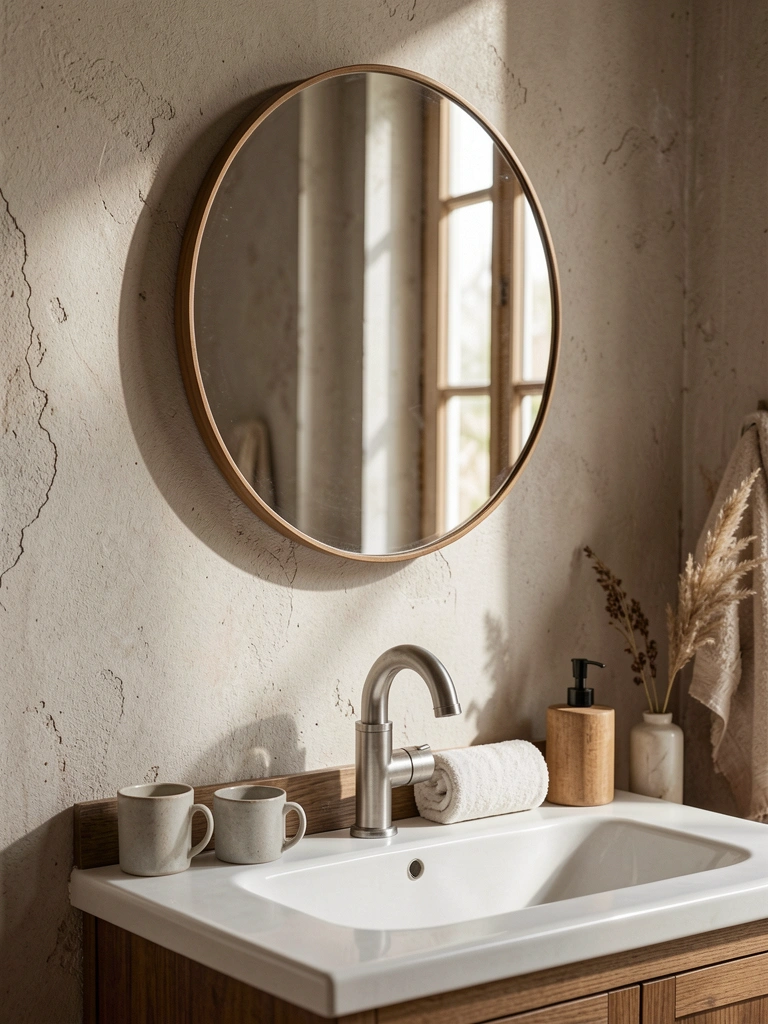
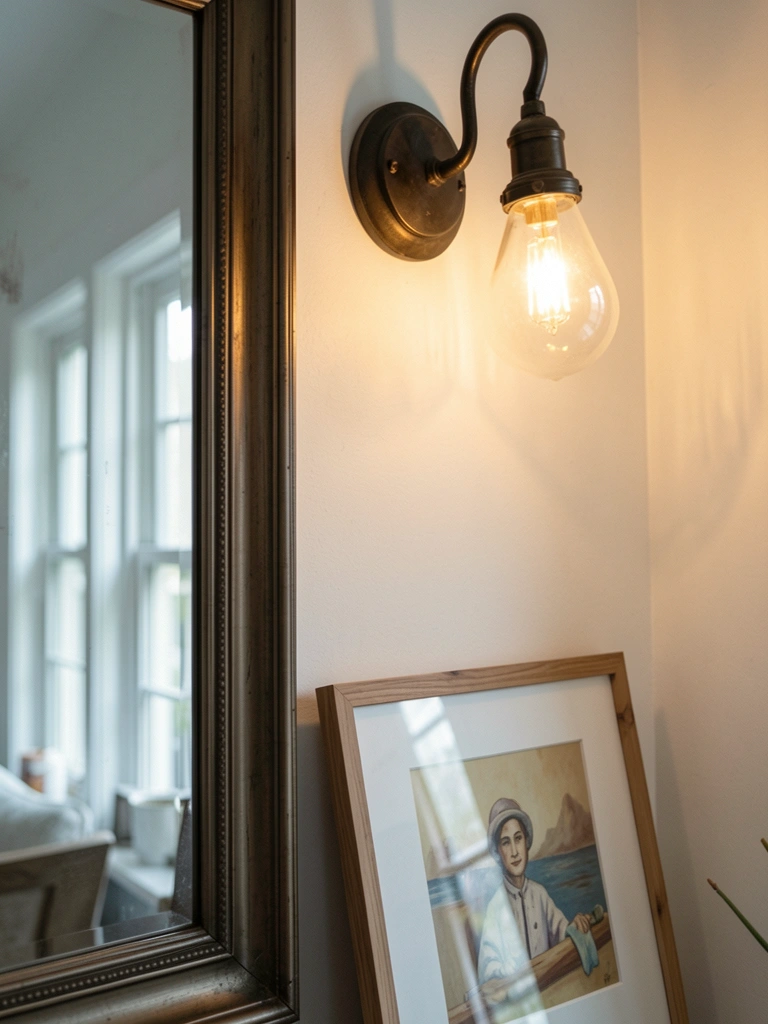
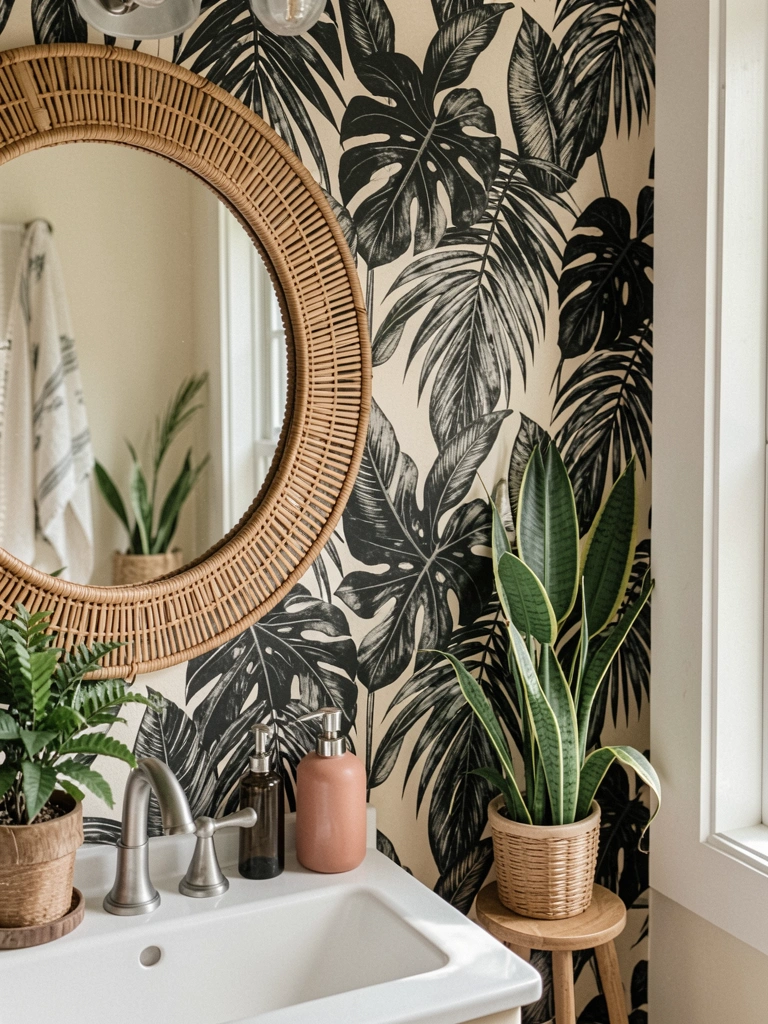
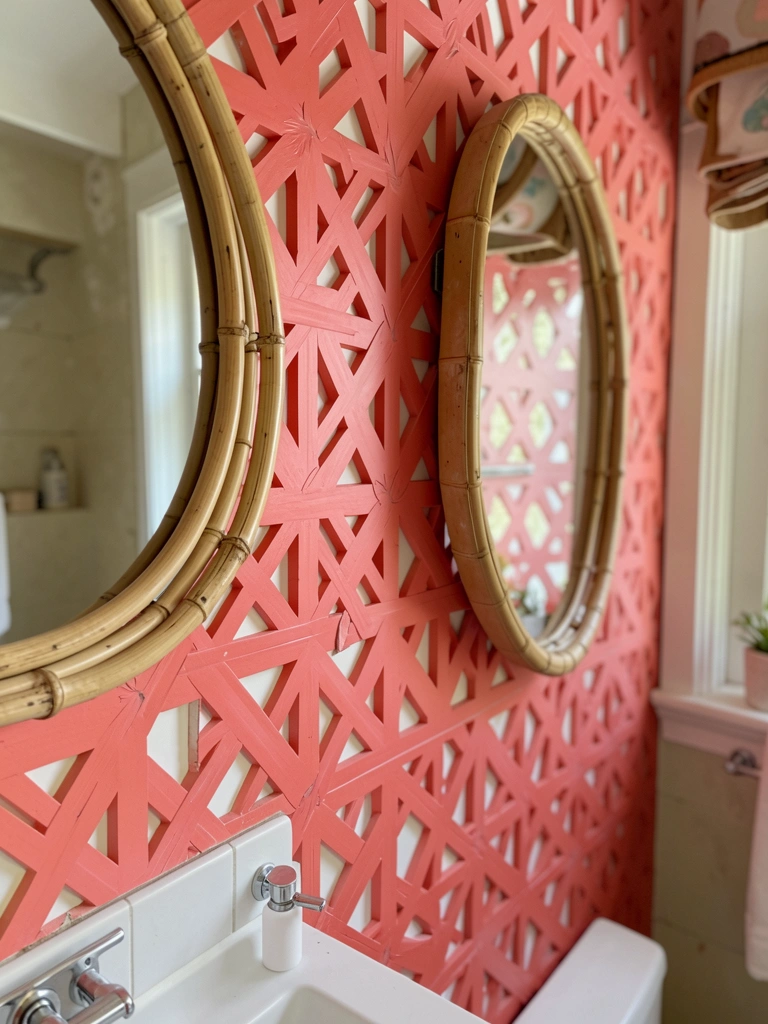
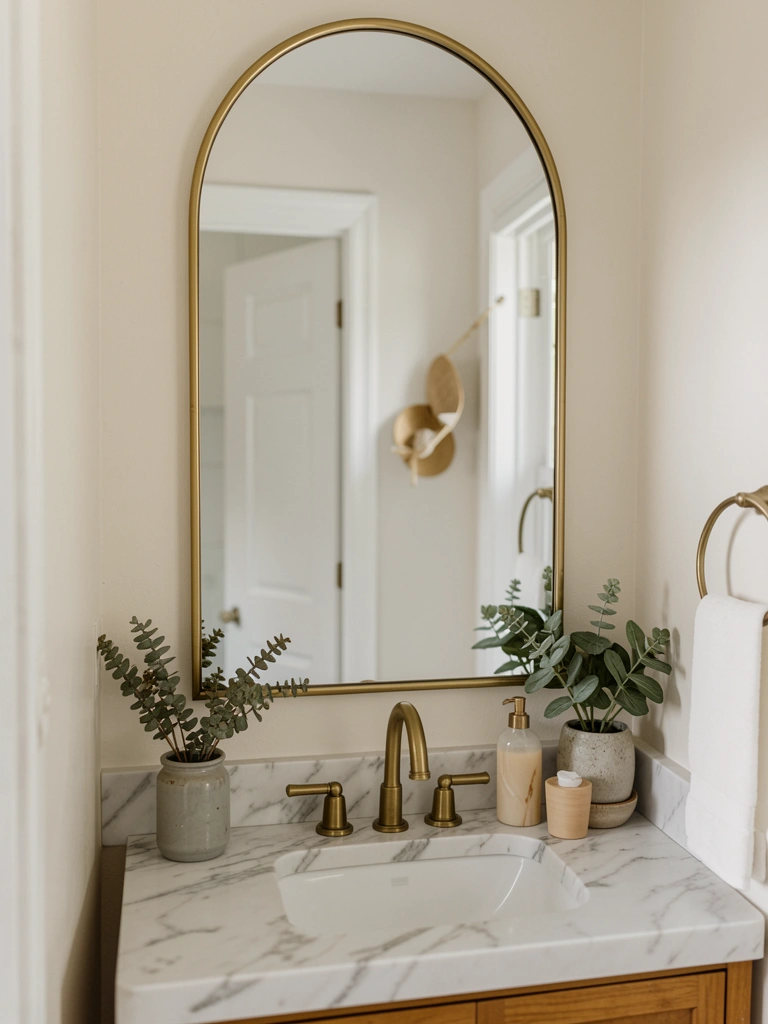
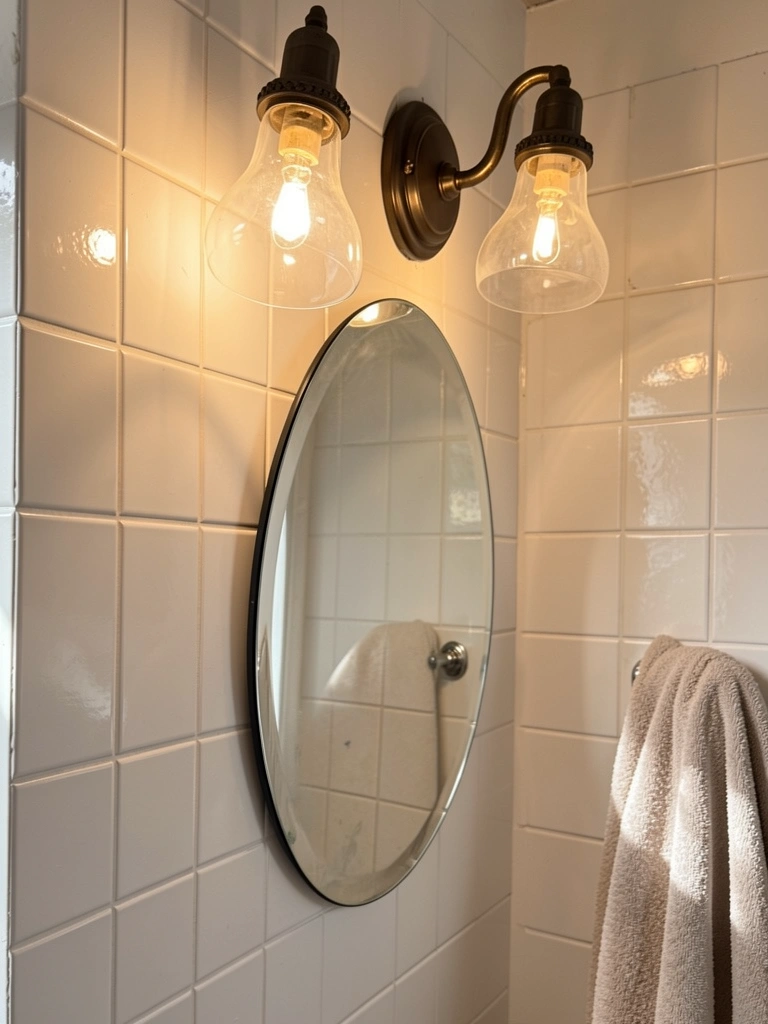
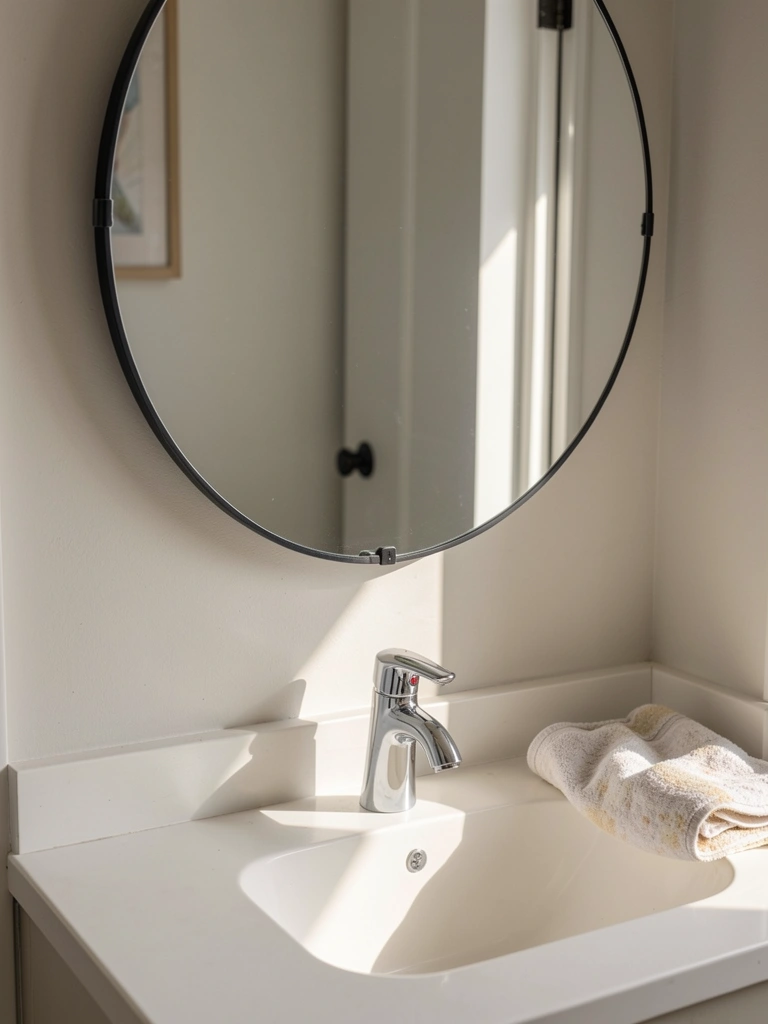
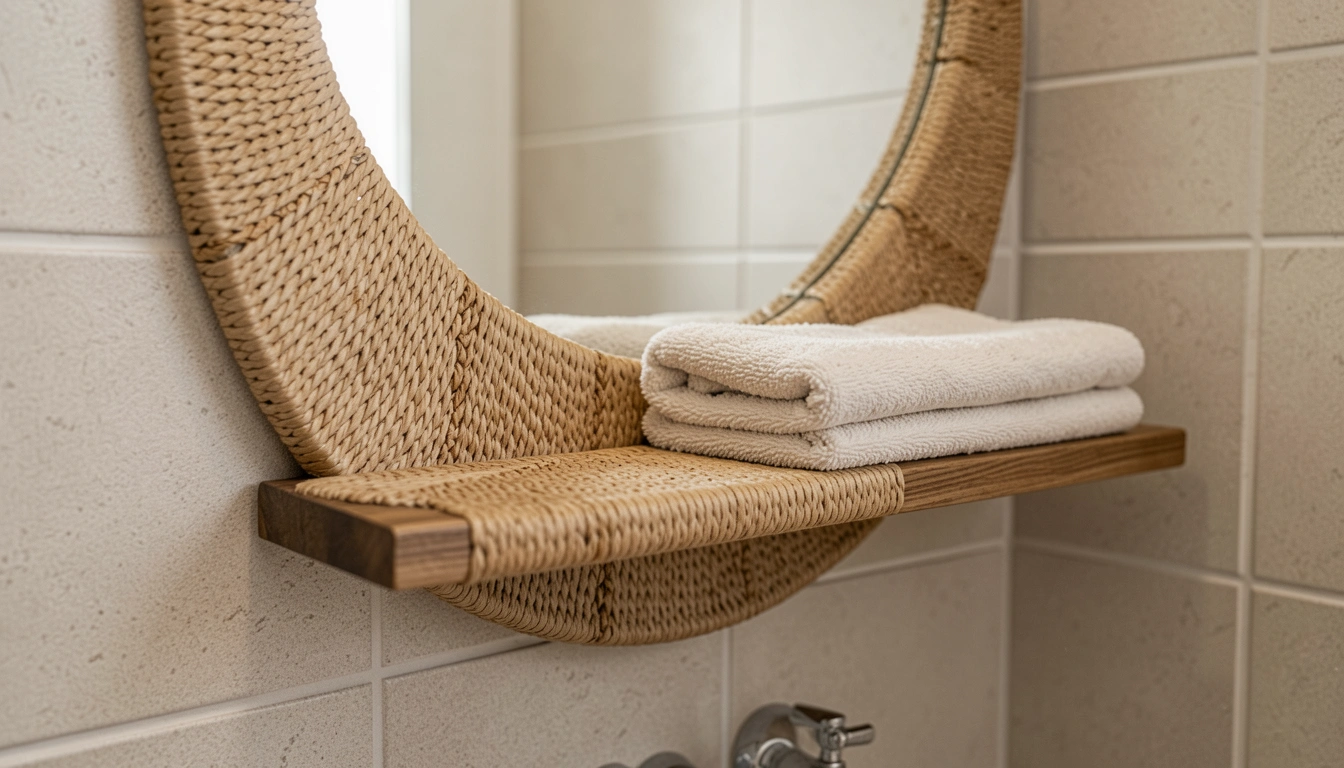
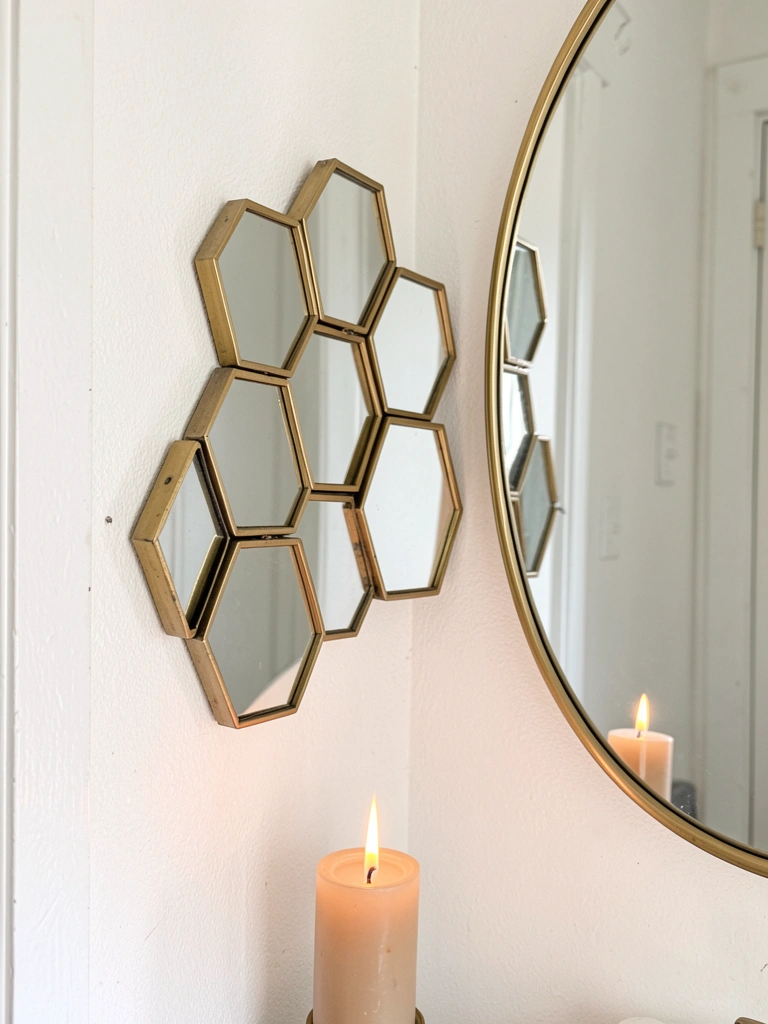
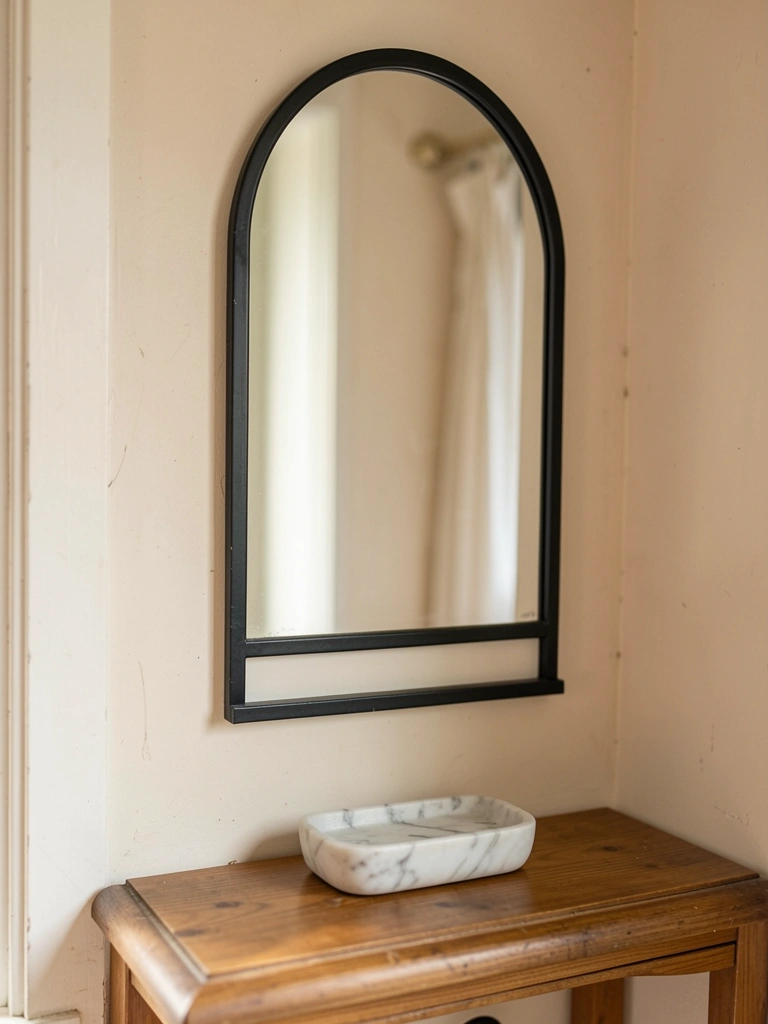
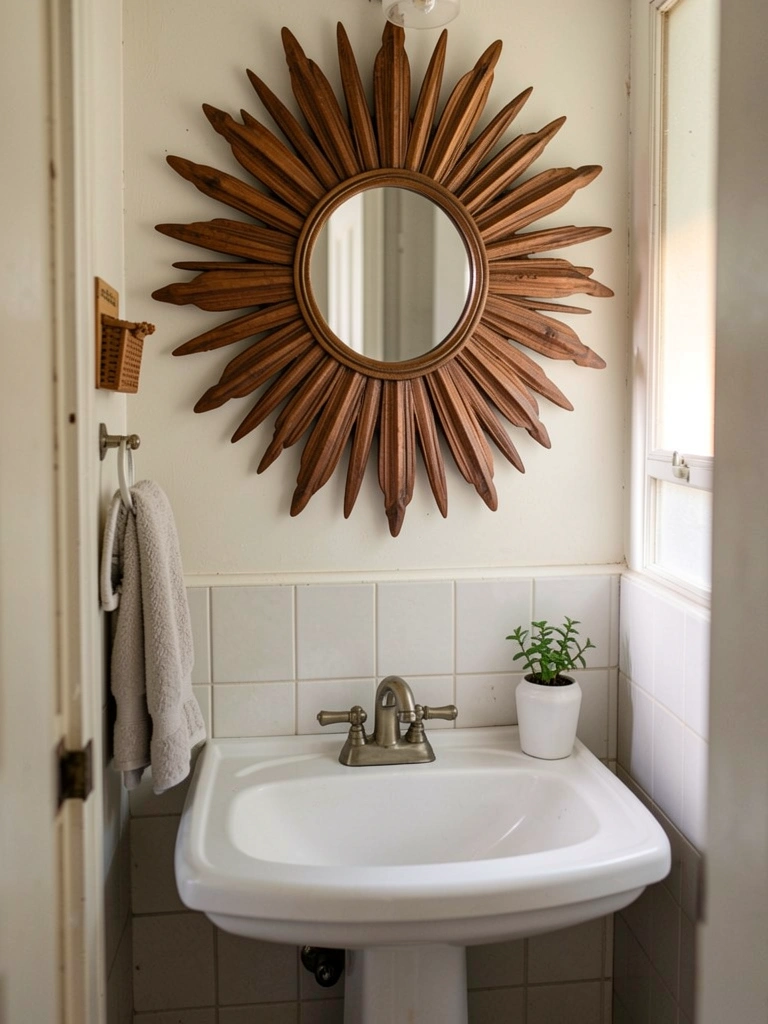
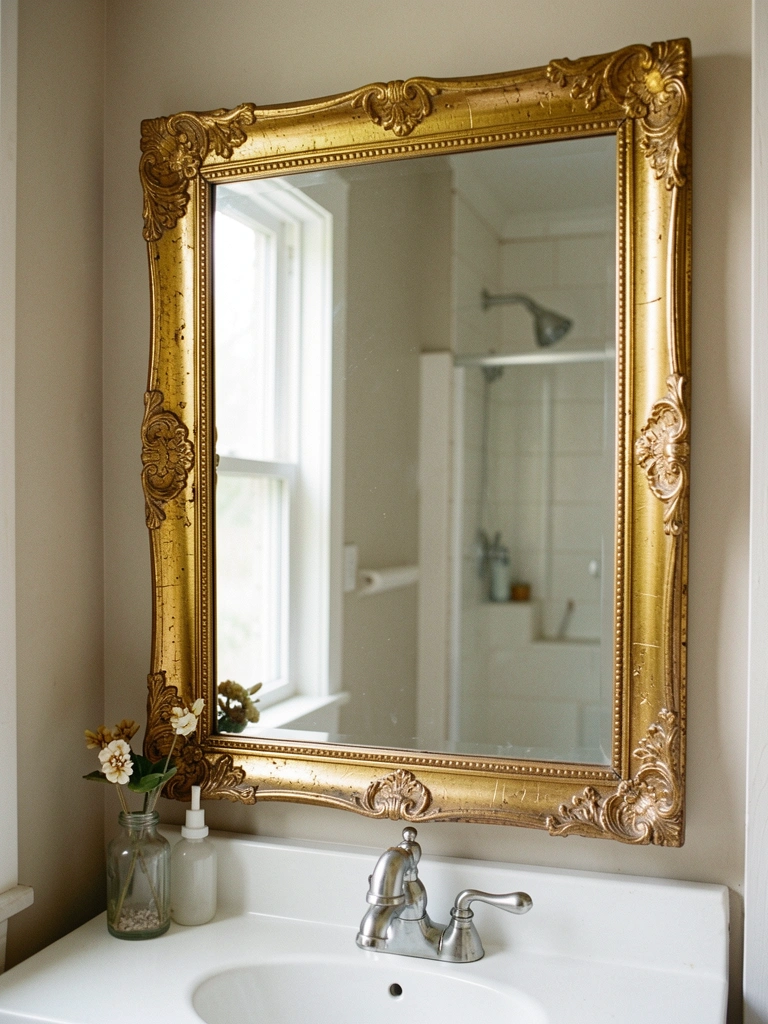
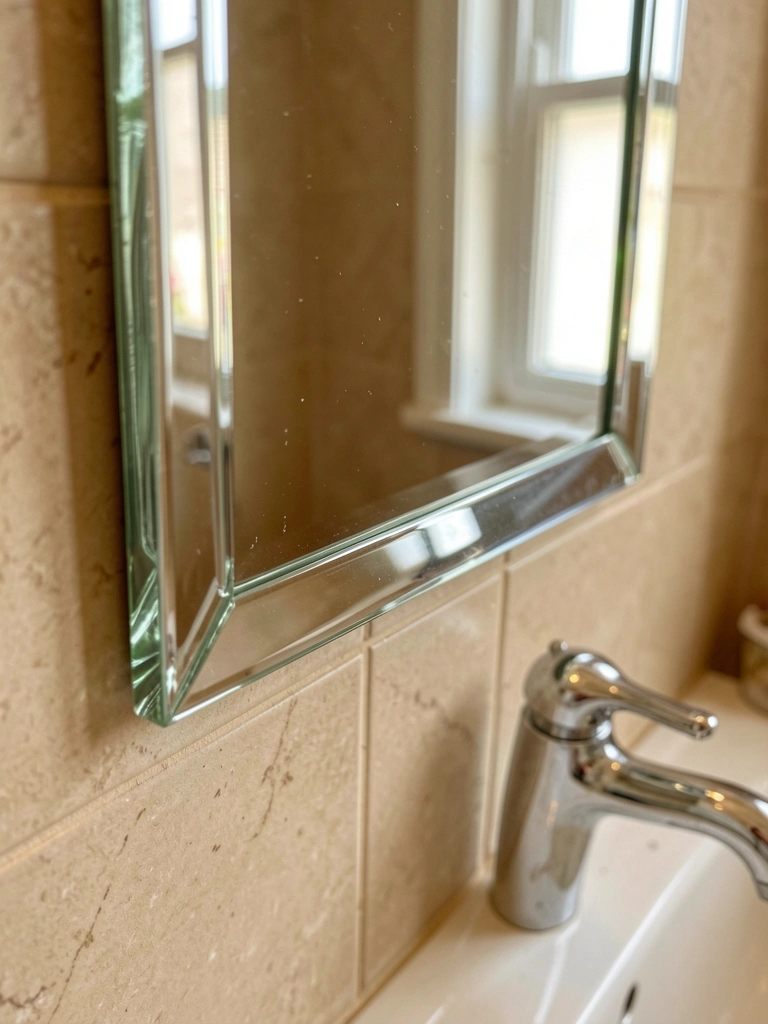
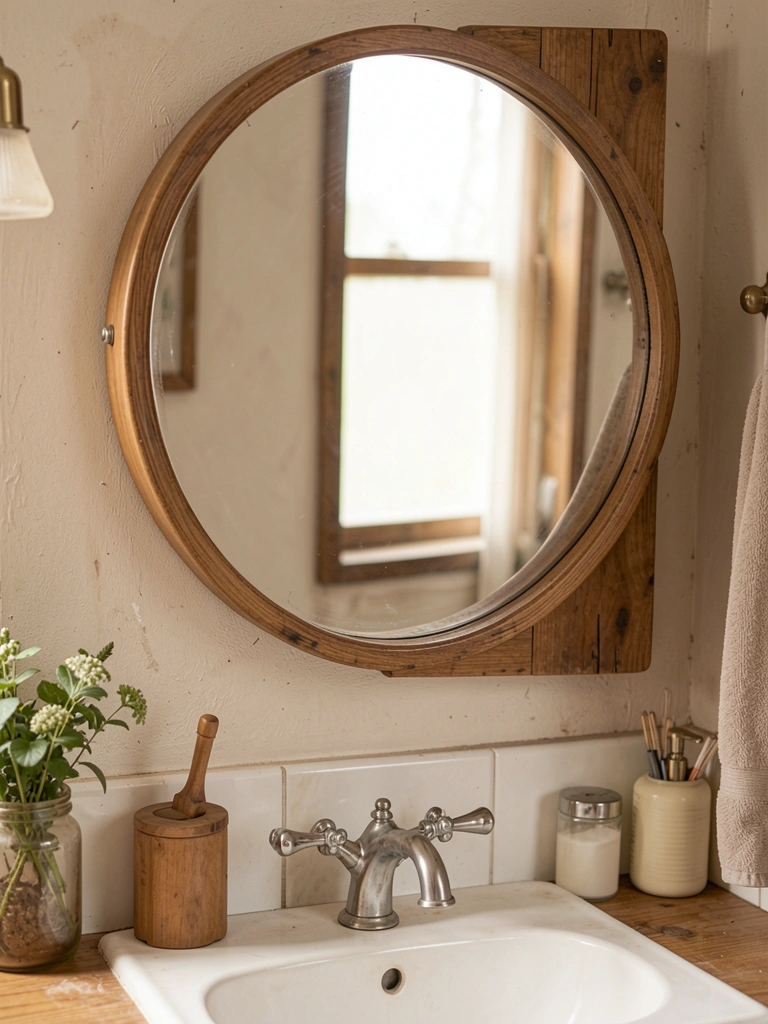
8. Round Convex Mirror with Wood Frame
A 16-inch convex mirror over sink bounces light wide. Distorts just enough for fun checks. Wood rim grounds it.
Face looks awake. Space doubles visually.
Hung crooked first; use level. 62 inches center.
Wipe smudges daily.
What You’ll Need for This Look
- Convex round mirror 16-inch diameter wood frame
- Wood frame touch-up stain kit oak
- Mirror mounting hardware kit
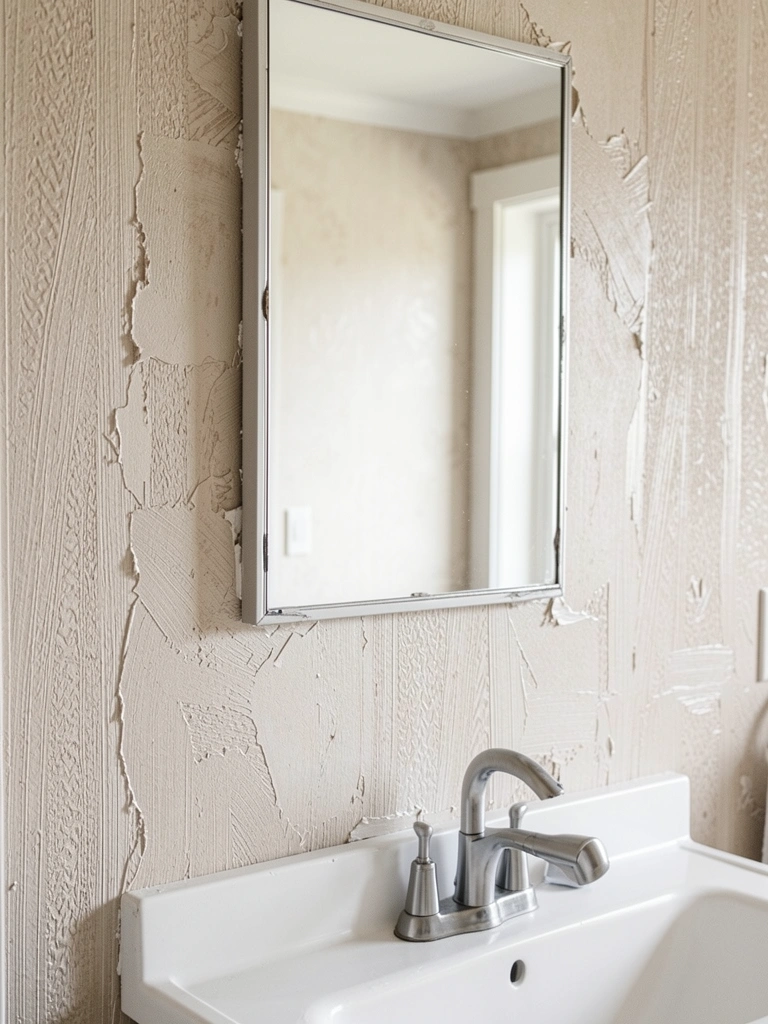
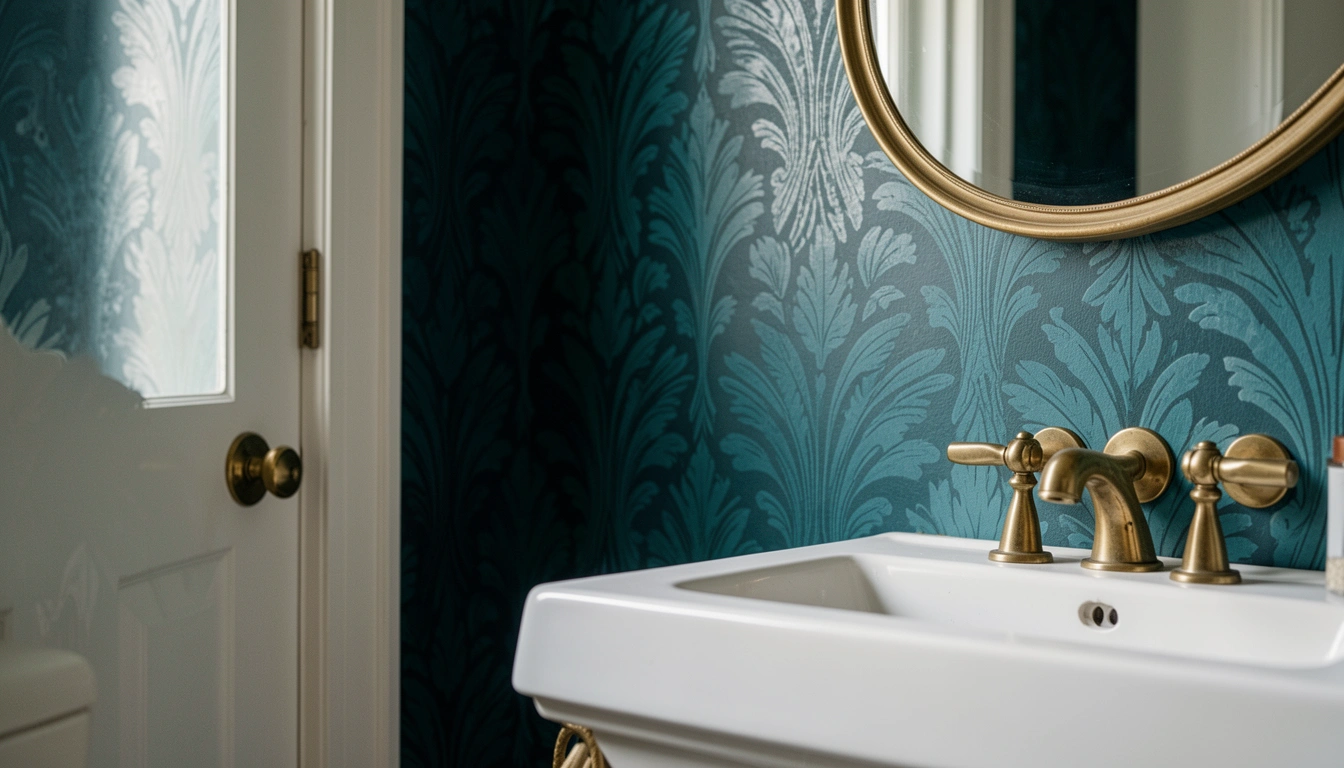
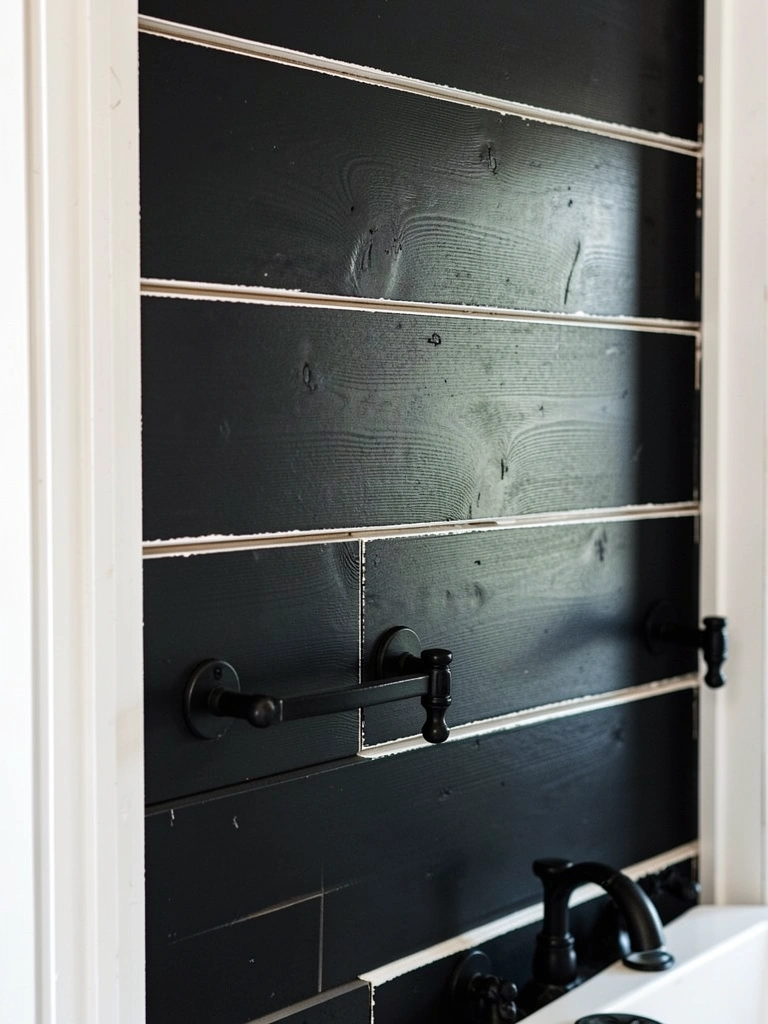
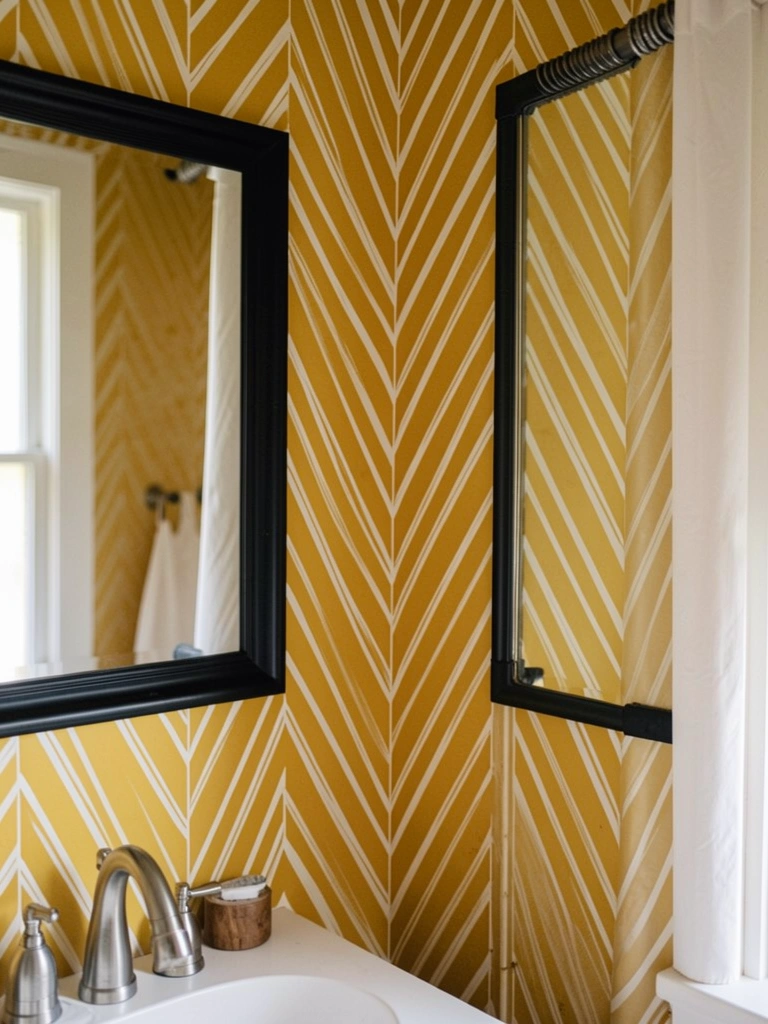
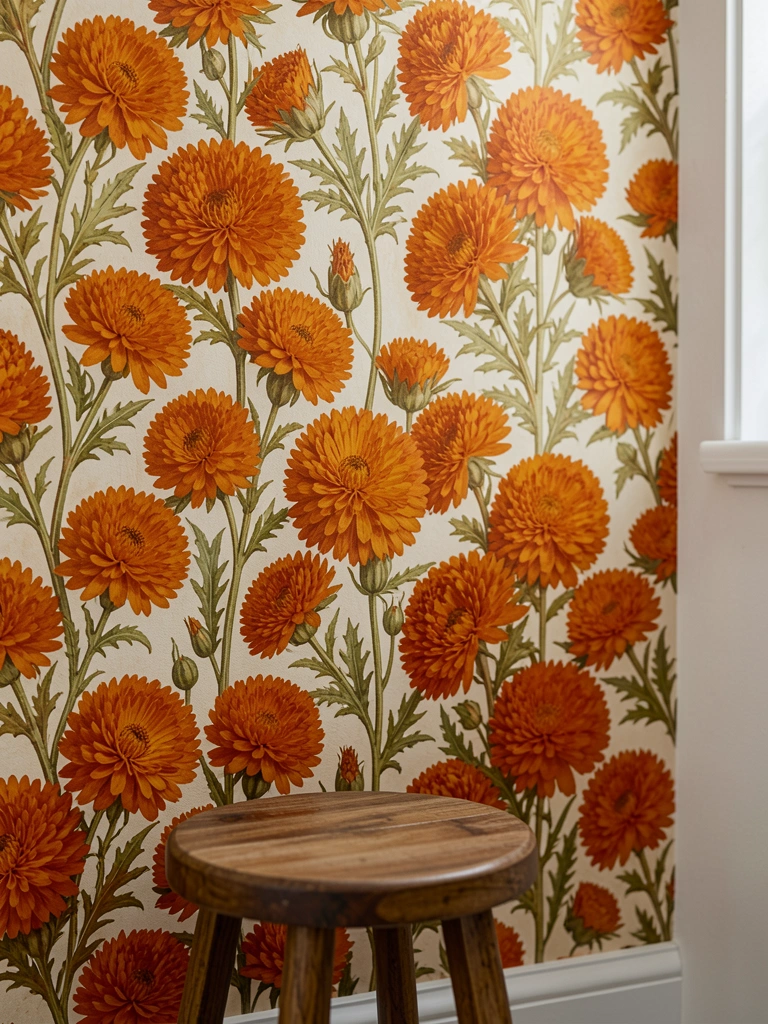
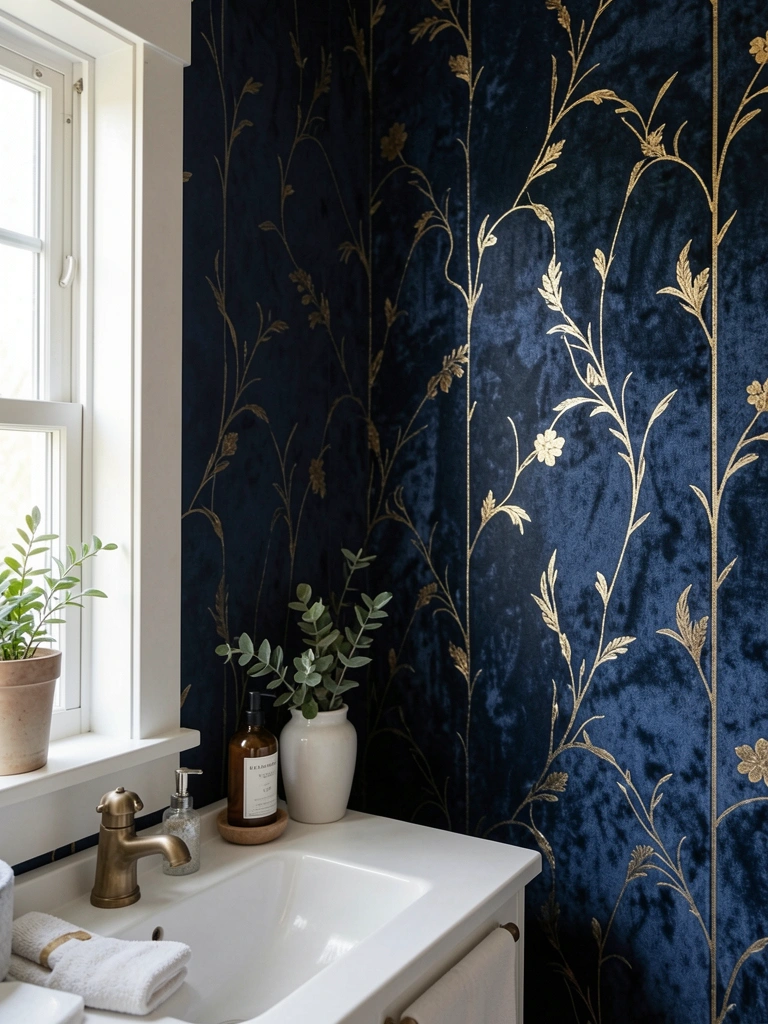
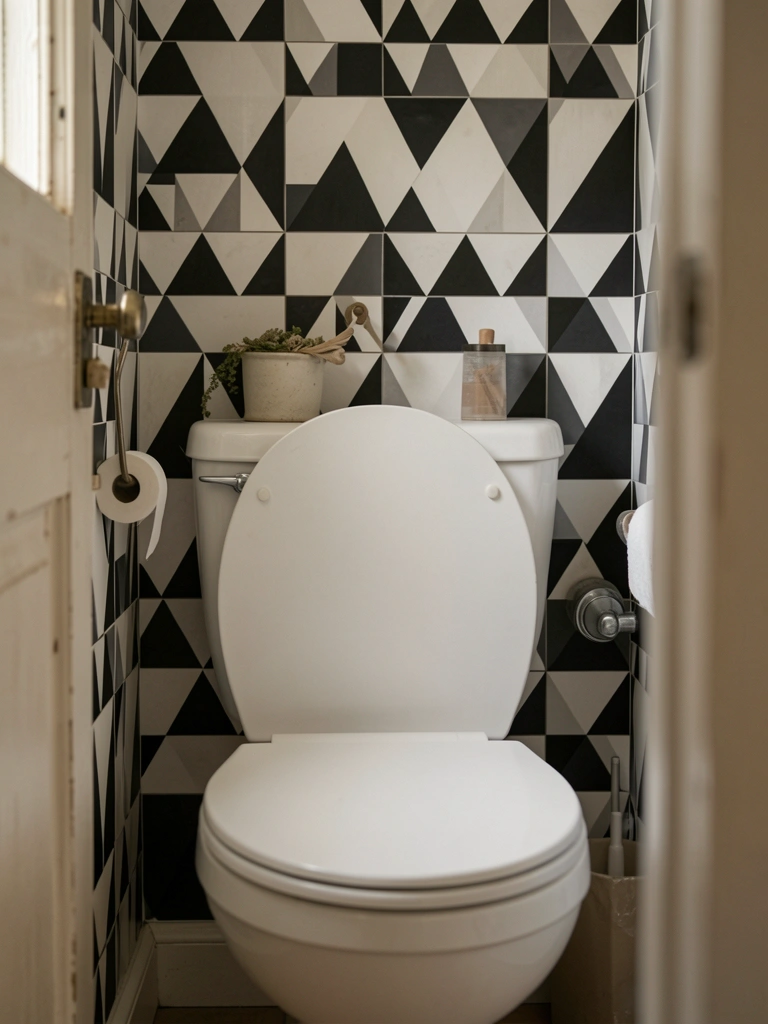
9. Peel-and-Stick Geometric Wallpaper Behind Toilet
Black and white triangles on one wall. Peel-and-stick saved my rental. Pattern draws breath in tight space.
Feels modern, not busy. Hides scuffs too.
Bubbled at edges once; smooth walls first.
Cut with X-Acto for clean lines.
What You’ll Need for This Look
- Peel and stick geometric wallpaper black white 15×108 inches roll
- Utility knife with snap blades
- Level tool 24-inch bubble
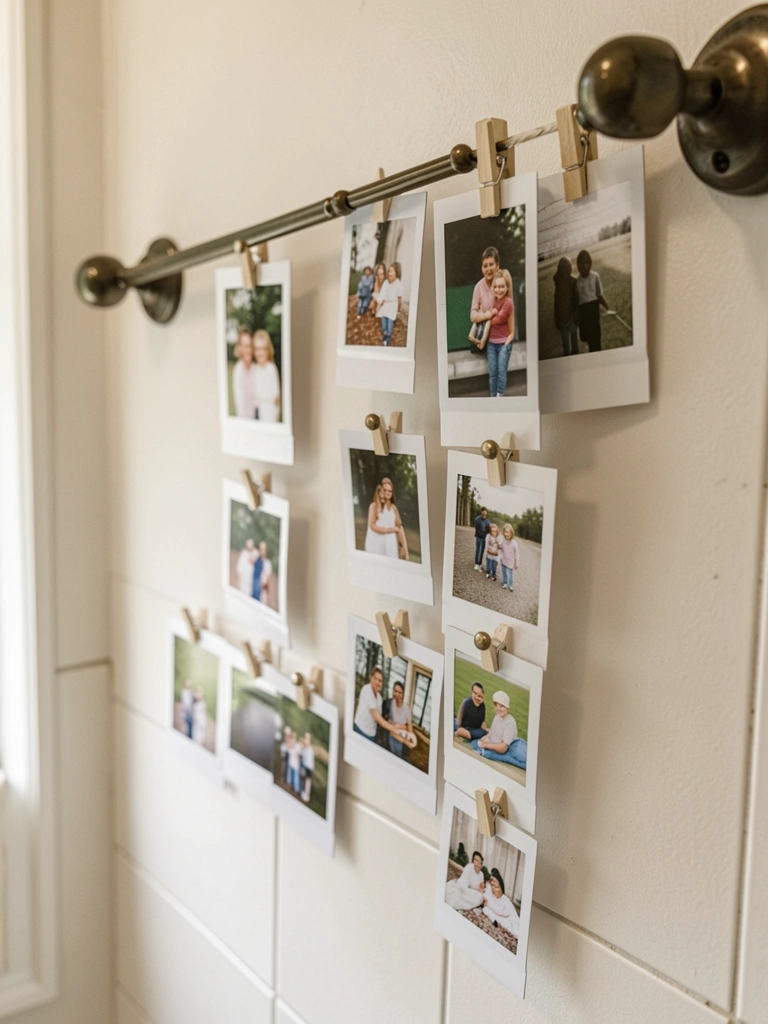
10. Mini Polaroid Gallery Wall of Family Snaps
Six tiny Polaroid prints in clips on a rail. Kids' grins, dog antics. Powder room got heart.
Sparks chats – "Who's that?" Ties house together.
Rail drooped heavy pics; use magnets.
Hang at 55 inches.
What You’ll Need for This Look
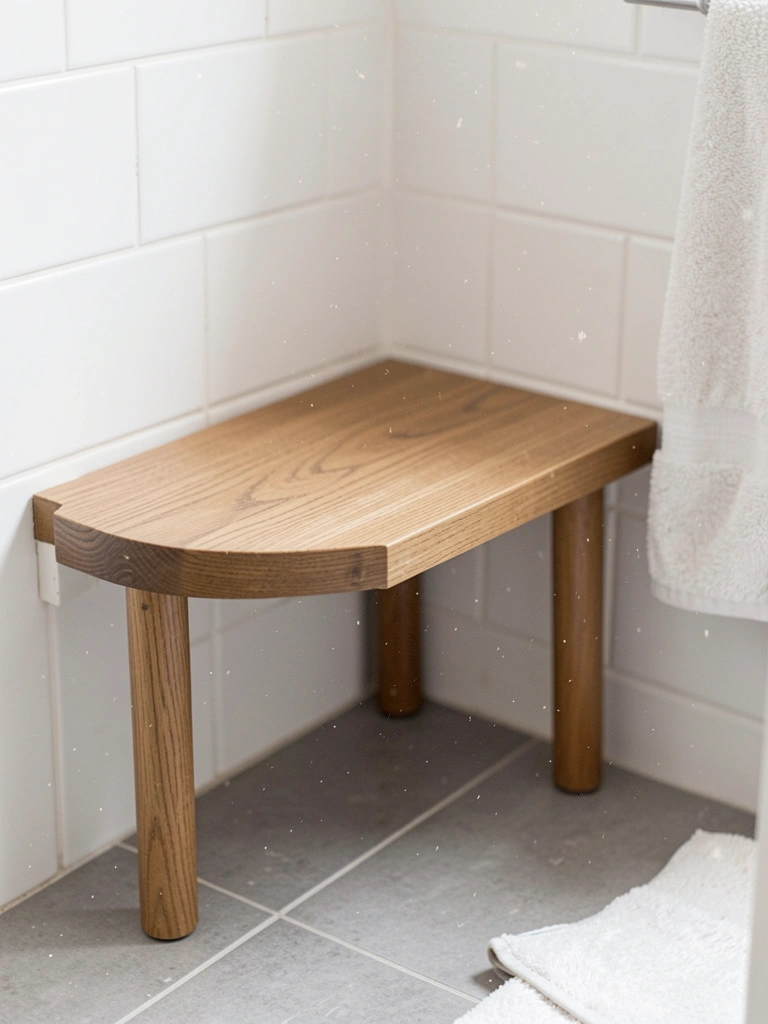
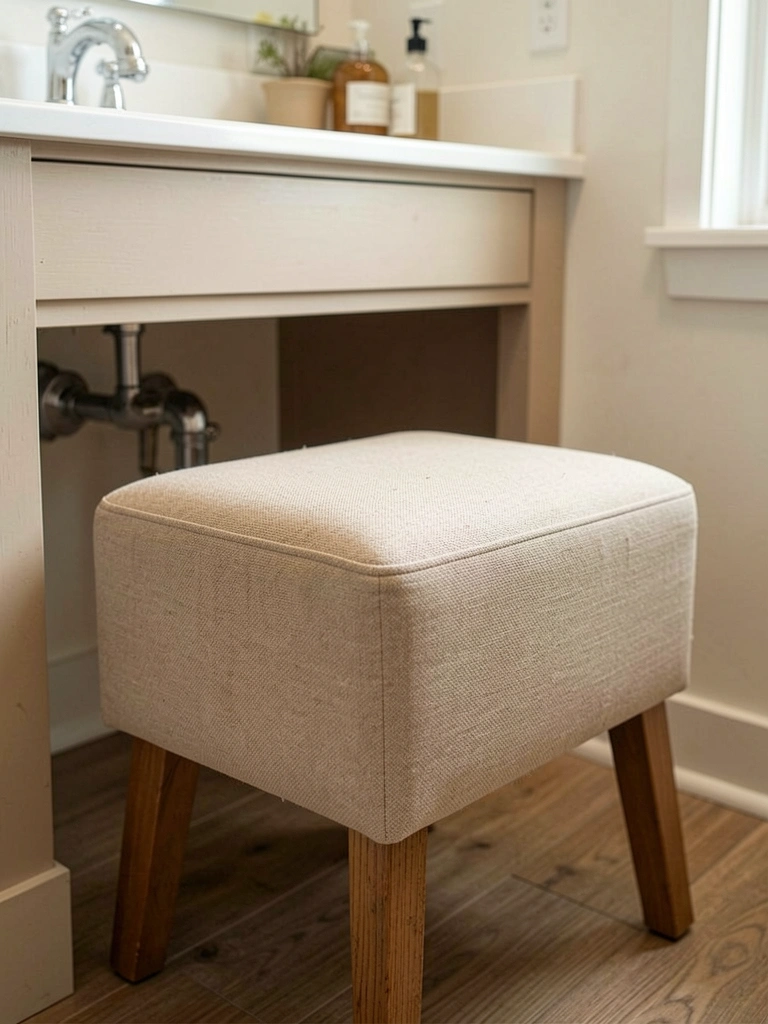
11. Upholstered Linen Stool for Quick Perch
A 12-inch stool in soft linen sits under vanity overhang. Guests perch to chat. Legs don't scratch tile.
Adds comfort without bulk. Feels homey.
Wobbly legs once; check stability.
Tuck it away clean.
What You’ll Need for This Look
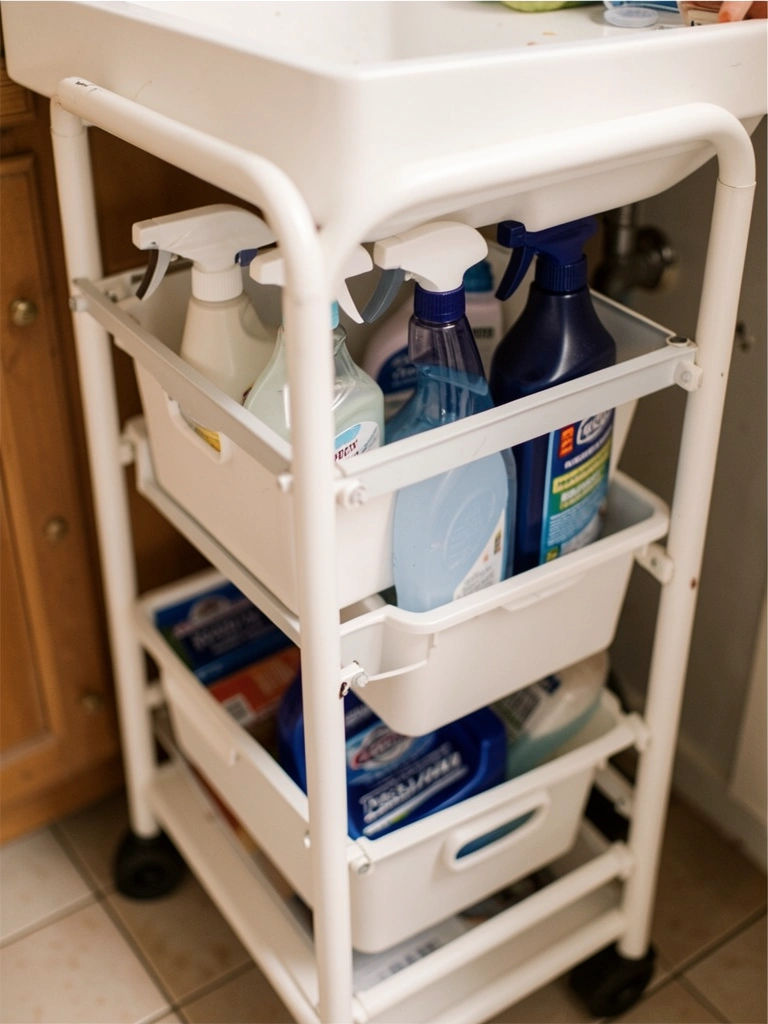
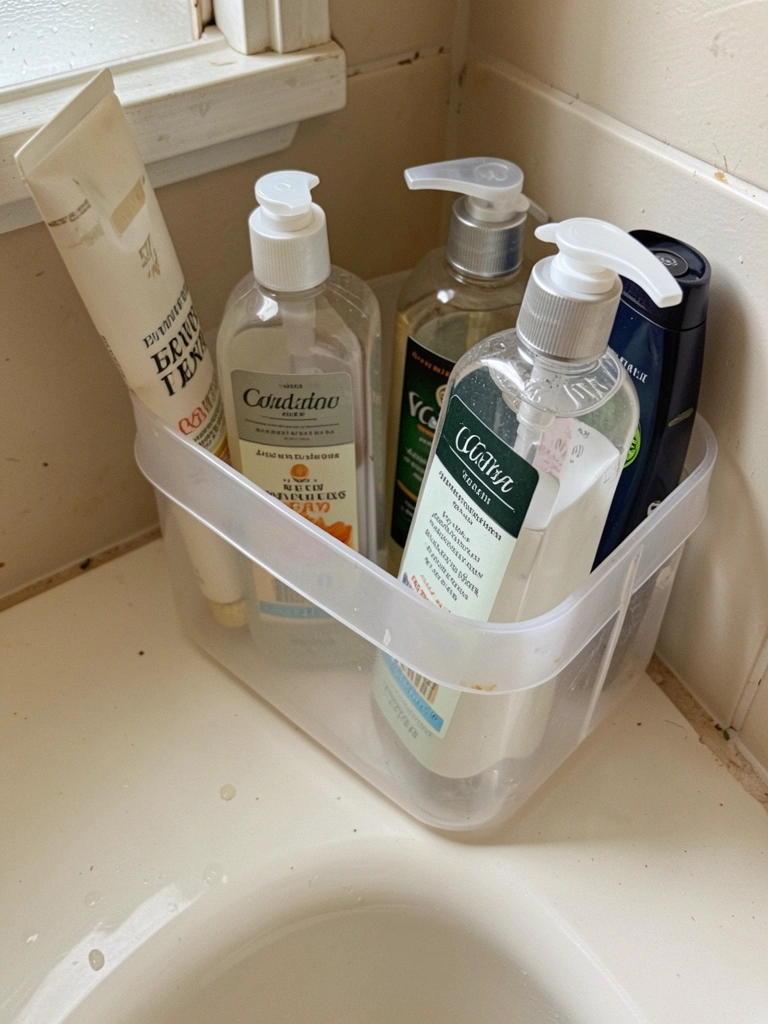
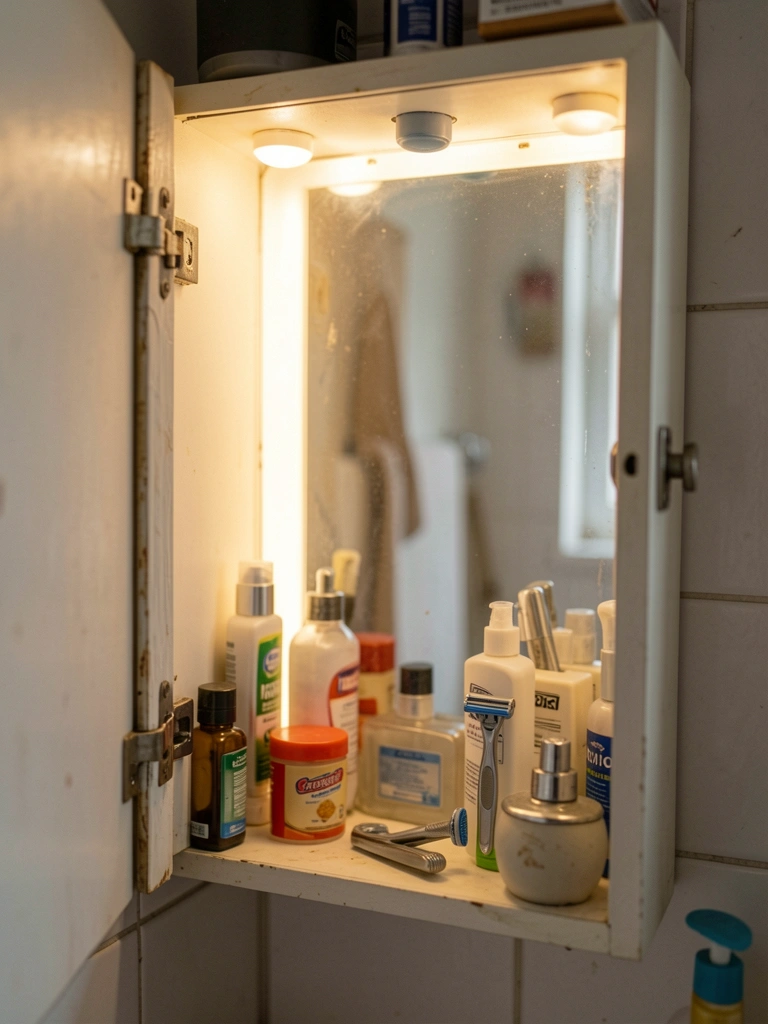
12. Black Metal Tiered Organizer for Lotions
Three tiers hold travel lotions neat. Matte black fades into walls. Counter clears.
Eyes rest easy now. No hunt for cream.
Top-heavy once; balance weights.
Wipe dust weekly.
What You’ll Need for This Look

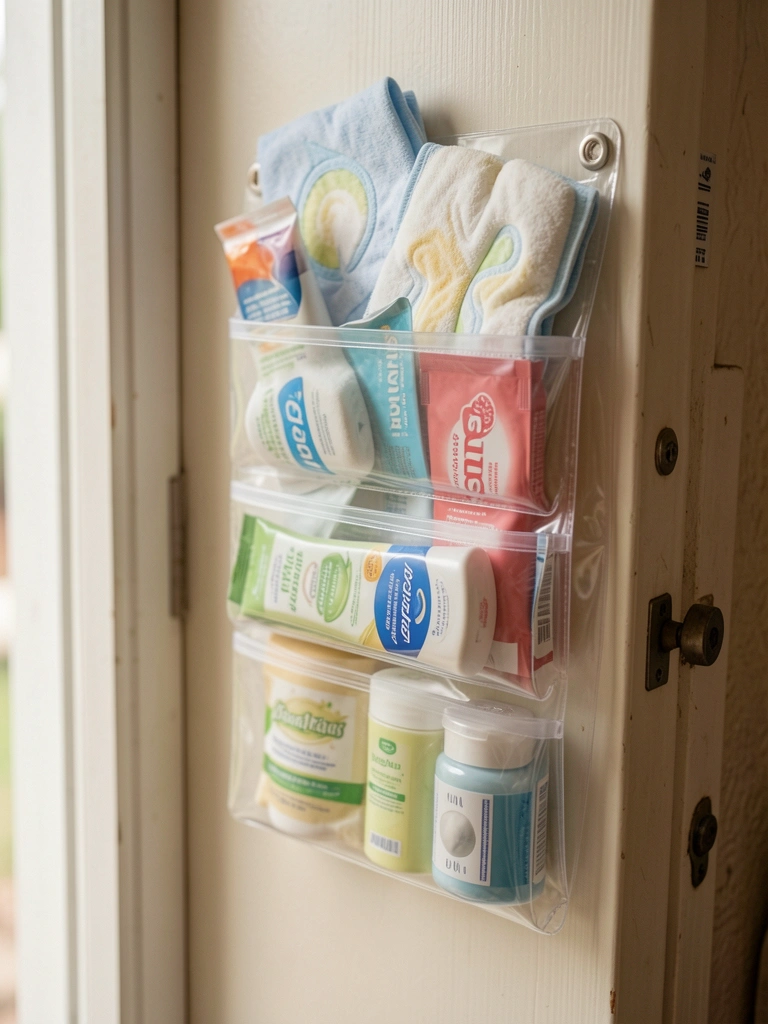
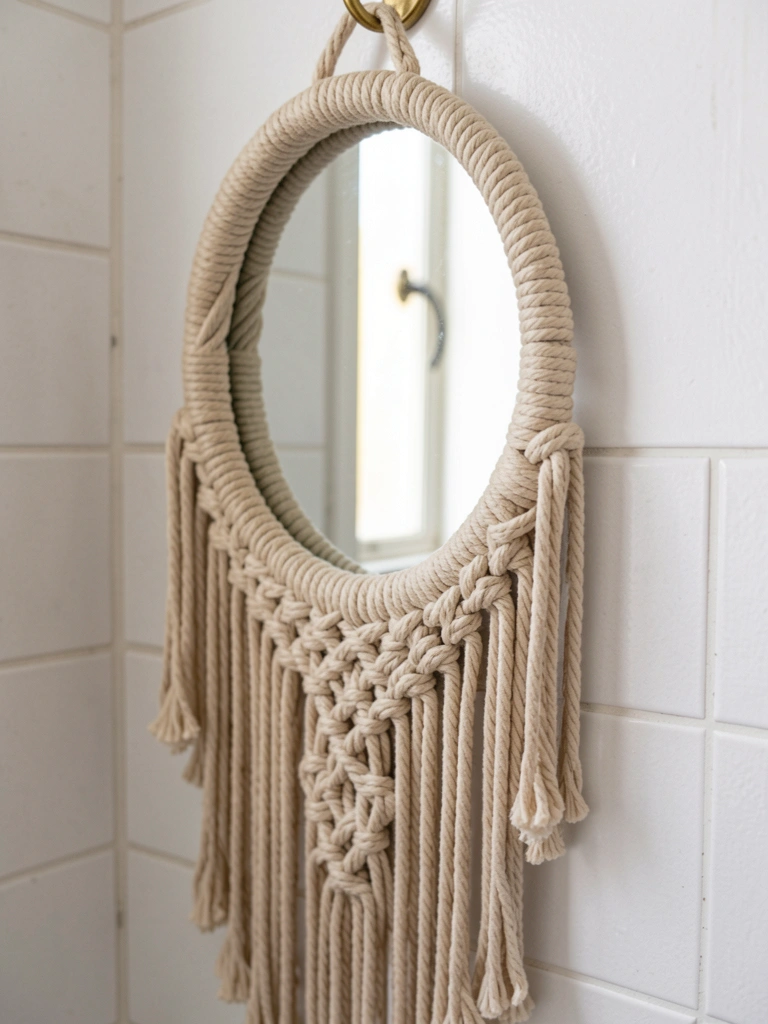
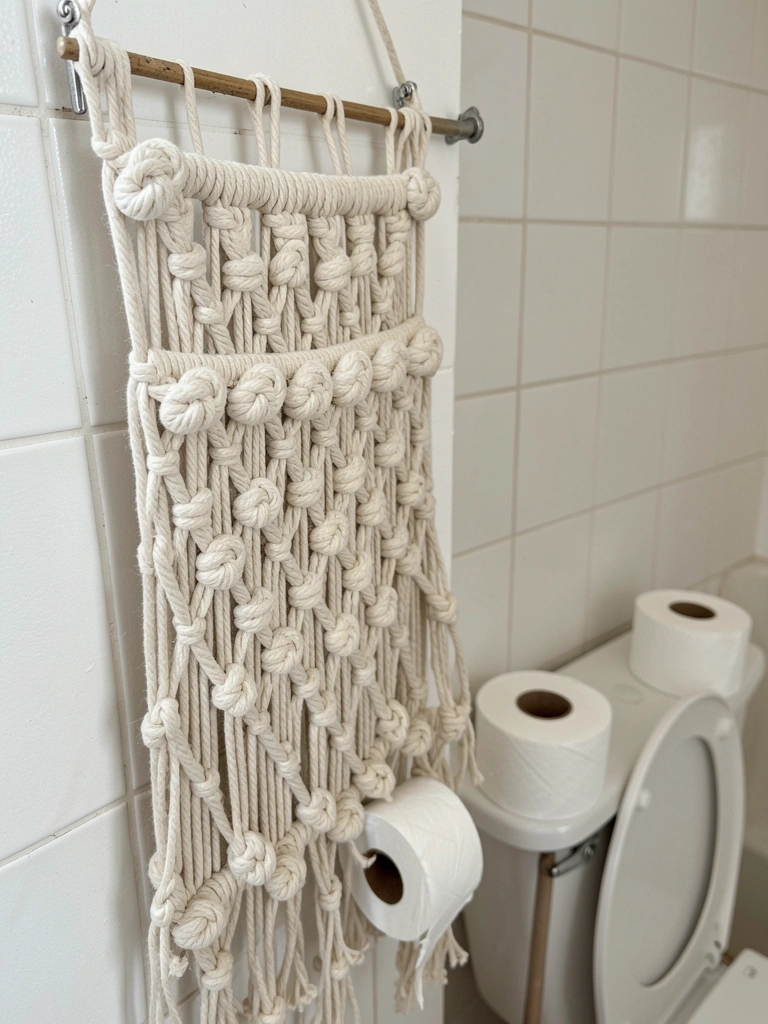
13. Macrame Wall Pocket for Spare Rolls
Cotton macrame pockets hold two TP rolls. Boho texture softens angles. Tucked beside tank.
No floor clutter. Feels crafted.
Frayed ends early; trim and seal.
Hang at 40 inches.
What You’ll Need for This Look
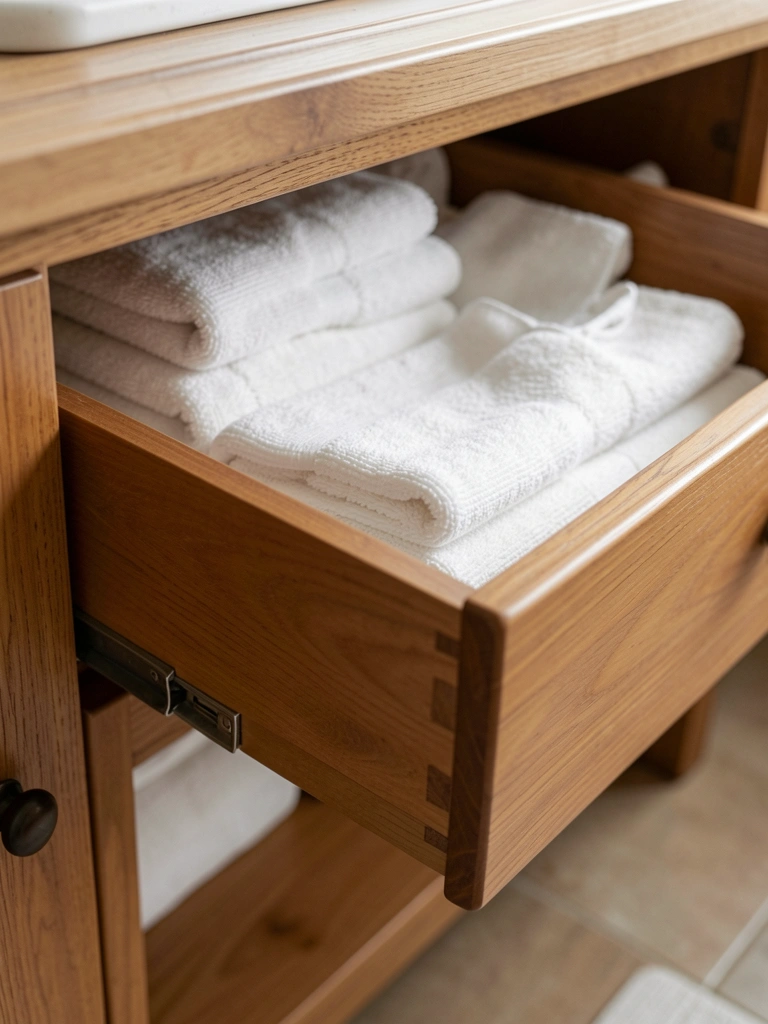
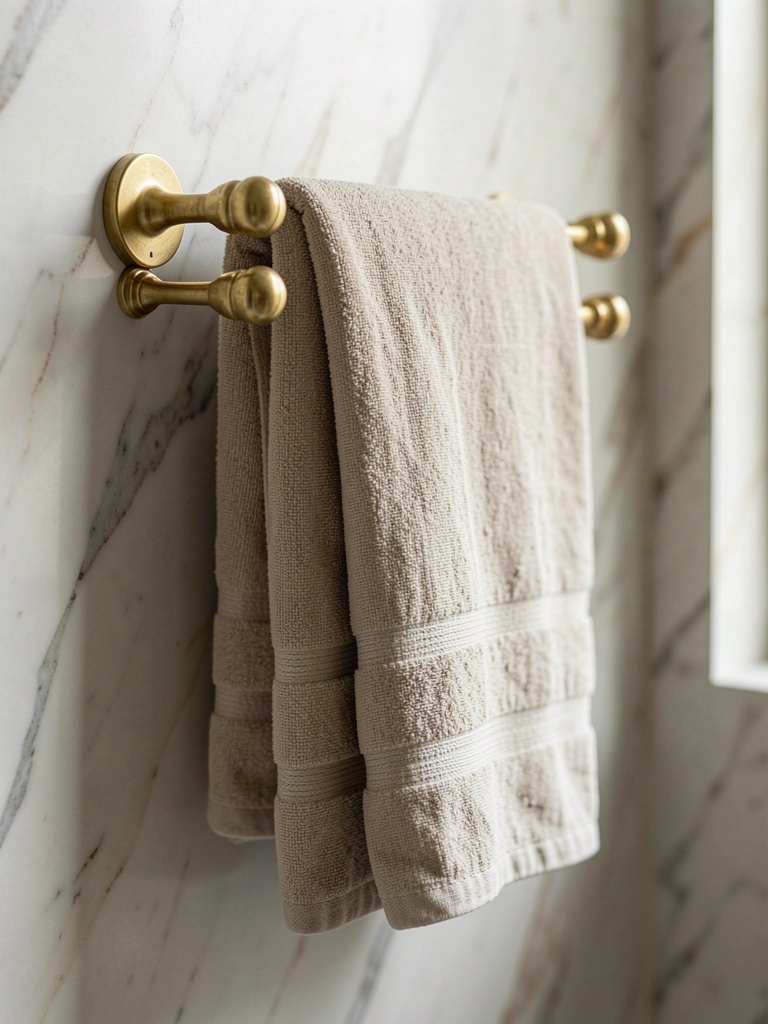
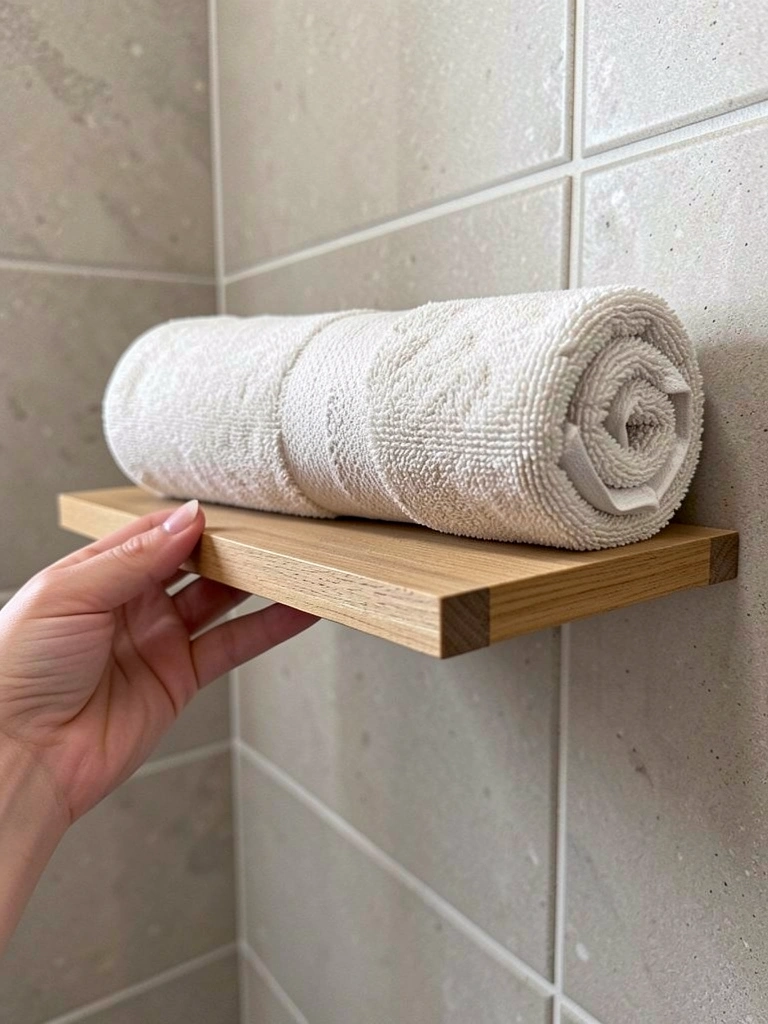
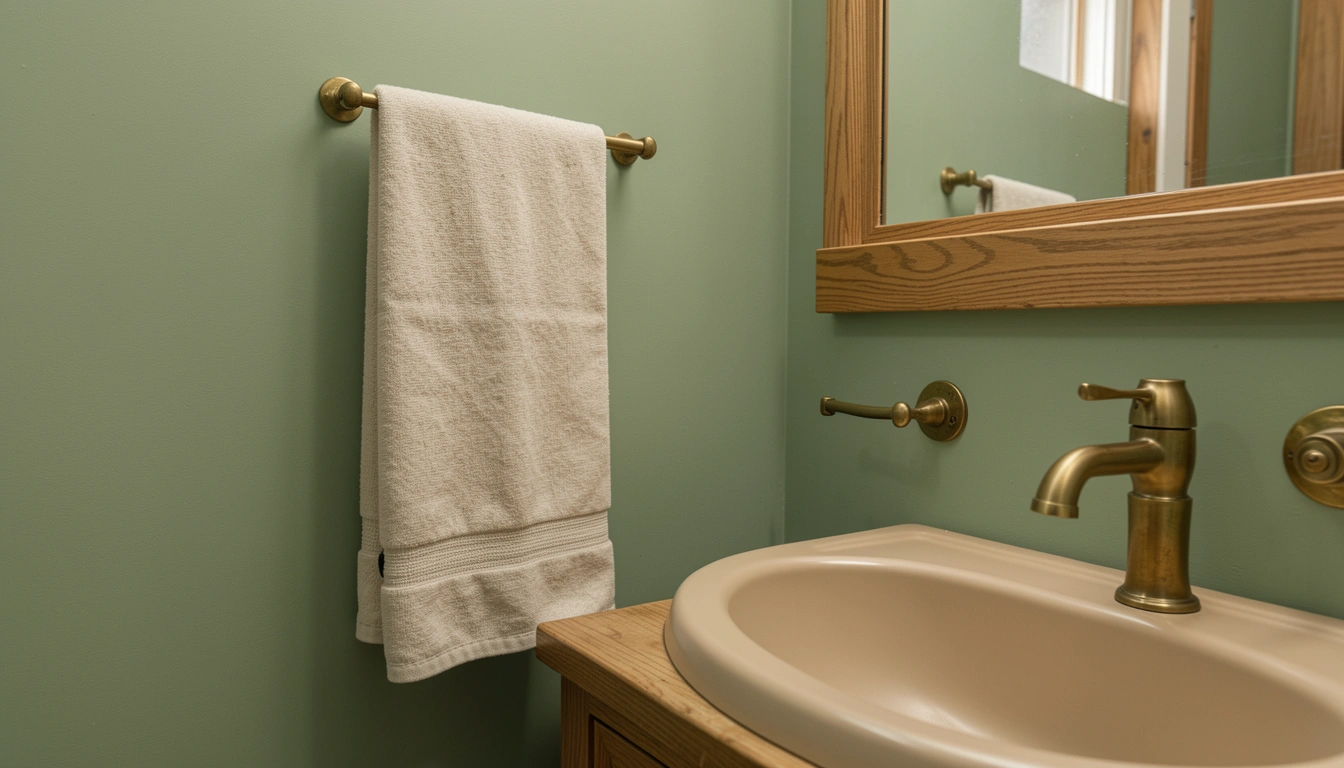
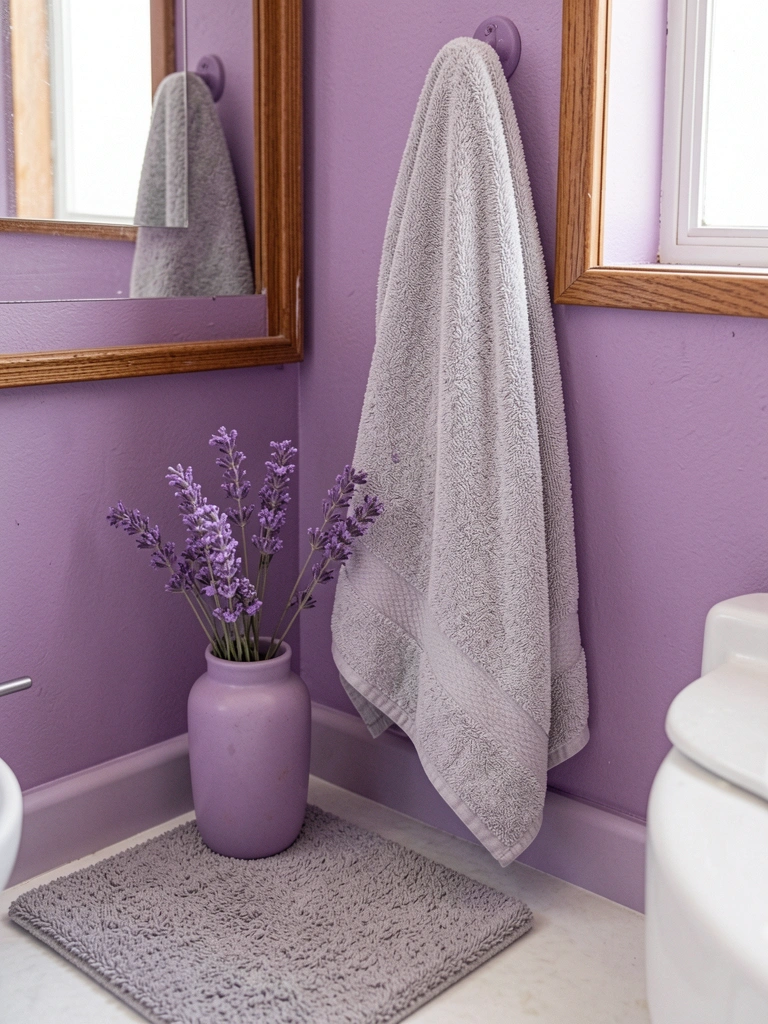
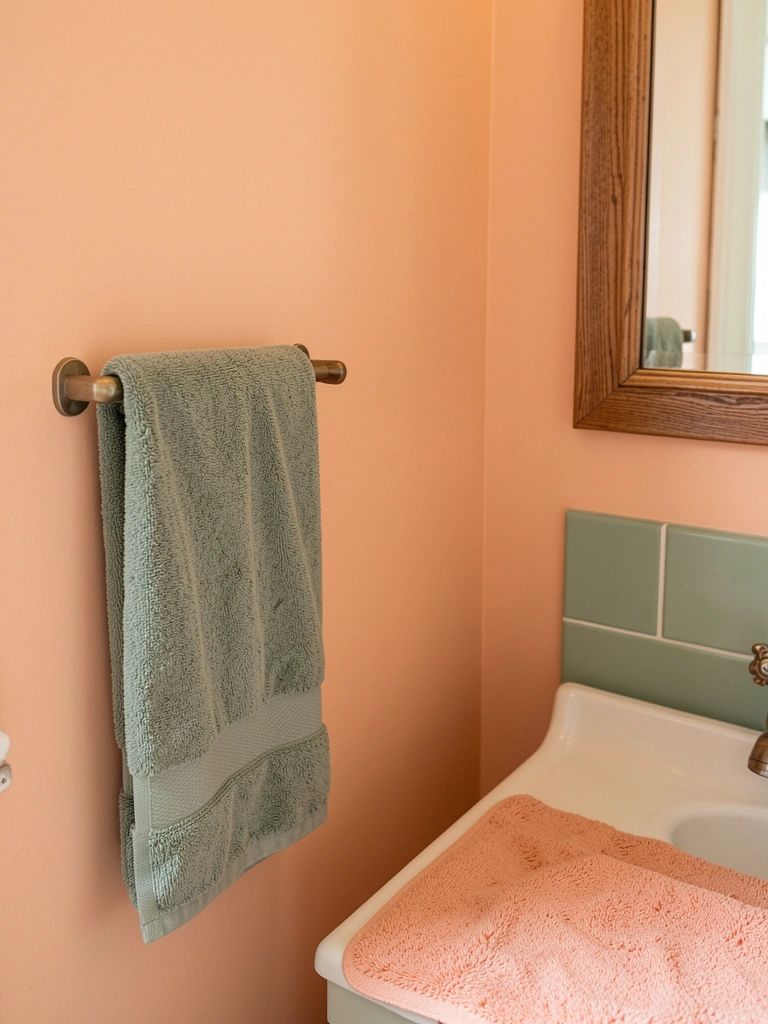
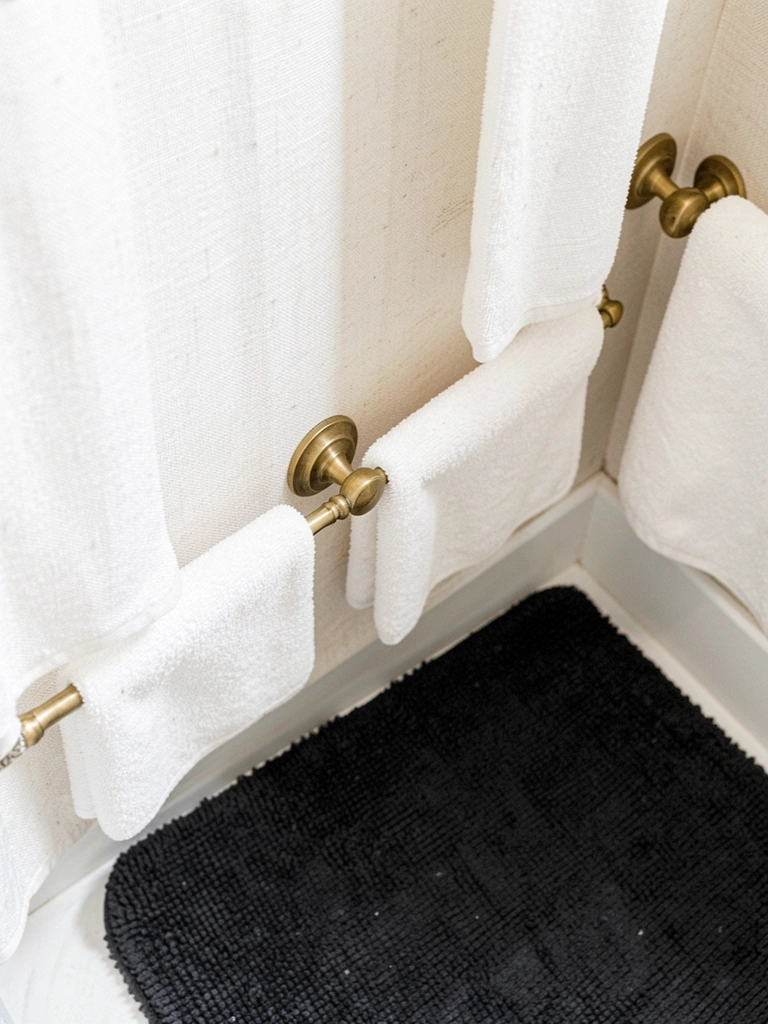
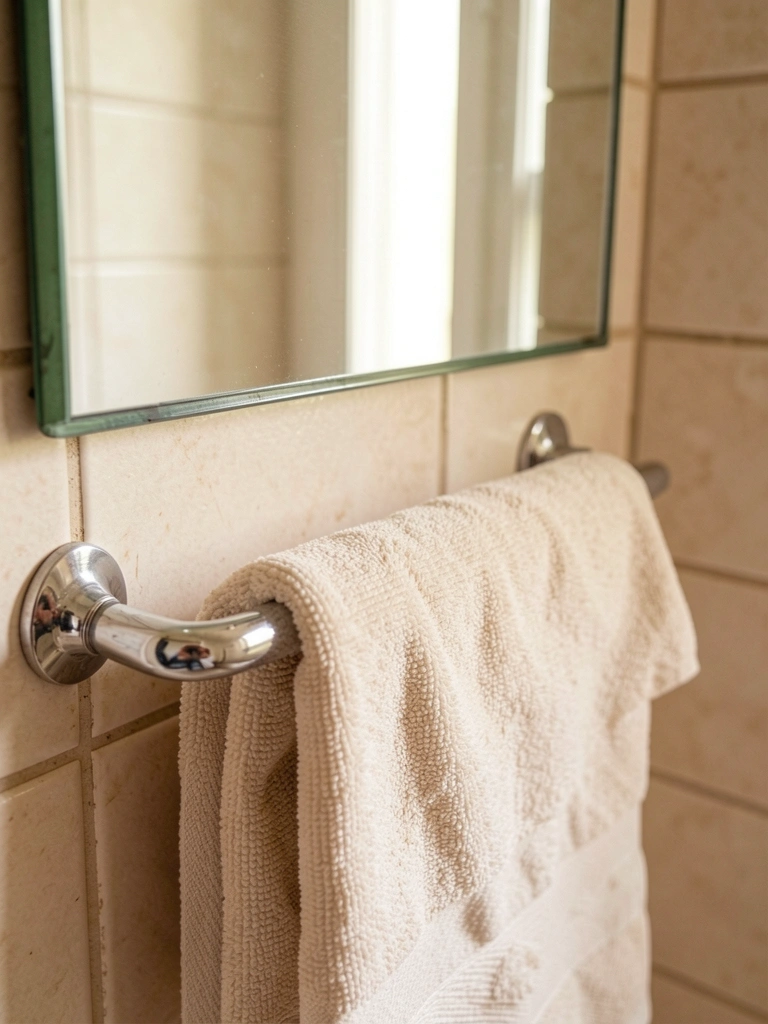
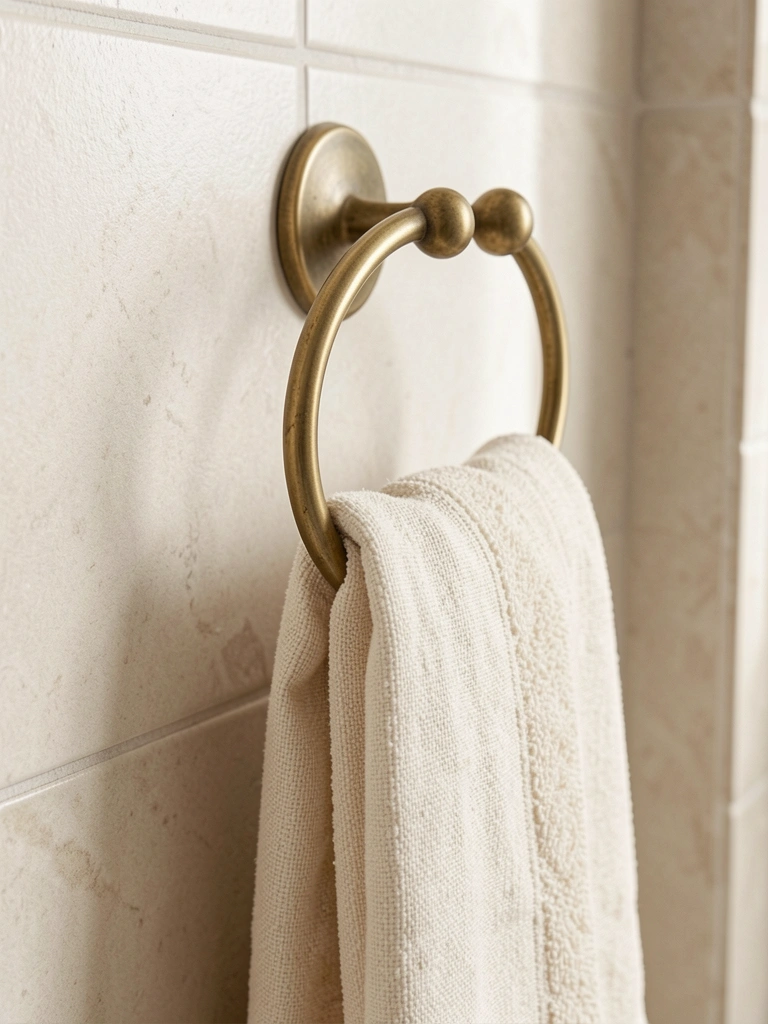
14. Embroidered Linen Guest Towel Set
Soft linen towels with tiny "wash" stitch. Hang folded over ring. Absorb quick, dry fast.
Guests feel pampered. Smells fresh stacked.
Machine wash faded color; hand wash only.
Roll for display.
What You’ll Need for This Look

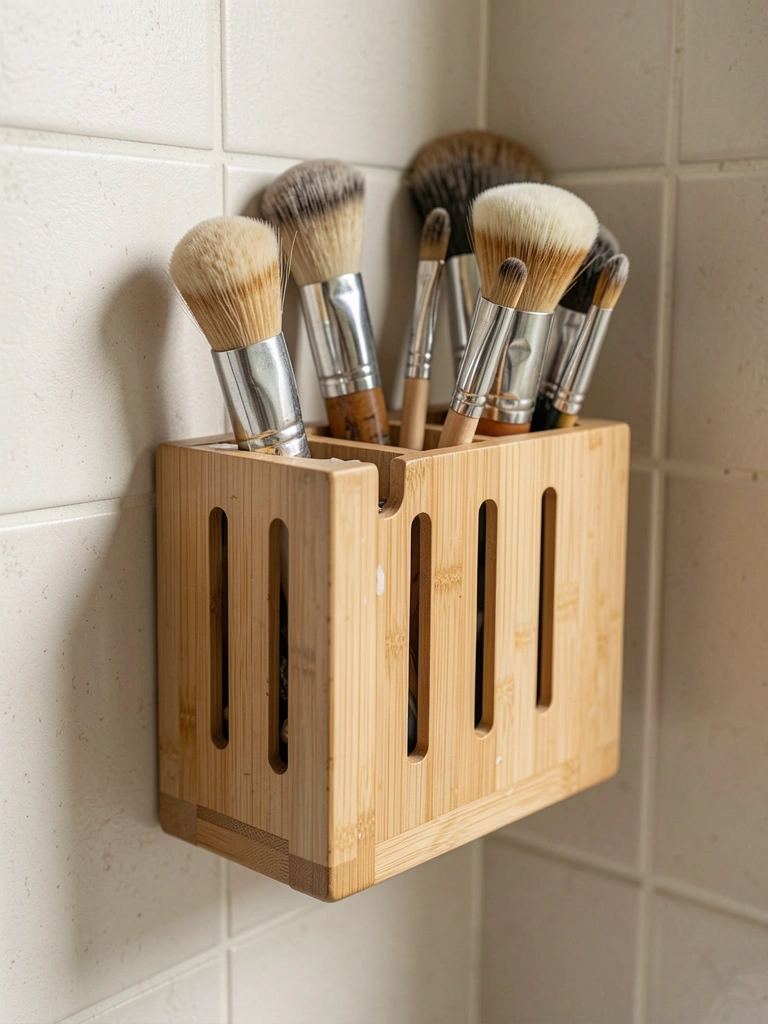
15. Wall-Mounted Bamboo Caddy for Brushes
Open bamboo caddy holds toothbrushes upright. Vents dry them fast. Wood grain warms plastic.
Less bacteria worry. Looks tidy.
Slipped down wet wall; use grippy pads.
Mount at 48 inches.
What You’ll Need for This Look
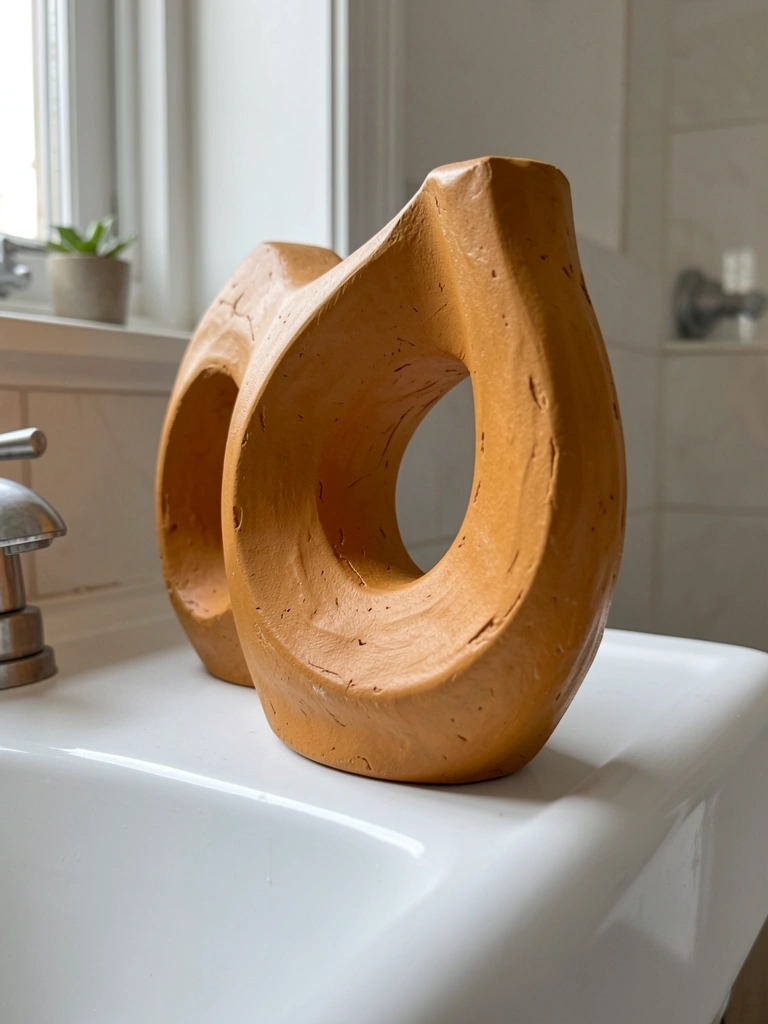
16. Abstract Clay Sculpture on Sink Edge
Hand-formed clay pinch pot in ochre sits solo. Curves echo sink bowl. Quiet art nod.
Draws touch – smooth, cool.
Chipped on move; wrap for travel.
Dust with brush.
What You’ll Need for This Look
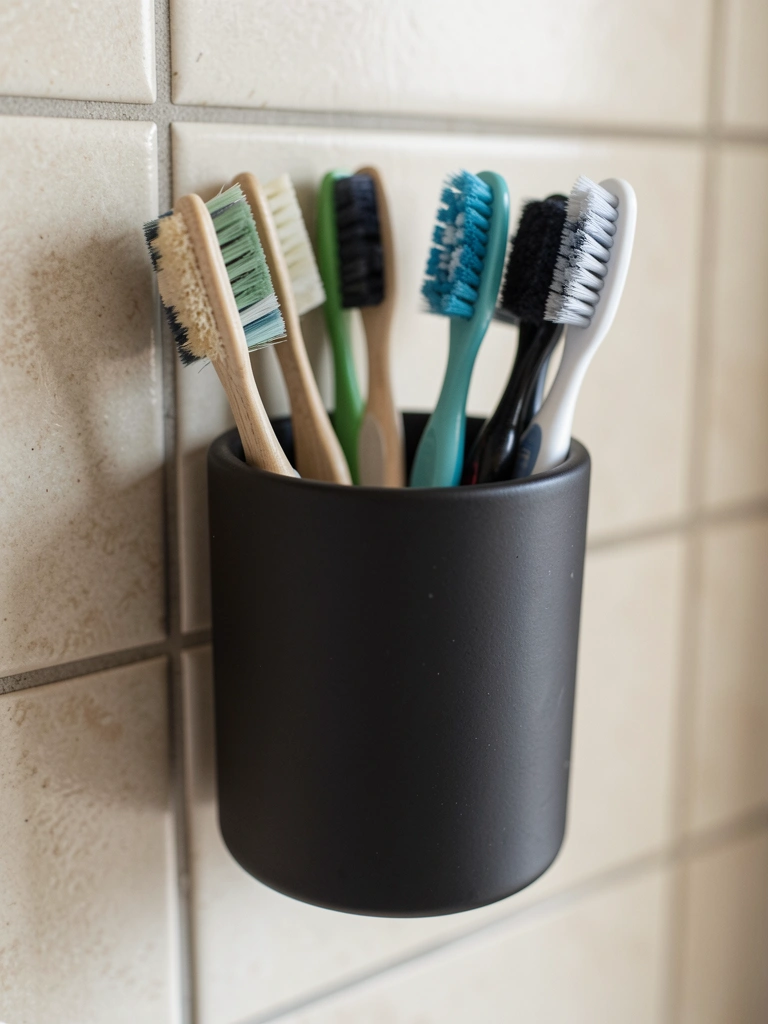
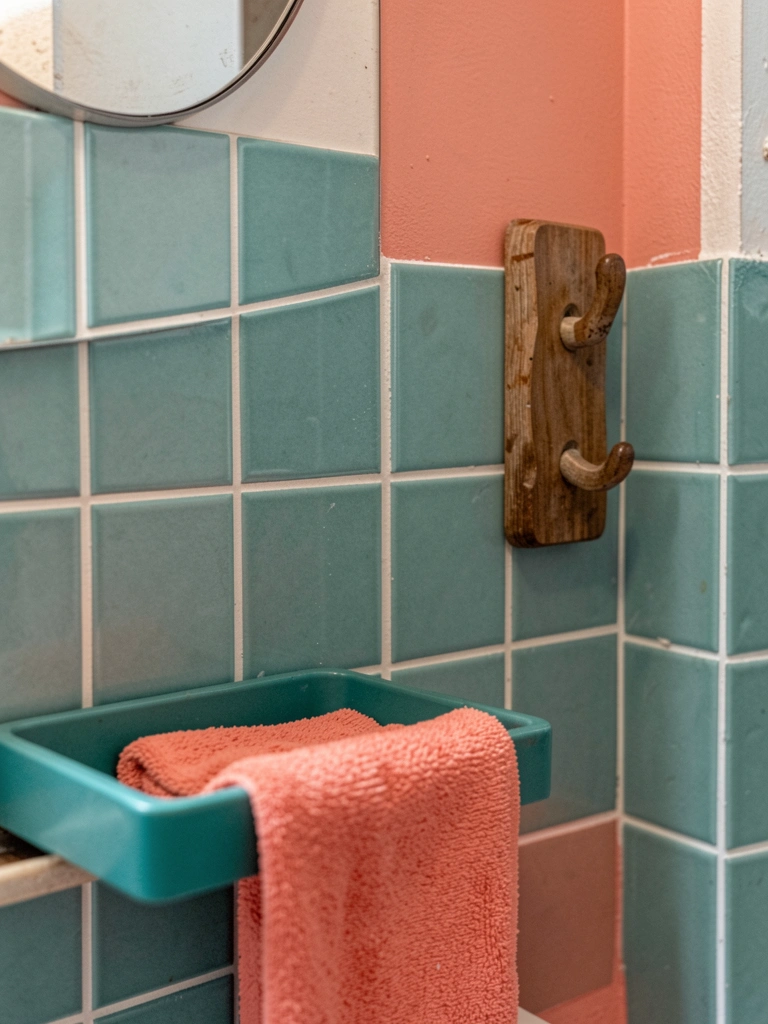
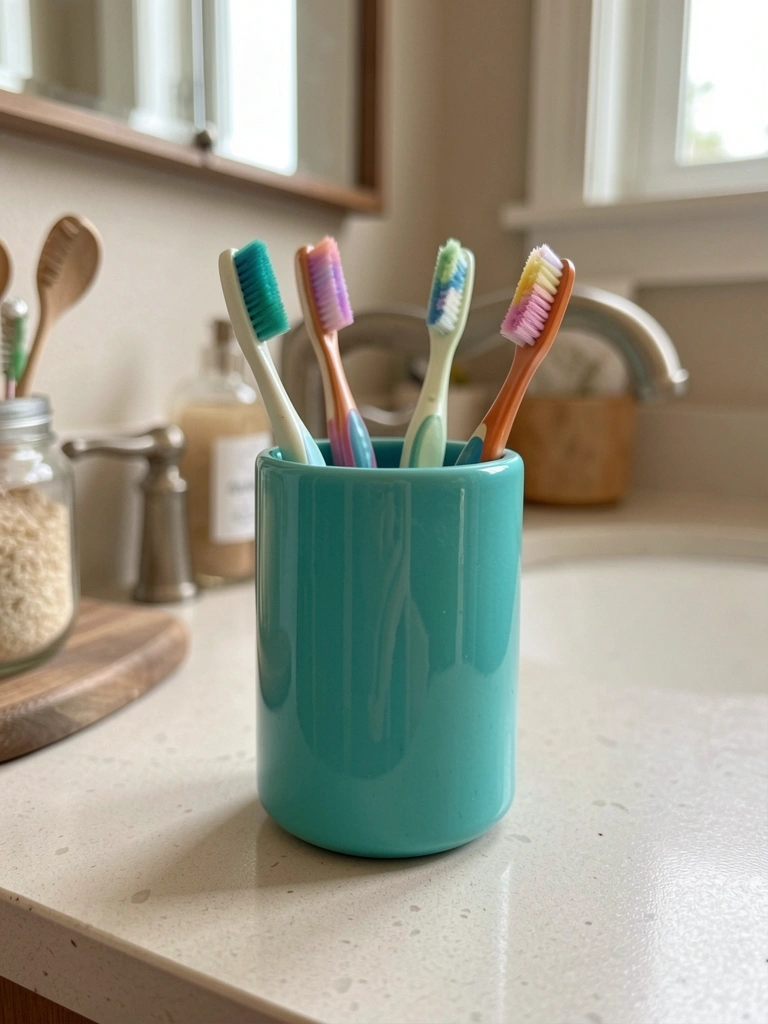
17. Colorful Resin Toothbrush Holder Pop of Joy
Resin holder in teal and coral grips four brushes. Glossy but grippy. Brightens mornings.
Smile wider brushing. Kids love it.
Slid on wet counter; add rubber base.
Rinse nightly.
What You’ll Need for This Look
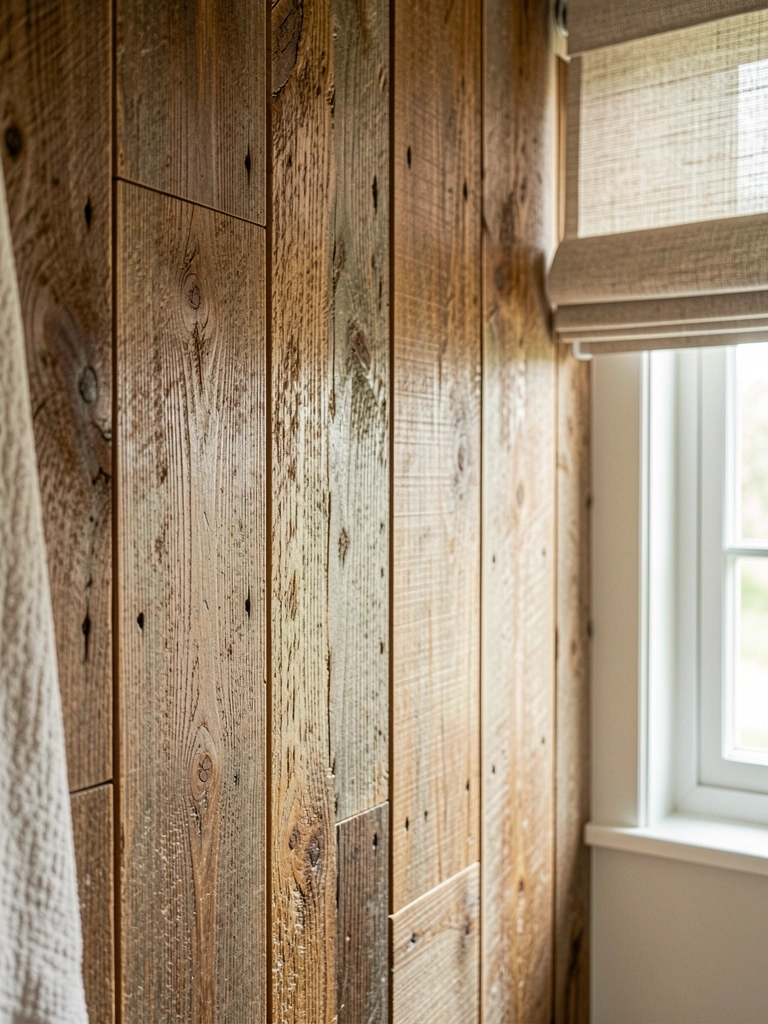
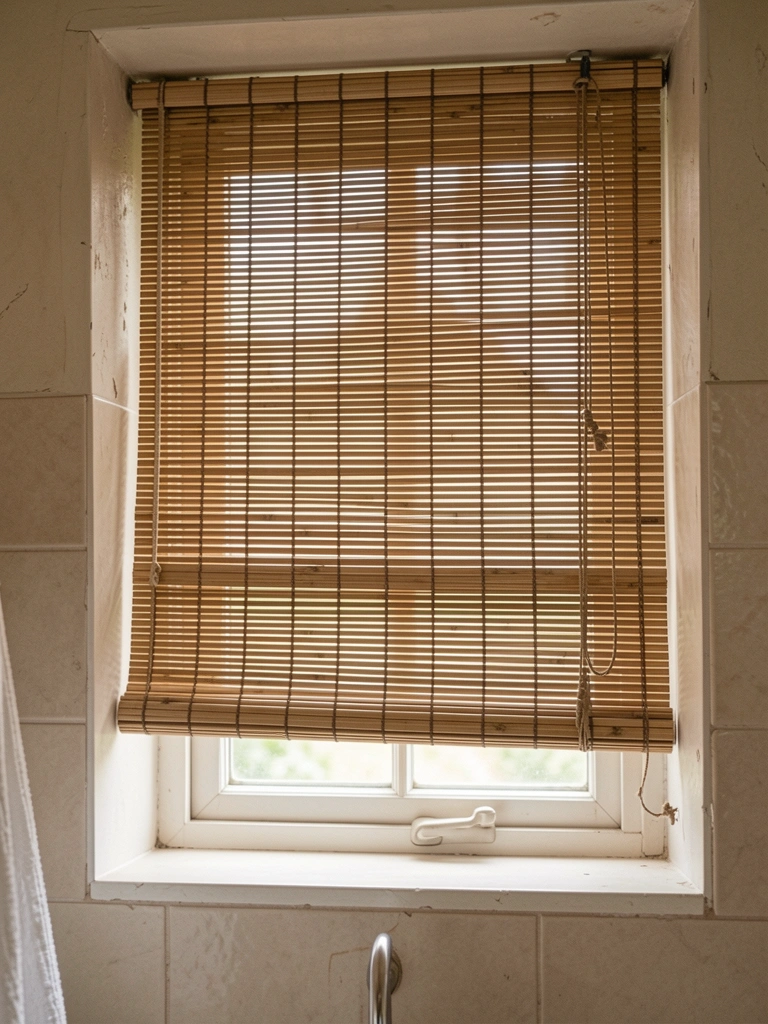
18. Roll-Up Bamboo Shade for Privacy Window
Bamboo shade rolls up tight over small window. Filters light soft. Natural slats add depth.
Private but airy. Dust motes dance.
Stuck rolled; loosen ties.
Pull cord at side.
What You’ll Need for This Look
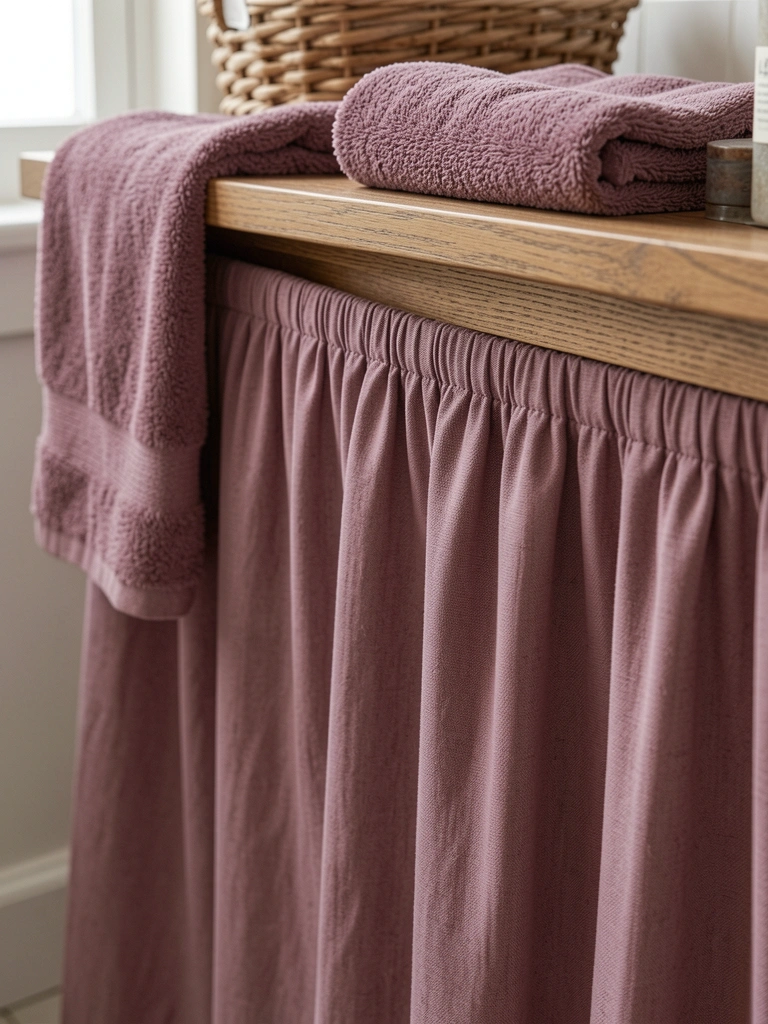
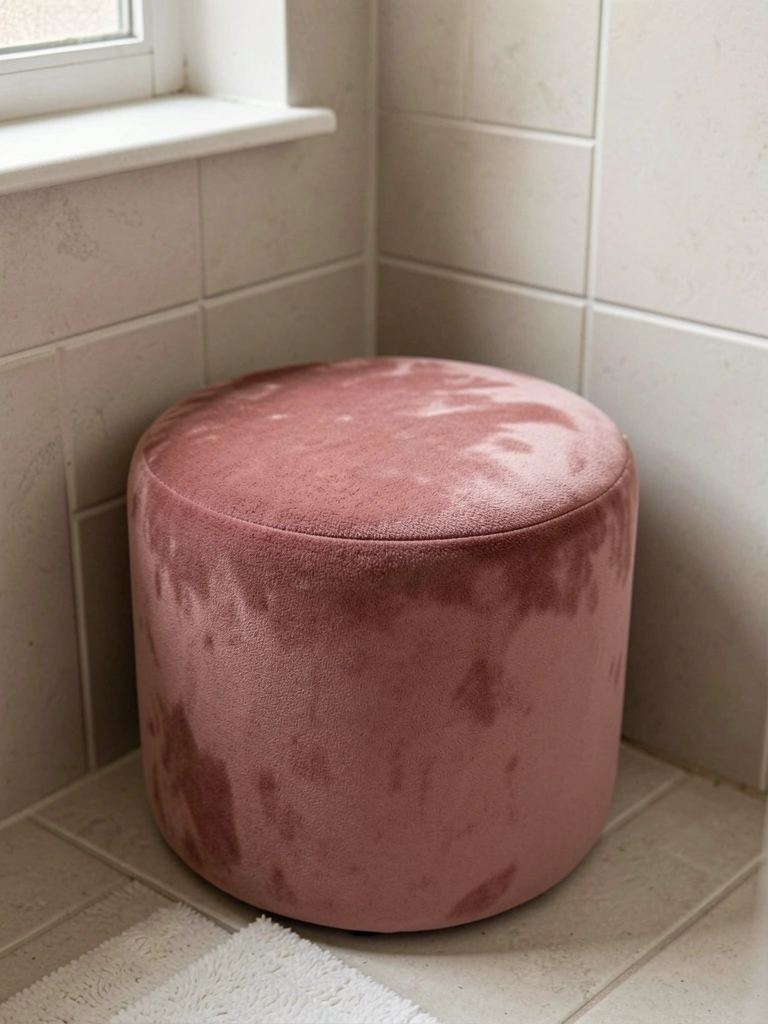
19. Petite Velvet Pouf in Dusty Rose
12-inch velvet pouf tucks corner. Soft sit for tying shoes. Plush under knees.
Invites linger. Warms floor.
Shed first week; vacuum gentle.
Rotate use.
What You’ll Need for This Look
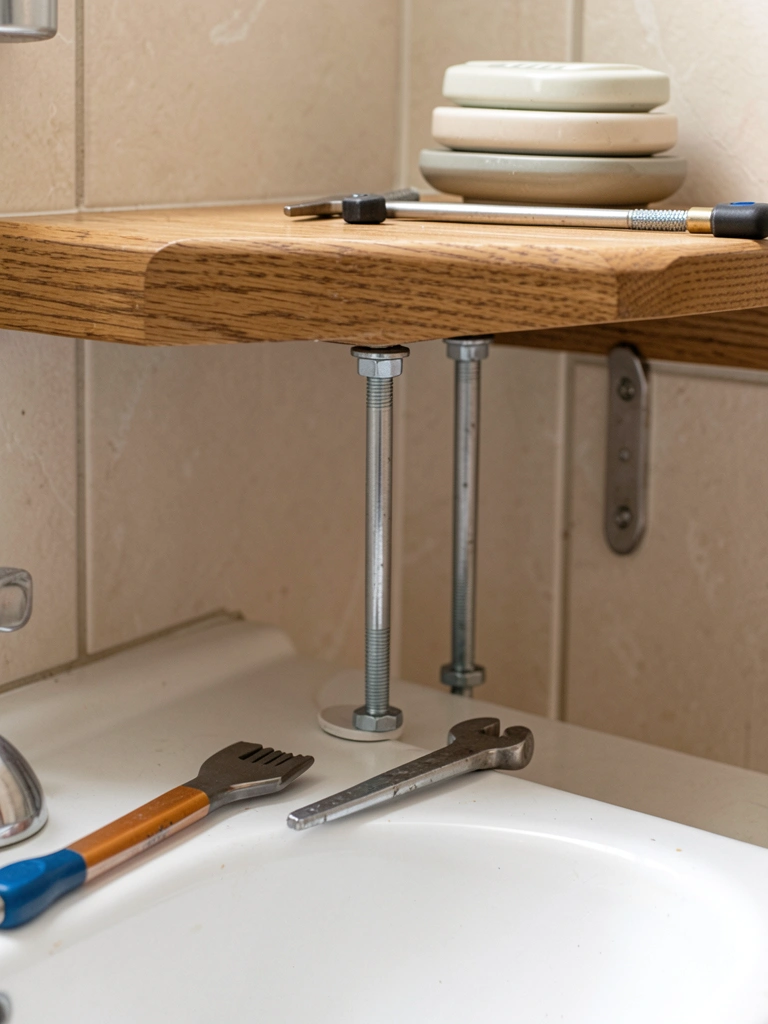
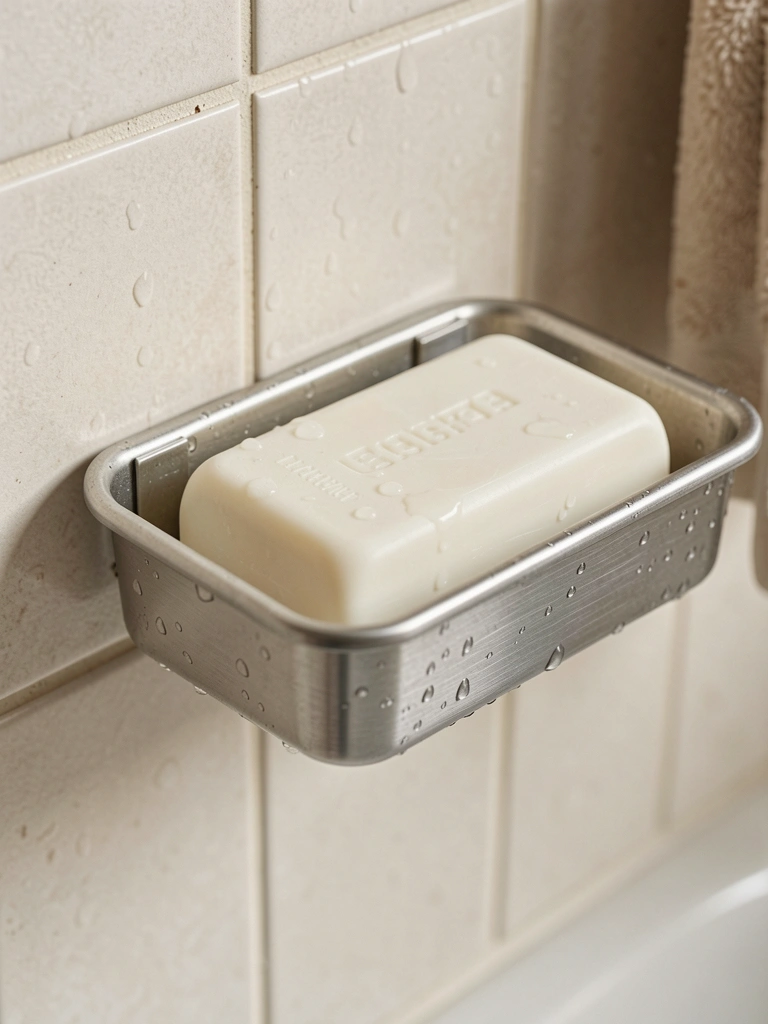
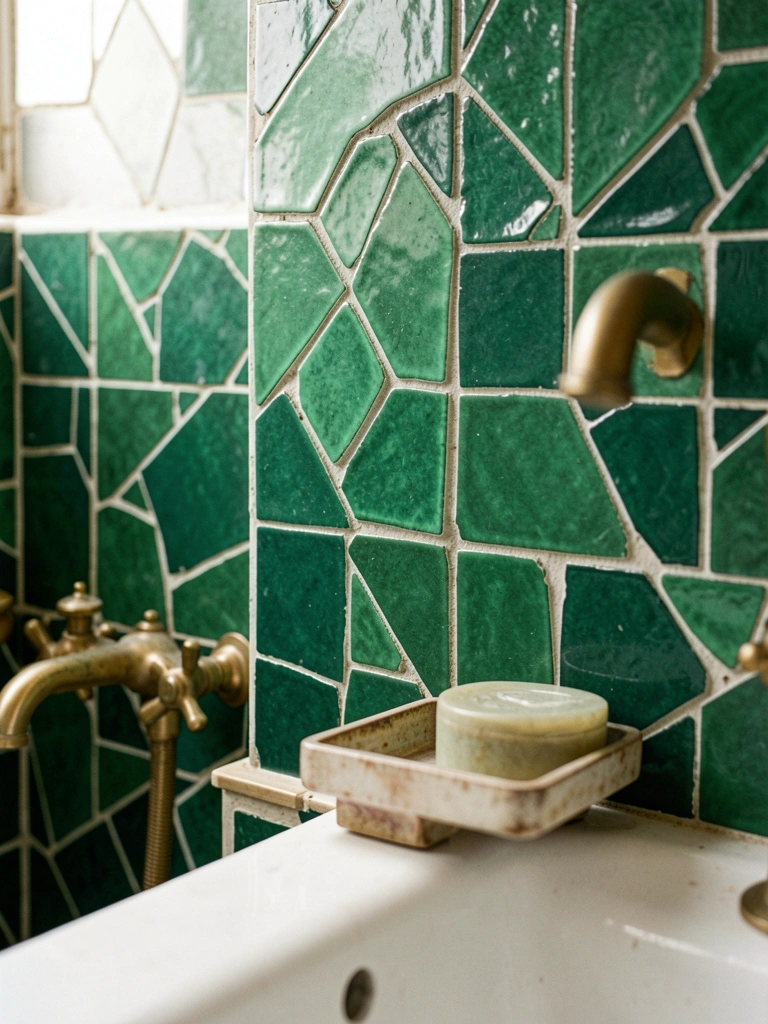
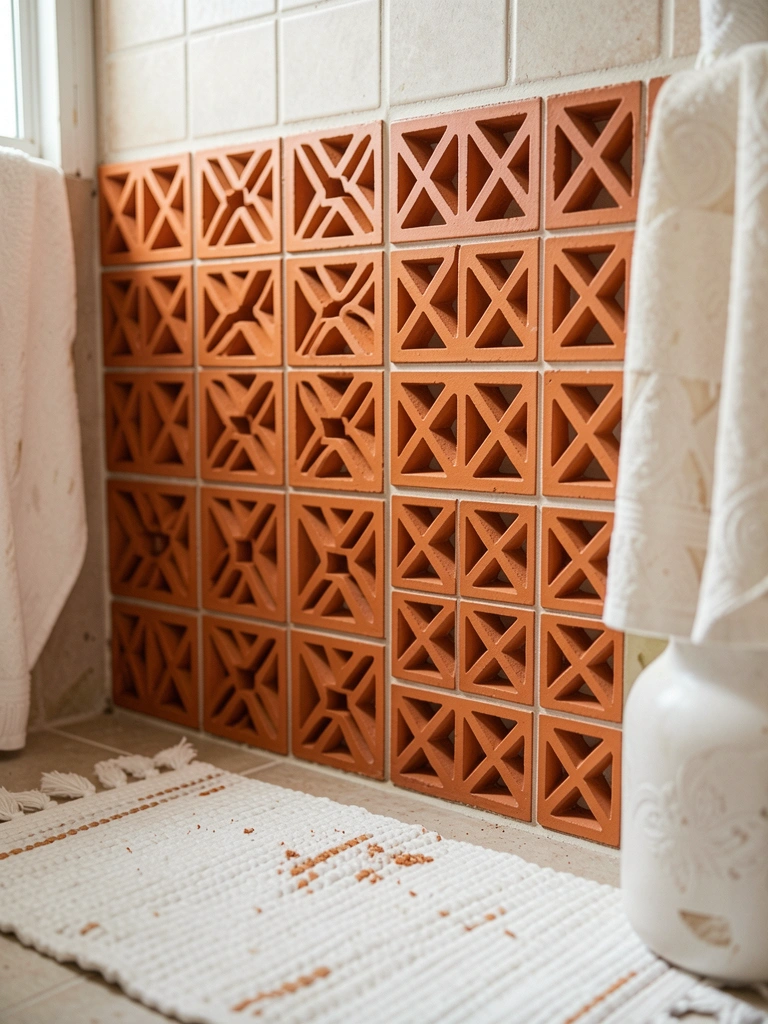
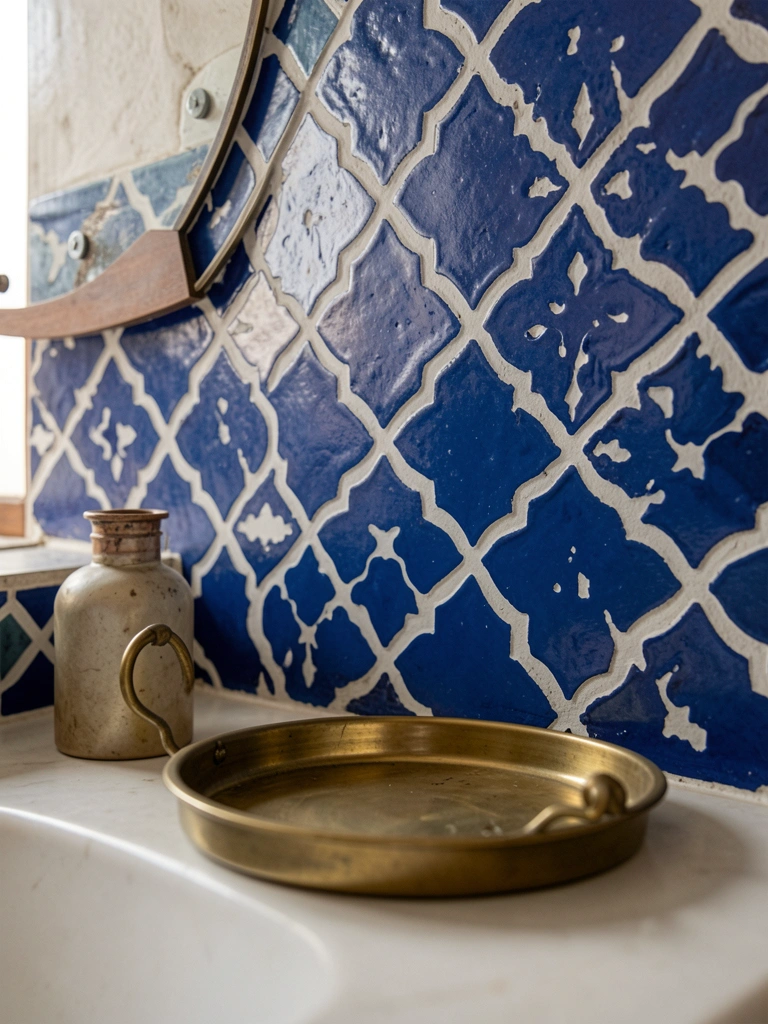
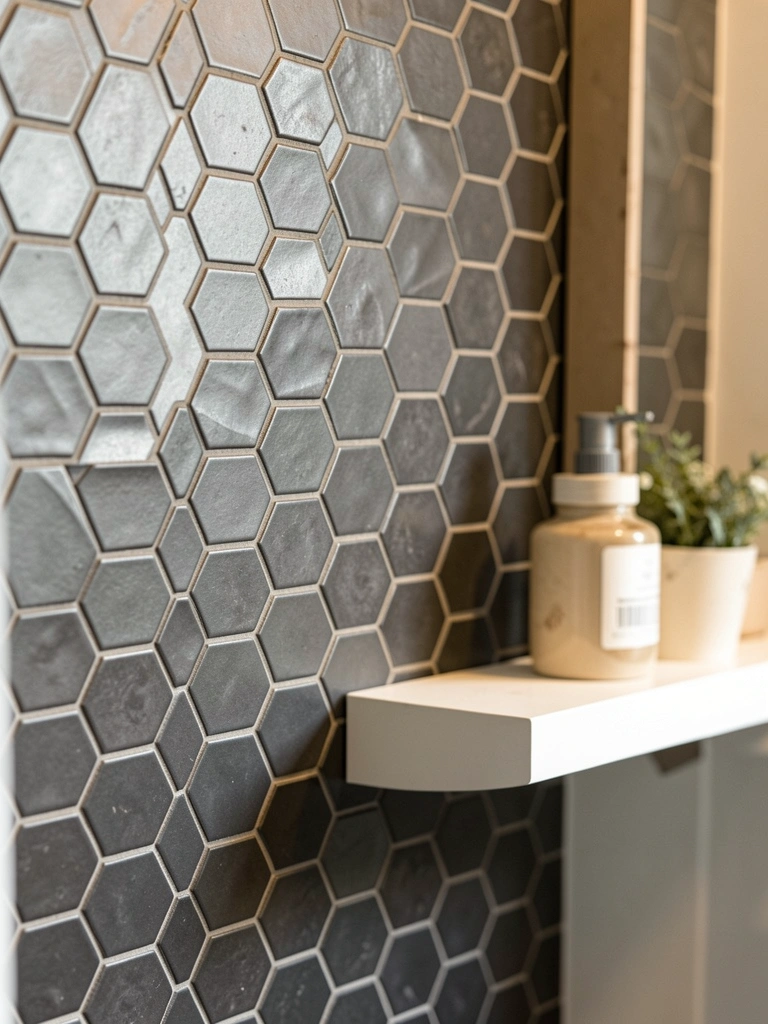
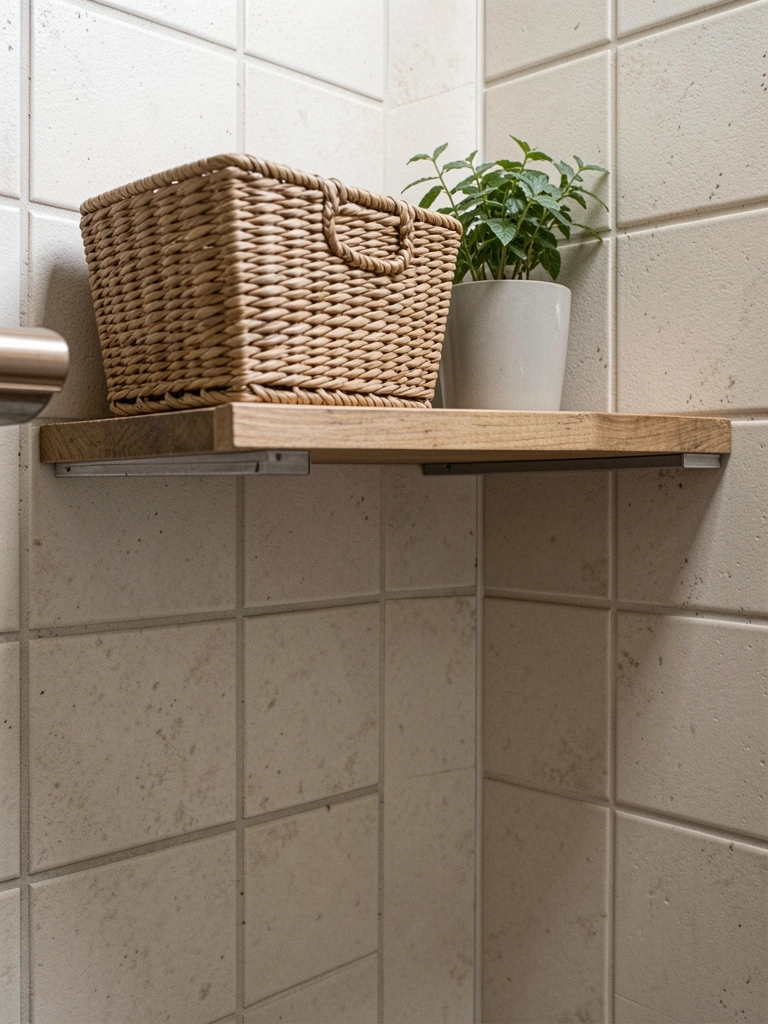
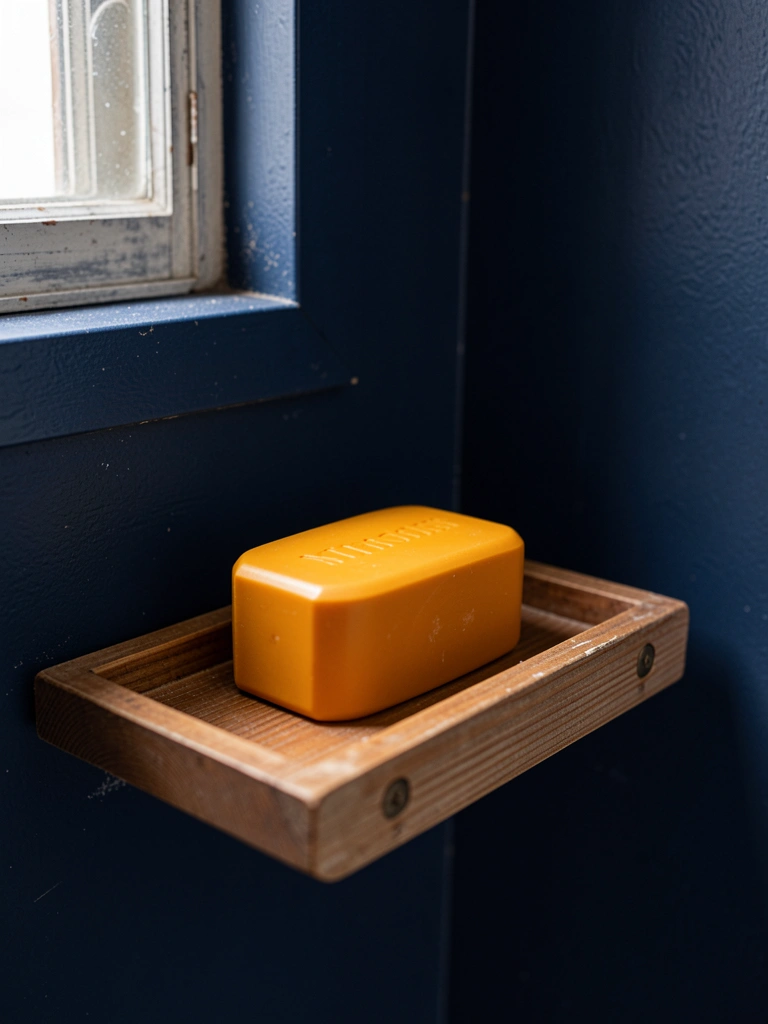
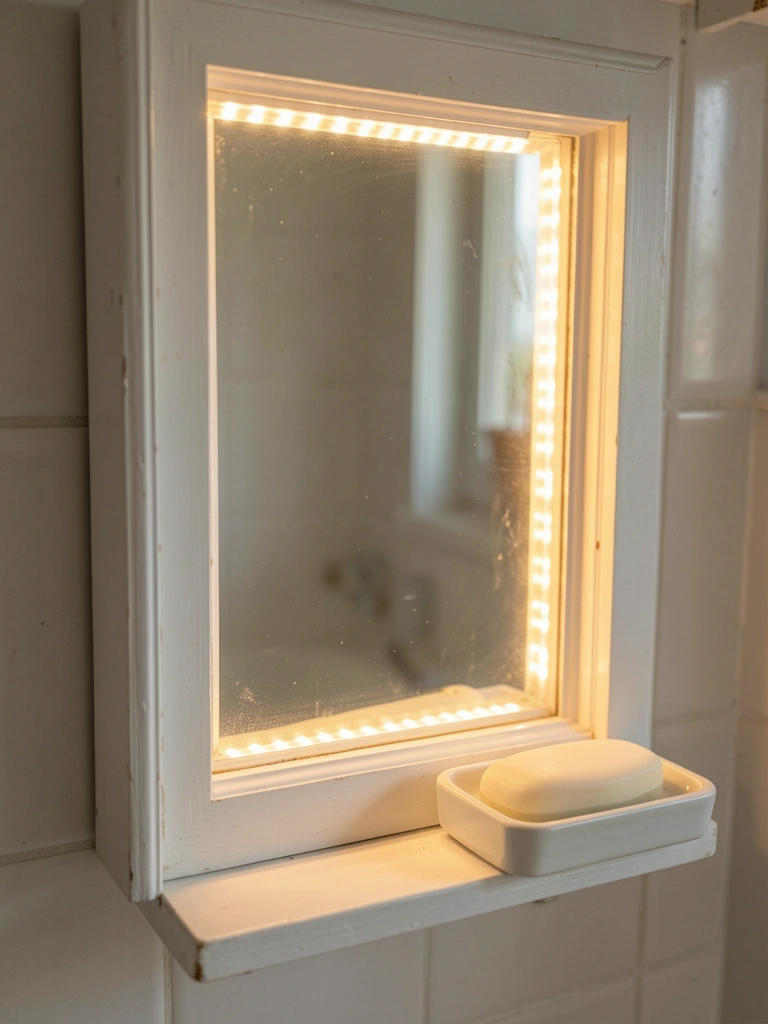
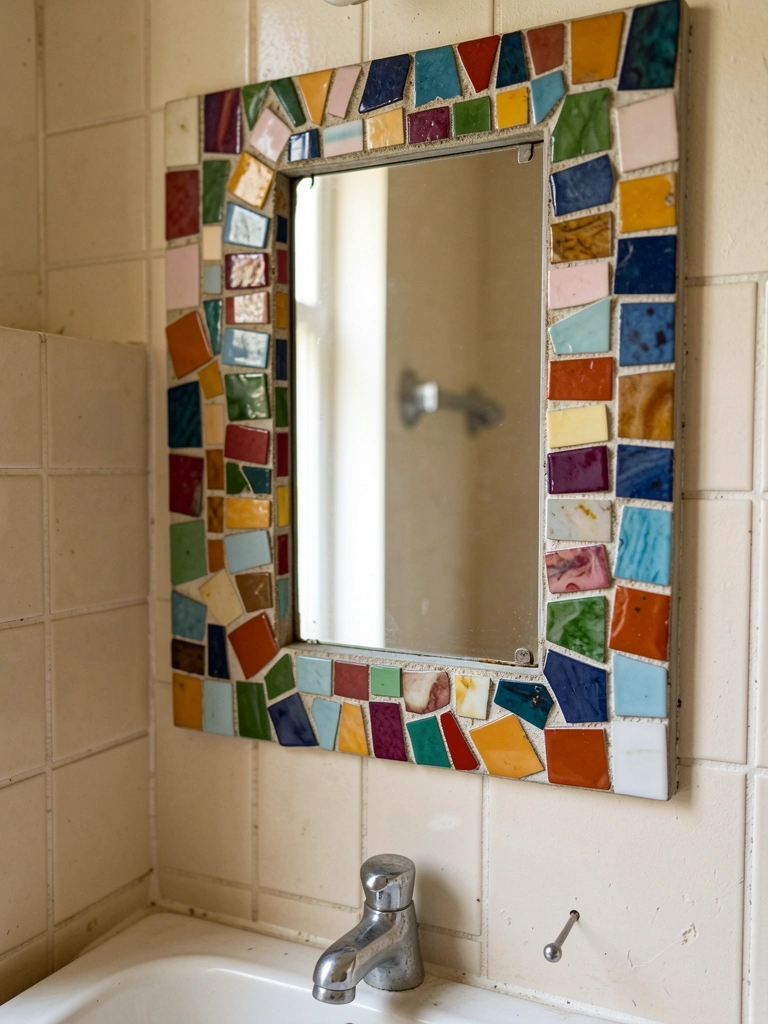
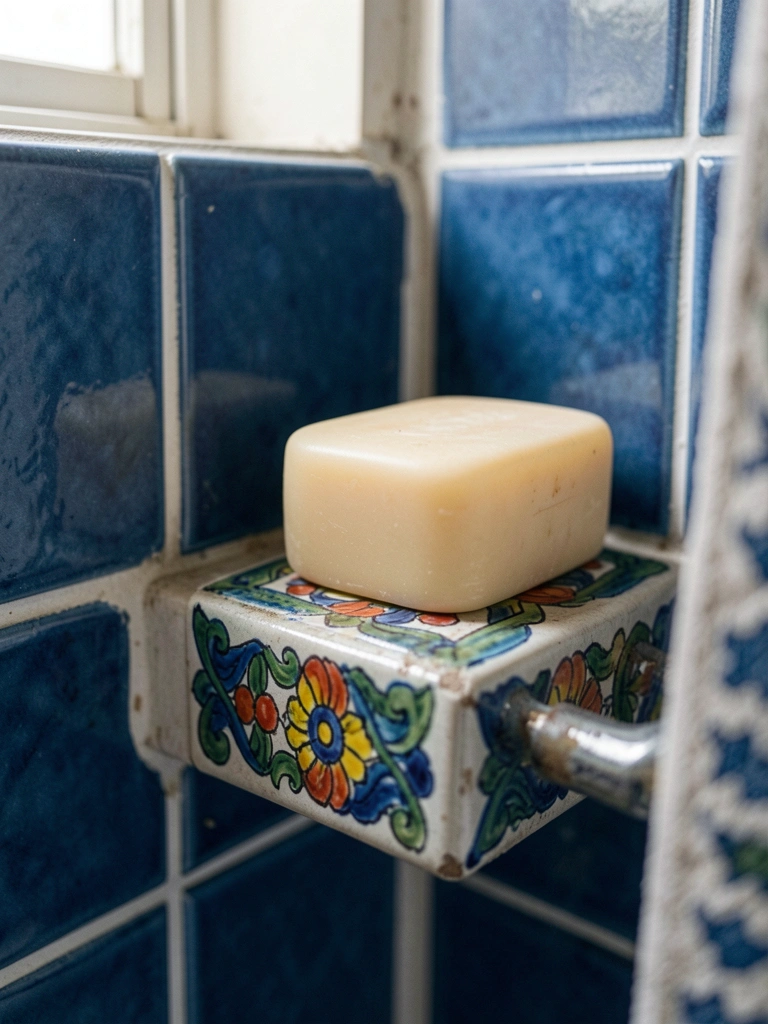
20. Hand-Painted Tile Shelf Ledge
Two blue tiles make a ledge for soap. Glossy paint pops. Holds steady.
Visual break in white. Secure grout.
Cracked under weight; light items only.
Silicone seal edges.
What You’ll Need for This Look
21. Hanging Faux Fiddle Leaf in Brass Pot
Faux leaf trails from wall bracket. Lush green without water. Fills corner soft.
Brings outside in. Dust leaves weekly.
Dropped real plant once; faux forever.
Lightweight hanger.
What You’ll Need for This Look

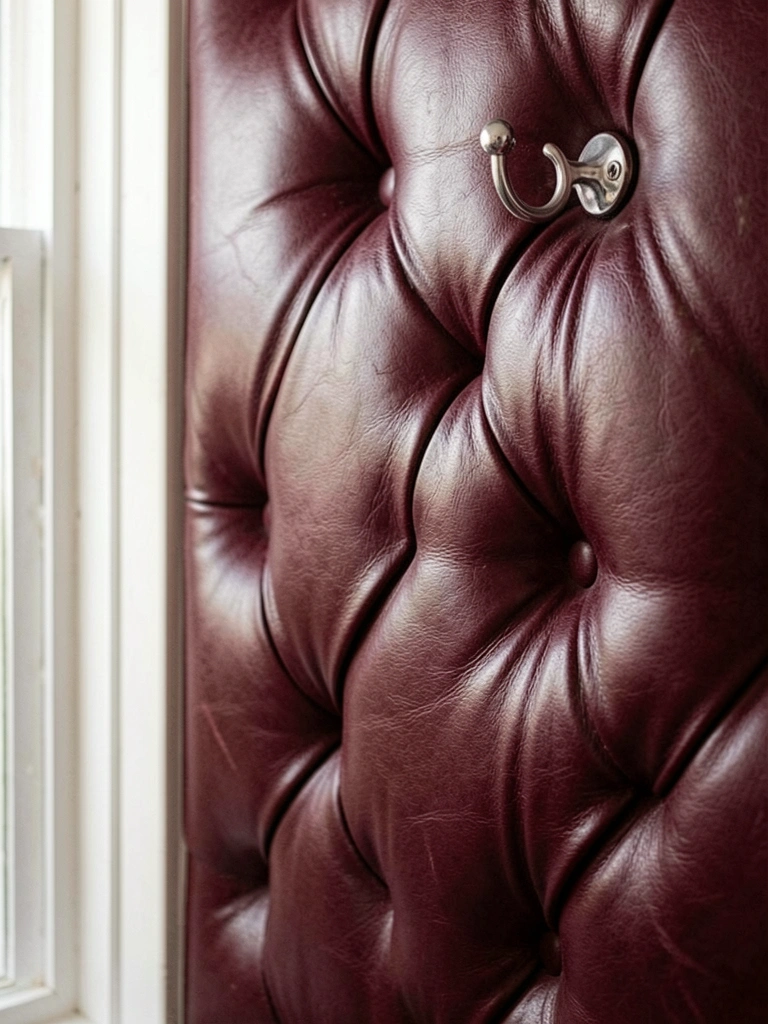
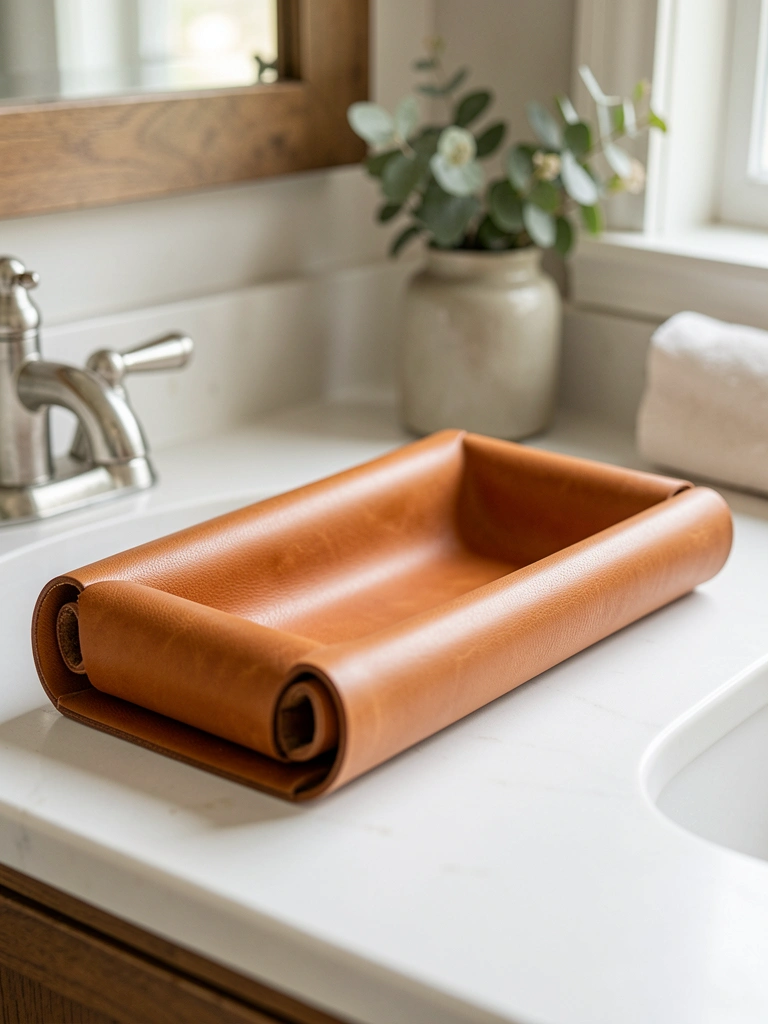
22. Cognac Leather Catchall Tray
Leather tray corrals keys, rings. Rich tan softens metal sink. Edges roll gentle.
No lost items. Ages nice.
Water stained early; wipe dry.
9-inch square fits.
What You’ll Need for This Look
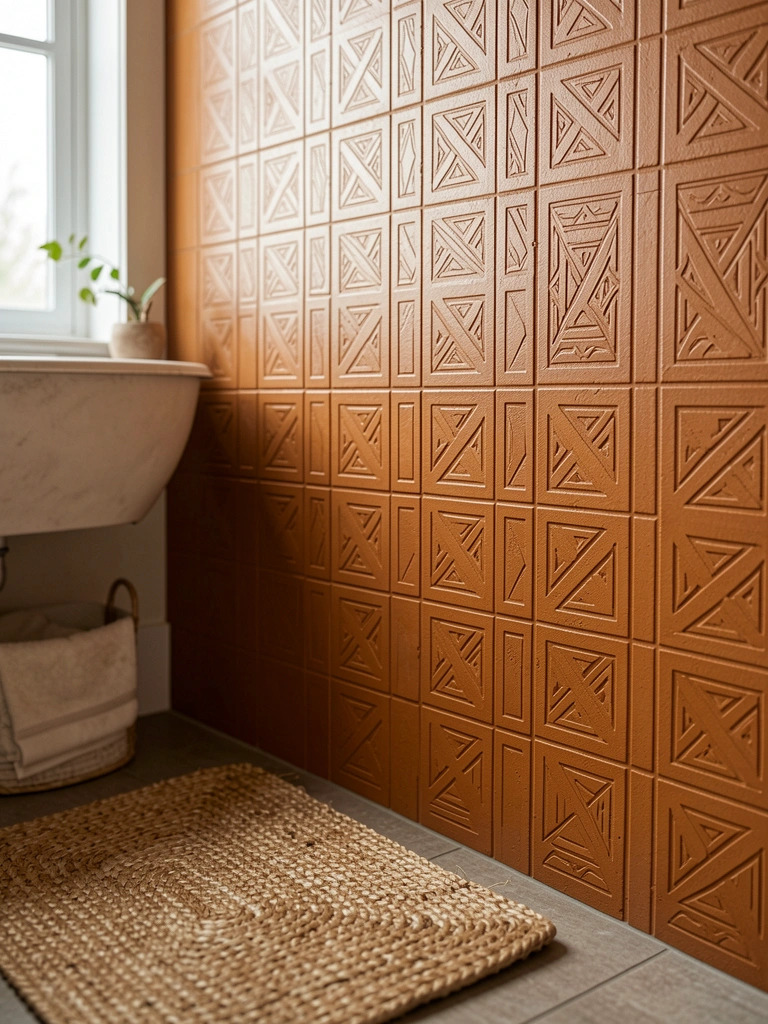
23. Terracotta Geometric Vase Solo Statement
Short terracotta vase with triangle cuts. Empty or one stem. Earthy texture grounds.
Quiet focal. Rotate spots.
Chipped rim; handle care.
4-inch height perfect.
What You’ll Need for This Look

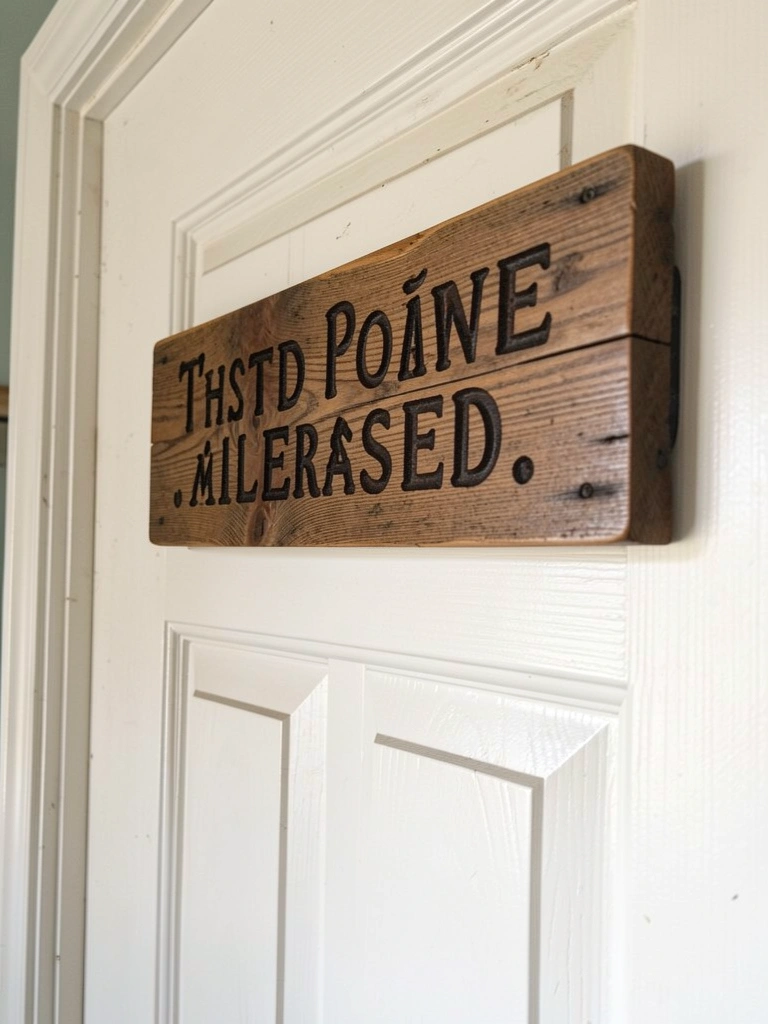
24. Reclaimed Wood Quote Plaque Above Door
Small wood plaque says "wash up." Rustic letters. Nudges without nagging.
Smiles on entry. Weathered patina.
Screwed loose; command strips now.
Horizontal at 70 inches.
What You’ll Need for This Look
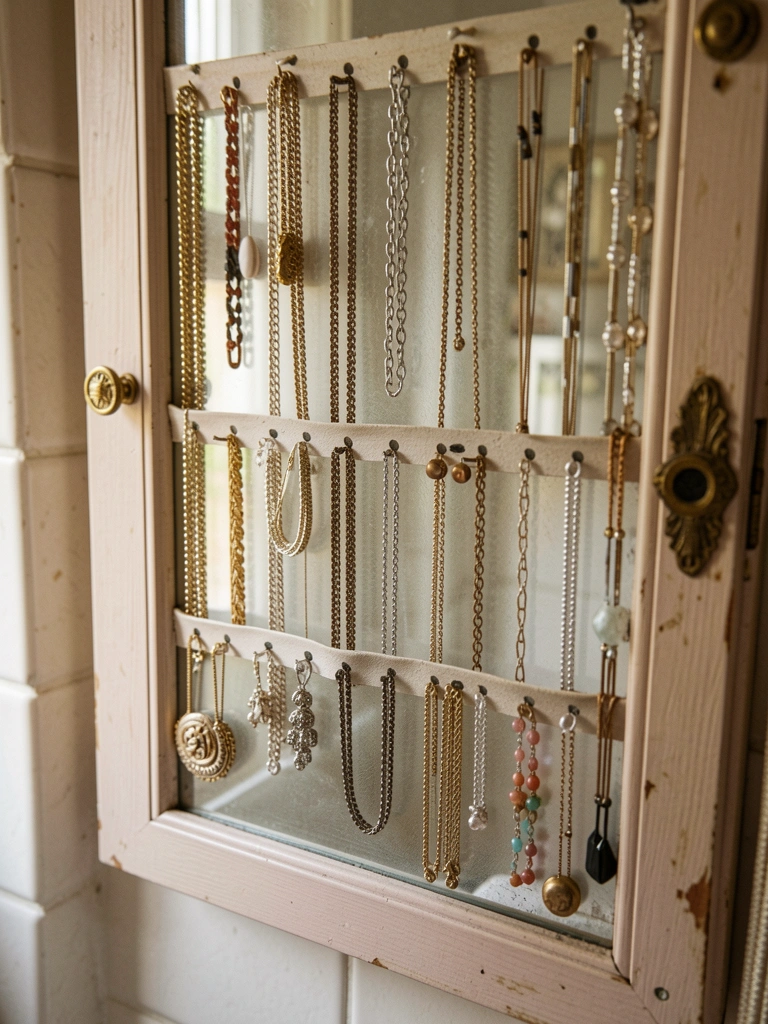
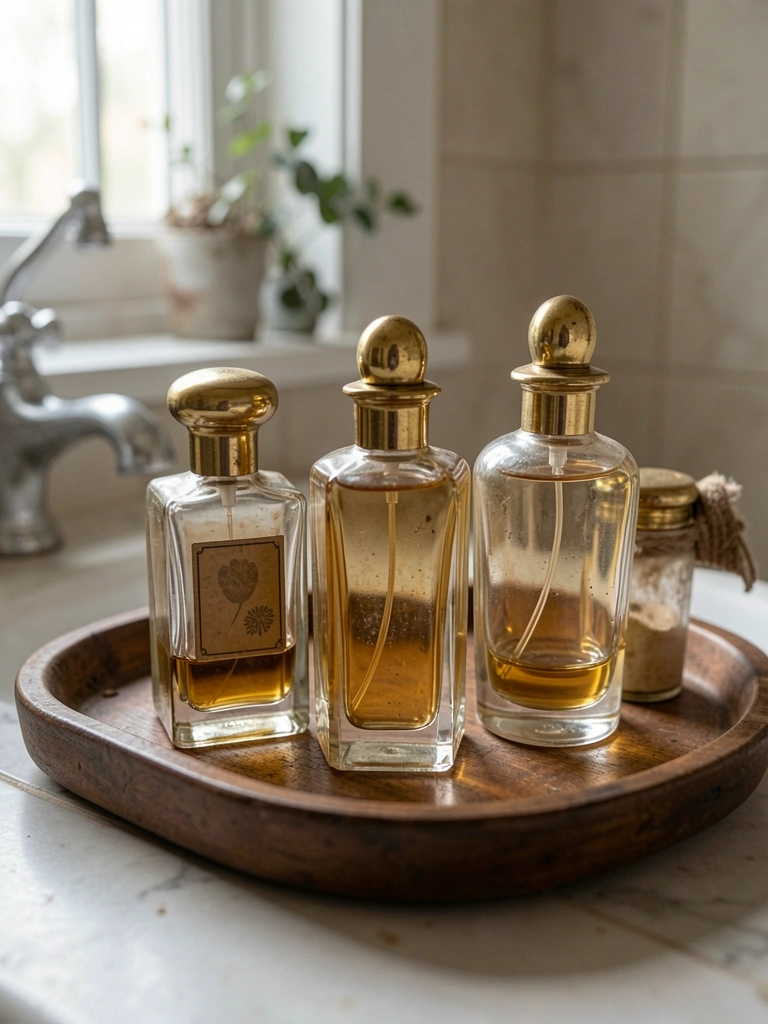
25. Vintage Perfume Bottles Vignette Grouped
Three glass perfume minis clustered. Gold caps gleam. Scent memory trigger.
Elegant whiff. Display only empties.
Dust caps weekly.
Glass tray base.
What You’ll Need for This Look
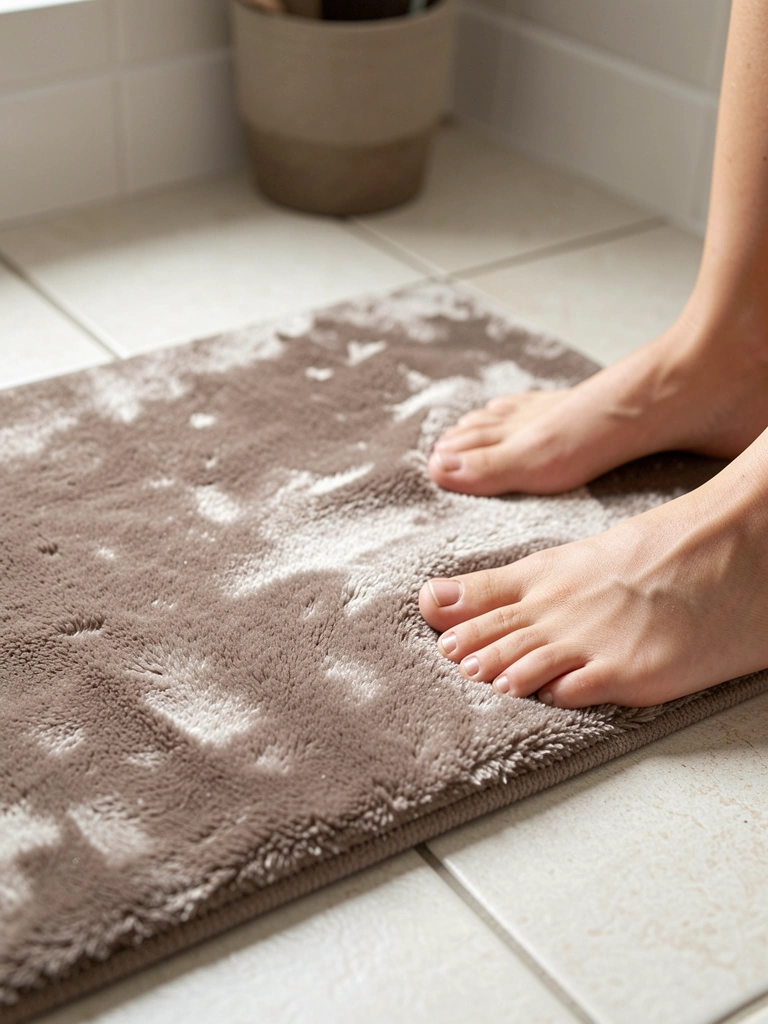
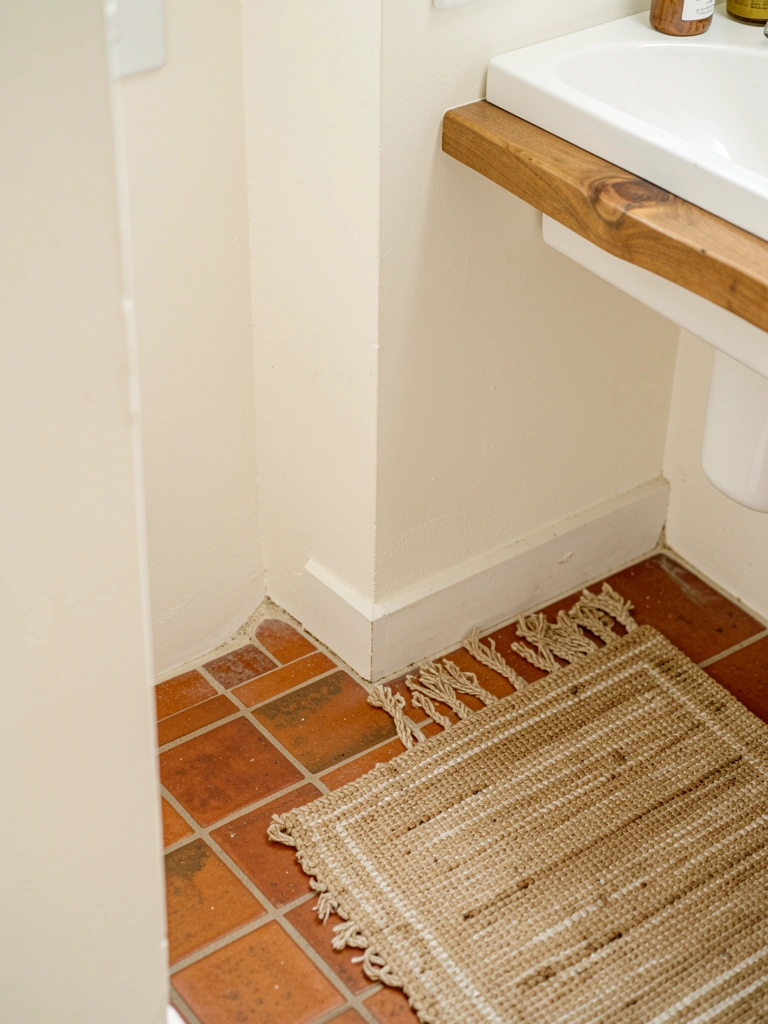
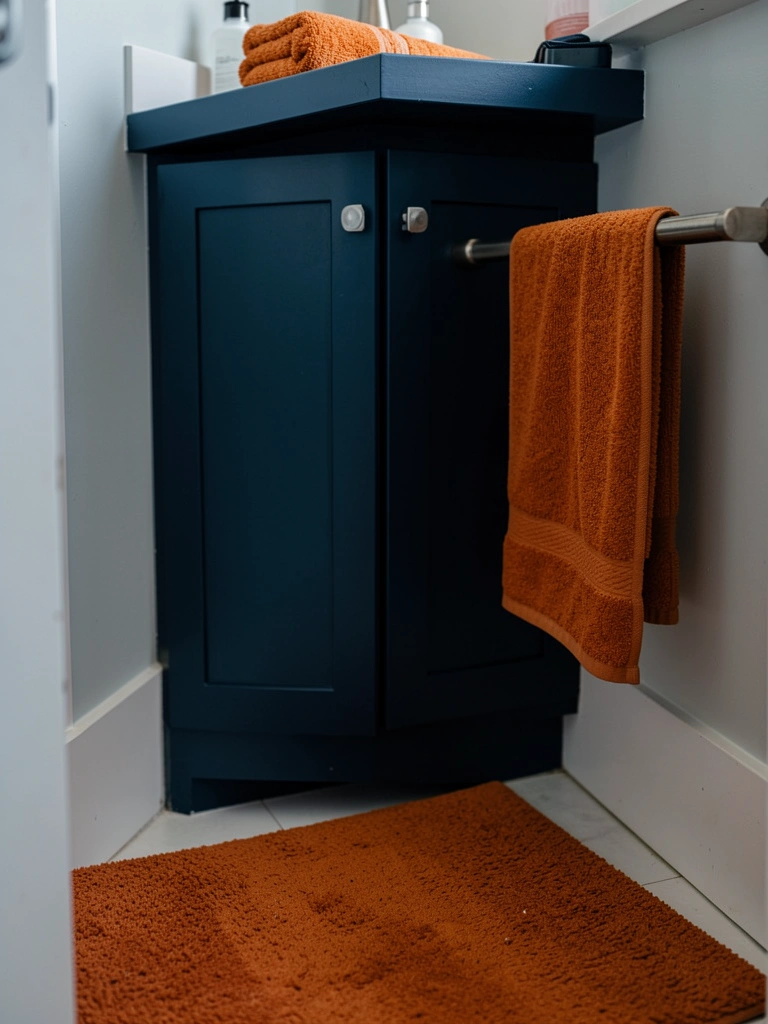
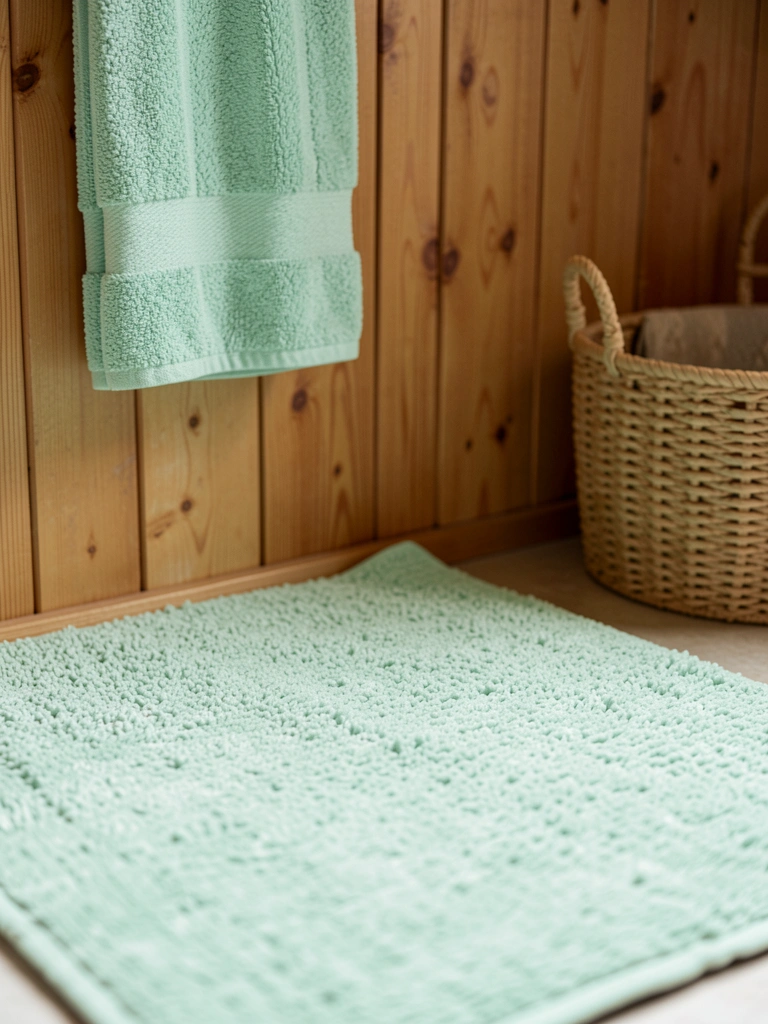
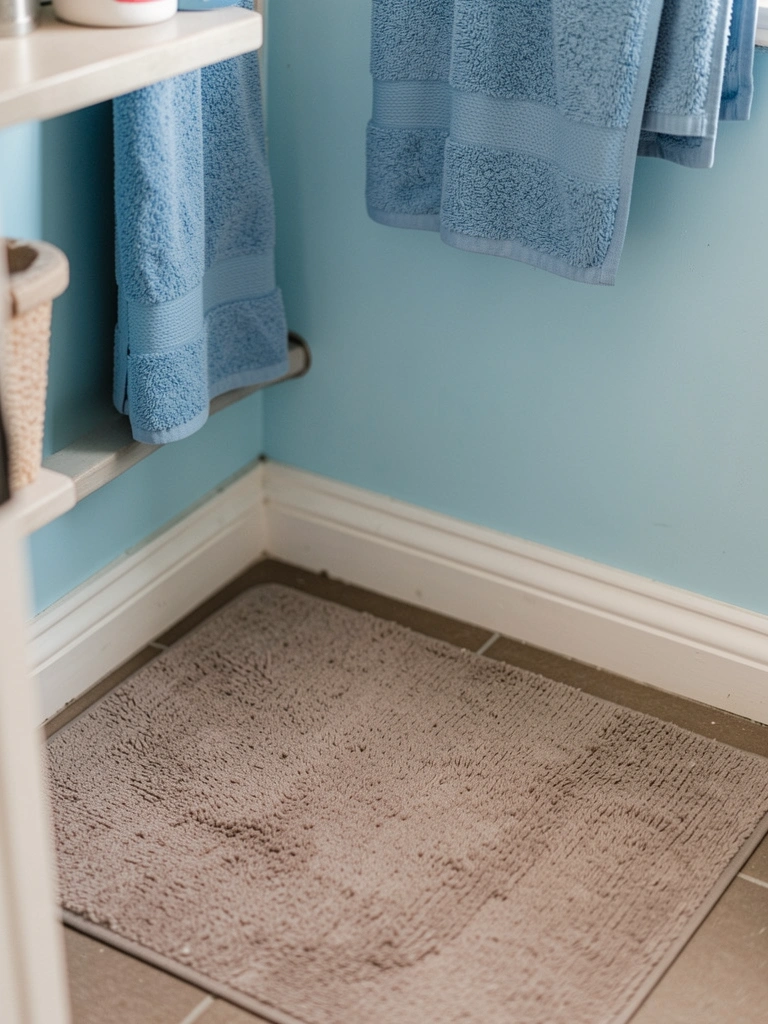
26. Moroccan-Inspired Wool Ruglet at Sink
Wool ruglet in Berber stripes, 18×24 inches. Cushions feet. Mutes water drip.
Warm step in. Vacuums easy.
Slipped wet; rug pad under.
Rotate monthly.
What You’ll Need for This Look

Final Thoughts
Pick two or three that speak to your space – maybe the shelf and jars. They'll shift the feel without overhaul. Live with them a week, tweak as needed. Your powder room will welcome like an old friend. You've got this.